An American in Paris: an interview with my favourite pastry chef and fellow expat, Amanda Bankert.

Featured

Leopard print, vamp lipstick, leather jacket, DMs. These are things that make me smile and remind me of my friend, Amanda Bankert. In 1999, we both took Suzanne Gardinier’s first year studies in poetry class called “Would You Wear My Eyes?” at Sarah Lawrence College. These days, we both live on the other side of the Atlantic. After years in London, I’m now in rural Kent and Amanda is in Paris where she is a top Cordon Bleu trained pâtissière. She has a donut shop and a brownie bar on Rue d’Aboukir called Boneshaker where The Barefoot Contessa, Ina Garten, has been known to stop by for a smackerel of something sweet quand à Paris avec le luckiest duck, Jeffrey. 

Several years ago, my husband and I were in Paris for a child-free weekend. We dropped in on Amanda to say hello and also get some donuts. They were unbelievably good. She had a particularly cheeky glint in her eye as we waxed lyrical about the pastry cream with a hint of cardamom. She waited until we finished gushing then she told us. She had recently made everything on her menu vegan. She wasn’t advertising it as such though because she was worried it might not go down well with traditionalists. Reader, her vegan treats have gone down a storm.   

Last year, Amanda authored two cookbooks–Voilà Vegan and Donuts, Café, et Good Vibes. On April 2nd, she will be in conversation with food writer, David Lebovitz, at The American Library in Paris. Tickets are free so book now. Until then, here she is in conversation with me about expat life and her first book, Voilà Vegan, which you should absolutely buy whether you’re vegan or not.

photo by Alyssa Adler

In a post about the origins of Chagrinnamon Toast, I wrote “I’ve never understood why in times of crisis, I always crave cinnamon toast–the real thing or the kids’ cereal. On the first day of kindergarten which I found extremely stressful, my mother made cinnamon toast for me after school. Cinnamon is and has always been my palliative. Kind of like French toast for Conrad in Ordinary People. When I eat it, I know I’m loved and everything is going to be okay.” When I read your section about Snickerdoodles, I realised I wasn’t alone. I had no idea cinnamon was such an American flavour. Talk to me about that. Do you think in a way, not just cinnamon, but certain flavours or recipes help when you’re feeling homesick?

AB: My donut shop is essentially a love letter to my memories of life in the US. Growing up, my family had a tradition of visiting the same donut shop every summer – Marvel’s Bakery, on Long Beach Island, NJ. The donuts are made fresh to order, with a line snaking out of the shop’s screen door on weekends. I would always get a bag of piping hot, cinnamon sugar donuts to take home. We’d eat them on the deck of our beach house, before heading out for another day of sand and swimming, and then back home for dinners of freshly shucked corn, hot dogs, and Jersey tomato salads.

Cinnamon Sugar donuts were the first prototype I developed for Boneshaker. For me, donuts (in particular, cinnamon sugar donuts) are about capturing that feeling of summer vacation: family and friends, bare feet, board games, and oldies playing on my Dad’s vintage stereo system.

Are there parts of your French life that Americans poke fun at? Or things about being American that your French friends and family find funny? I loved the anecdote about your sartorial choices for the school run that a French mother commented on rather bitingly.

AB: The sartorial choices have come full circle; I still unapologetically wear sweatpants to bring my 9 year old to school, yet I wouldn’t be caught dead wearing leggings in lieu of trousers. If it’s before 9 am, anything goes – afterwards, I try to pull myself together.

To put the previous question another way, what American habits do you feel you’ve dropped since living in France and what do you feel you’ve adopted?

AB: It’s been over 20 years since I lived in the States (yikes!) so it’s hard to say what American habits I’ve dropped. When I go back, I’m usually pretty bewildered. This is compounded by the fact that I have an American accent, so I sound like I should know what is going on. The amount of times I’ve panicked while buying a coffee or sandwich (How much to tip??! Tap or swipe or insert??! Why do they need my phone number?)…it’s a very humbling experience.

Some things I’ve adopted: les bisous, wine at lunch (hooray!), sighs, eyerolls and harrumphs as effective communication skills, and bread from the bakery ONLY.

You’re one of my heroes for many reasons, but one in particular. You completed a course at Le Cordon Bleu at age 22 whilst pregnant with your first child. Can you tell me what that was like? Did you feel there was extra pressure on you?

AB: I hid my pregnancy for the first 6 ½ months – right up until about the week before graduation. Morning sickness was rough – I didn’t enjoy adding rum to pastry cream for the pain aux raisins (the smell made me retch). And I remember discreetly asking a girlfriend to help me lift the 50 pound sugar lamps – otherwise it was business as usual. Ten years later, when I was pregnant with my second son, I also worked in a kitchen up until around the 7 month mark. I’m pretty comfortable waddling around professional kitchens “with a bun in the oven.”

What is your favourite recipe in the book?

AB: It’s hard to pick a favourite, but I’m really proud of the clafoutis recipe. It was one of the first recipes I developed for the book – and I’m really happy with the outcome. A convincing custard-based bake is a vegan triumph.

Do you have a favourite poem? Also, you’re a poet. Would you be willing to share one of your poems?

AB: My all-time favorite book of poetry is Marilyn Hacker‘s “Love, Death, and Changing of the Seasons”. I discovered her work during our Freshman Year Poetry Studies at Sarah Lawrence, and that collection is still my go-to. I haven’t written a poem in a really long time, but one of my favorites was written about an ex-boyfriend in Dublin. We met at work – he was a chef de partie, I was a pastry commis. I was 23 and married. We ended up falling in love and stayed together for about 6 years, before I moved to Paris.

What are your most beloved items of clothing/shoes/jewellery? Is there a story behind those personal effects?

AB: I believe in talismans. My youngest son, Loic, picked out a turquoise ring to gift me for my 40th; I wear it religiously. He just got me another one for Christmas this year, so I am slowly morphing into my “bohemian lady of a certain age covered in silver and turquoise jewelry” era, and I’m fully embracing it. I also always wear a small diamond ring that my high school boyfriend proposed to me with, as well as a Virgin Mary medallion that a monk gave me 2 years ago on the Paris metro (we sat across from each other, I smiled at him, and he pulled it out of a pouch hidden in his robes.) I’ll take all the help I can get.

What’s your favourite music to listen to at the moment?

AB: Etta James, forever and always.

Your recollection about working as a pastry chef in Ireland and having the head chef throw madeleines at your head is brilliant. So comical, but stressful. Lots of films and programs are now set in a kitchen. What about the environment do you think makes kitchen life good drama? Is it the pacing–à la minute? Is it the egos? Do you have a favourite food program?

AB: Jeremy Allen White’s Calvin Klein campaign.

Kitchens are high-drama environments. You’re always working under a certain level of pressure – whether that’s staying out of the weeds during hectic service, or keeping up with demand in a busy bakery. And – I say this with love – most restaurant lifers are weirdos (myself included). Of course, the level of drama depends greatly on who’s at the helm of the ship. I’ve worked with head chefs who’ve openly stated that the most effective way to prevent fuck ups is to instill fear. And, of course, flaring tempers and flying cakes make for excellent television. My eldest son, Finn, and I have gleefully watched Gordon Ramsay’s “Kitchen Nightmares” since it first debuted in the early 2000s. We still watch reruns on YouTube (the UK episodes are our favorite) on chill-out nights with plates of pasta balanced on our laps. It’s ABSOLUTELY ridiculous; perfectly unrealistic reality television.

I didn’t know you had OCD or anxiety until I read it in your book. I agree that cookies definitely help. Do you feel your OCD helps you in the kitchen? Or do you feel it’s something you’ve overcome?

AB: If depression is a black dog, OCD is depression’s rabid brother. (Rabies, incidentally being one of my many health anxiety “quirks” – along with botulism, tetanus, and Weil’s disease.) At my worst, I was throwing hundreds of euros of food in the trash out of fear of contamination, obsessively making appointments with health professionals, and Googling imagined symptoms like a (literal) maniac. It sucks. Cognitive behavioral therapy was a life-saver. I wouldn’t say my OCD has helped me in any way, aside from giving me a strong appreciation for the importance of mental health. I still have flare-ups, but these days my “rabid dog” is much more manageable.

Not that you’re anywhere near it, but where and how do you see yourself in retirement?

AB: More silver and turquoise jewelry. I’d love to have an Ina Garten-esque life, writing cookbooks and filming a cooking show from my house at the beach. I’m happy to “retire” to that lifestyle anytime someone wants to make me an offer. (Netflix, I’m ready, darlings!!)

OH…and didn’t I once send you a squirrel cookie cutter?!

AB: YES!! I love our shared passion for squirrels! When I was on book tour, I taught a baking class with Adam Sobel of the Cinnamon Snail at his home in New Jersey. His wife is a certified wildlife rehabilitator and she was BOTTLE-FEEDING BABY SQUIRRELS while I was at their home. A dream come true (we can add wildlife rehabilitation to my retirement plan.)


Marmalade Redux

Featured

Yesterday marked seventy-seven years since It’s a Wonderful Life premiered at the Globe Theatre in New York. Yesterday was also my first day making marmalade since hanging up my maslin pan in January. Naturally, I named this winter’s inaugural batch after the film. I suppose it was also a nod to Donna Reed who acted in the role of Mary Hatch Bailey. She was born in Denison, Iowa, not more than 30 minutes from where the corn is always knee-high by the fourth of July and my family resides in Harlan. I hope this batch serves as a reminder: No matter how bitter things may seem, remember there is still sweetness.

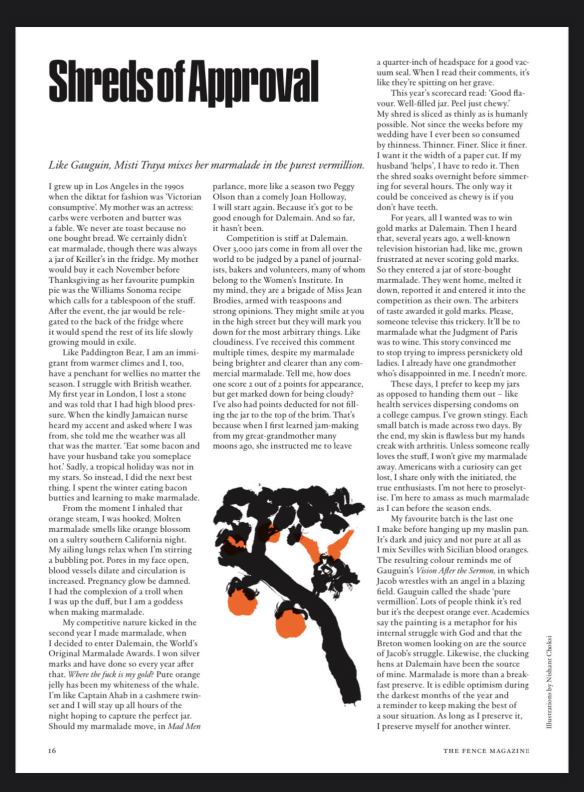
If you’re familiar with this blog, or you know me at all, then you’re aware I’ve been making marmalade for a long time. It started with my Indefinite Leave to Remain application in 2015 and culminated with me receiving silver marks at Dalemain six years in a row. I was the Raymond Poulidor of pure orange jelly, the Susan Lucci of Seville marmalade, a perpetual bridesmaid but never a bride. Last winter, I wrote about my marmalade obsession and my silver medalist syndrome for a magazine. Today, I’d like to share it with you. I’d also like to share my marmalade recipe as it’s changed over the years. My wish is that when you taste it, it makes you feel like George Bailey lassoing the moon.

Seville orange marmalade recipe

Ingredients:

1 kg of Seville oranges

Preserving sugar (the larger crystals dissolve slower than granulated or caster which means less froth, less skimming, and a clearer preserve)

A lemon

Equipment:

Maslin pan or the largest heavy bottom pan you can find

Cheesecloth (I buy bags made of it)

Chopping board

Large bowl

Knife

Teaspoon

Citrus reamer

Spatula

Small plate

Clean jars with lids

Ladle

Funnel (optional)

Method:

Day one:

Place your cheesecloth in a large bowl. Keep your maslin pan on the side.

Wash the oranges and pat them dry. Cut them in half and juice them. Pour the juice into the bowl with the cheesecloth. Now scrape the insides of the orange halves with your spoon. The goal is to remove as much pith as possible as it’s pith is that can make marmalade taste really bitter. Place the pith and seeds in the cheesecloth bowl.

Slice your shred. Personally, I like mine thinner, matchstick style, but sometimes, depending on how dull my knives are, this just isn’t possible. Place the shred in the maslin pan. I usually only shred 2/3 of my oranges and put the rest in the cheesecloth bag with everything else. Feel free to use it all if you like. I just prefer a high jelly content.

Add 2 1/4 litres of water to your maslin pan which should now contain the shred and the bag of strained juice/seeds/pith/peel you didn’t slice. Cover it all with plastic wrap and leave it to soak overnight. This step is crucial as it infuses the water with pectin and flavour as well as softens the shred.

Day two:

Bring the contents of the maslin pan to a boil then simmer until the shred is tender and the contents of the pan have been reduced by 1/3.

Stick your small plate in the freezer and heat your clean jars in a warm oven.

Let the mixture cool. When it has, squeeze the cheesecloth to extract as much pectin as you can. Pectin is what sets your marmalade and gives it a wonderful wobble. Once you have done this, discard the cheesecloth and its remaining contents.

Add the juice of a lemon (once again, this is for pectin) and 800 g of sugar for each litre of liquid and shred that remains. Stir this over a low flame until the sugar completely dissolves.

Once the sugar’s dissolved, turn up the heat and let it boil. Remove any scum that foams on the surface. This can generally be avoided, as previously stated, by using preserving sugar. Over time, the consistency and colour will change. In my experience, it usually takes about 45 minutes of boiling to achieve the set I like. Do test for set early and often. The way to do this is by going round the edges of your pan with a spatula then holding it sideways. Does the mixture run off like liquid or does it cling then drop like jelly? This is known as the flake test. The other method for testing is with a frozen plate. Drop a small teaspoon of the molten mixture on the plate then stick it back in the freezer for a minute. When you remove it, push the drop with your finger. If it wrinkles, it’s set.

Once your marmalade is set, take it off the heat and allow it to cool for at least ten minutes before potting. If you pot it while it’s still very hot, all the shred will float to the top. I use a funnel when potting my marmalade, but you don’t need one. I don’t dare assume everyone’s ladling skills are as shaky as mine.

A Sour Situation: a short essay on blackberries and a shrub recipe

Featured

Hello. Mistels here. Back in early June, I pitched a piece about blackberries to an editor who was very keen and wanted copy in a week. I delivered. They disappeared. For three months, I’ve waited for an answer to the question: Do you know when this will run and if it won’t, will you please tell me? It’s funny, I suppose in a not-so-funny-way, because one of the points of my piece is that you cannot lollygag when it comes to blackberries. There is a window. You must seize the moment. After three months, there are no more blackberries in my corner of Kent. Rather than continuing to shout into the void, I’m posting my piece here. Because really, it’s not about the paltry sum one gets paid when commissioned for such a piece. It’s about getting to share one’s thoughts and enthusiasm for a specific subject that hopefully, others will also be enthusiastic about. At least for me, that is the point. Without further ado, blackberries. If for whatever reason, you are a lucky so and so with a glut of them but you have eaten all you can eat, your larder is stacked with jam, and your freezer is full, might I recommend making shrub? My recipe for it follows.

*

Roses are blooming all around which means I can’t help thinking about brambles. The blackberries grow amongst the dog roses in my garden, canes and stems entwined. Edith Holden illustrated them this way in The Country Diary of an Edwardian Lady so that is how I planted them. They’re little green bulbous things at the moment and hard as rocks, but experience tells me they’ll be ripe in July.  

Wild blackberries are my favourite high summer scent. Their fragrance is evocative of childhood–of purple stains and scratches on your skin or the first lip gloss I ever bought. My cousins and I used to spend summer days running barefoot through the fields around my Aunt Colleen’s house in Iowa until lightning bugs lit up the sky. Coco Bean, as we called her, would send us out to collect blackberries for pie, but we could never help ourselves. We always ate most of them then told her we couldn’t find any. Such terrible little liars were we, our hands and mouths gave us away. Talk about the mark of Cain, cane more like.  

Technically, blackberries aren’t berries at all but an aggregate of drupelets. Each fruit is like a cluster of grapes. Taste a ripe one. The first thing you’ll notice is that the juicy sweetness quickly gives way to a tartness sure to tweak salivary glands. Blackberries are bitier than raspberries and sturdier thanks to the presence of a core. From Hackney Marshes to the heaths, behind council flats in south east London, rampant in cemeteries in Kent, or grown espalier in walled gardens of Jacobean manor houses oop North, blackberries thrive any and everywhere. They are most egalitarian.

No wonder they are strongly rooted in folklore. Where we live in Kent, the first blackberries are to be left for the faerie folk. Go to the old cemetery and you will see brambles planted on top of grave stones. They were once believed to keep the dead in and the devil out. Blackberries debut in July but beware eating them past Michelmas. Lucifer was thrown out of heaven that day. After falling through the sky and landing in prickly brambles, he cursed them. Kitchen witches swear blackberry honey is the best medicine for a sore throat. During the American Civil War, Union and Confederate soldiers declared temporary truces to forage for blackberries so they could make tea for sick men. The brew was widely known as a remedy for dysentery.  

The magic of blackberries is that their flavour is equally good fresh or frozen. A few frozen berries added to apple crumbles, cobblers, or pies helps bring a taste of summer to the darkest months of the year. If you have a surfeit of blackberries, steep them in vinegar to make a shrub, a sharp tasting cordial. You can also steep them in alcohol to make crème de mûre, an essential ingredient in the Bramble, a cocktail created by barman Dick Bradsell as an homage to the blackberry-scented summers of his youth. Bake them with brie, pickle them to add piquancy to sandwiches and salads, turn them into jam, or enjoy them straight from the cane as Beatrix Potter’s rabbits did. Though there are thornless varieties, the most flavourful berries come from canes with thorns that prick you and stick to your skin. Sometimes one must experience pain to taste paradise. Cf. the revellers in Hieronymous Bosch’s Garden of Earthly Delights.

Heed the warning: there is a window. Summer rain brings blackberries to life, but storms decimate them. One week they’re perfect. The next, they’re bloated and fermenting. On the other end of the weather spectrum, severe dry spells and heat waves can make them wither instantly. ‘Gather ye rosebuds while ye may,’ Robert Herrick advised. No offence to the poet, but he should have added ‘Ye blackberries too!’

*

SHRUB RECIPE

Blackberry shrub is very easy to make. It can take a few days, but that’s just waiting time. All that’s required is equal parts fruit, sugar, and vinegar.

Ingredients:

blackberries

caster or granulated sugar

apple cider vinegar

aromatics like a bay leaf or a bit of lemon peel or lavender are optional

Method:

Weigh your blackberries.

Macerate them with an equal amount of sugar and vinegar. Add aromatics if you fancy it. I always add some, but remove them after a few hours so their flavour doesn’t overpower the blackberries. Cover this mixture and leave it in the refrigerator for at least 24 hours or up to 3 days. I usually sample my shrub after day 1 to see if it needs adjusting–more sugar, more vinegar. Make the recipe suit you.

Sieve the mixture or use a cheesecloth to strain it.

To serve: Add the shrub to sparkling or tonic water to taste. I usually use only a tablespoon or two and drink it over ice. Top it up with whatever calls you–gin, vodka, a drop of white port. Or drink it alcohol free. It’s refreshing no matter how you have it. Garnish with a sprig of rosemary, lavender, or thyme if you like. Add berries of any kind.

Marilyn, Mrs. Miller, Matzo Ball Soup and Me

Matzo balls make me think of Marilyn Monroe. I’ll explain. When she was married to Arthur Miller, his mother, Isadore, often served them in soup. She served them so much that one evening her daughter-in-law asked, “Isn’t there any other part of the matzo you can eat?” Badum-tisch! I’ve always loved this and thought it proper Borscht Belt comedy. Well played, Marilyn. You were wittier than people gave you credit.

For a while when I was growing up, both my parents were busy working long hours at different studios. My stepfather was at Warner Brothers and my mother was at Sunset Gower. This coincided with my matzo ball soup phase when all I wanted to eat was–you guessed it. What do you do for a child like that? Open a house account at a Jewish deli, of course. The deli was Greenblatt’s and if you didn’t hit a red light, it was less than a five minute drive from where we lived in the canyon. Not only did this legendary deli open in 1926, the same year Marilyn Monroe was born, but it was one of her haunts during her Joe DiMaggio years. I guess that’s why Arthur Miller preferred Canter’s.

Greenblatt’s is sadly no longer. Their doors closed on August 12th 2021, but their memory lives on. It was the deli of my dreams–Yams, lemon pepper chicken, latkes with sour cream and apple sauce, roast turkey dinners, macaroni and cheese, hot pastrami sandwiches with cole slaw and Russian dressing served au jus, fruit tarts, Dr. Brown’s sodas, Nat Sherman cigarettes next to the cash register, and posters of saucy Edwardian ladies baring their ankles in the powder room.

There was a Frenchman called Yves who worked there in the 1990s. My father tells a story about ordering from Greenblatt’s shortly after I went to college in New York. For whatever reason, my parents had a yen for some deli food. When Da opened the door, Yves looked at him skeptically. “Where eese zee leetle gelle?” In all his years of delivering to our house, I was the only one who ever greeted him. My absence confused him.

Post graduation, I moved back to L.A. and continued ordering from Greenblatt’s even after Yves left the deli. The sandwiches were a thing to behold, but for me, the matzo ball soup was the main event. It was what I ordered every Friday night after I finished taping Living With Fran. Quality matzo balls are light and fluffy. They float. They have flavour. Eating them is pure comfort. Greenblatt’s were massive. Make whatever joke you like but they were and they sat in the most magical golden broth.

A bite of a good matzo ball is like basking in afterglow. It makes you feel like Marilyn in Arthur’s embrace. People eat matzo and matzo balls year round, but they are crucial at Passover because of what they represent. They serve as a reminder of the unleavened bread the Jews had to eat whilst fleeing Egypt. Passover is a celebration of freedom and matzo balls are symbolic of this. Though Marilyn’s life ended tragically, I see her as a symbol of freedom too. But that is another piece in and of itself.

I told you Marilyn Monroe makes me think of matzo balls. Now, maybe she will you too.

Below is my recipe. I’m sharing it not only because Passover is approaching and the weather is terrible and conducive to eating such a dish, but because the ink has faded on my recipe and I’d like to have it here for safekeeping. It’s changed a bit over the years. I used to make it with schmaltz, but found that oil yields a lighter fluffier result. Ditto sparkling water instead of stock. Besides, a savoury stock will infuse your matzo balls with more than enough flavour.

Happy noshing. If you enjoy this, you might like my recipe for chocolate matzo torte with marmalade.

Ingredients:

1 cup matzo meal (I am partial to Manischewitz, but Rakusen’s is fine too. I buy matzo meal from Ocado, Tesco, or Amazon.)

2 tsp salt

1/2 tsp black pepper

4 eggs, lightly beaten

4 Tbsp vegetable oil

4 Tbsp sparkling water

2 litres of chicken/vegetable stock

Method:

Combine the matzo meal and seasonings in a medium sized bowl.

In another bowl, use a fork to lightly beat 4 eggs. Then add the vegetable oil and sparkling water to it.

Pour the wet ingredients in to the dry. Stir them together until everything is combined. Cover the bowl with plastic wrap and place it in the refrigerator for at least half an hour. This will give the matzo meal enough time to soak up the egg mixture.

While the matzo ball mixtures chills, slowly bring your stock to the boil.

When you are ready to make matzo balls, remove the mixture from the fridge. Keep a small bowl of water next to you so you can wet your hands between shaping the balls. It helps keep things from getting too sticky. This recipe yields 10-12 balls. Shape them carefully. Don’t pack the matzo meal tightly. You want them to be light.

After you shape a matzo ball, drop it in the stock. Once you’ve got them all in the pot, turn down the heat so they simmer with a lid on top. Let them simmer for about 15 minutes before turning off the heat completely, but keep the lid on tight and do not lift it. The steam is what will gently cook the matzo balls.

Be sure not to boil your matzo balls. This will make them dense.

After an extra 20 minutes of steaming with the heat off, your matzo ball soup should be ready to eat.

I like to serve mine with parsley and dill but not everyone enjoys it this way. Have it however suits.

Mrs Jaffe’s Chocolate Matzo and Marmalade (Re)Torte to Anti-Semitism

Hanukkah, the Jewish festival of light, begins at sundown today and were it not for the fact that I’m feeling poorly, I would be making this cake. Mercifully, Hanukkah lasts for eight nights and days so there is plenty of time to heal and get baking. This recipe is my take on one of Europe’s most famous cakes, the sachertorte, which I consider the tuxedo of tortes. The end result on the palate and the plate is elegant yet simple and I love the way it’s served–just a tidy dark slice next to a mountain of whipped cream. The first time I tasted it was in Vienna with my husband who has family there. 

What’s different is that my torte is made with marmalade instead of the usual apricot jam. If you know me you know that marmalade holds a special place in my heart. I learned to make it whilst studying for my Life in the U.K. test and waiting for my citizenship to be granted. I learned about sticky wickets, Sevilles, the Divine Right of Kings and how to cut shred all at the same time. For this reason, marmalade and Britishness are inextricably linked for me. 

My recipe uses matzo meal in lieu of flour which is a nod to those early covid days when flour was scarce so I baked with matzo meal instead. It’s also a nod to Franz Sacher, the young Jewish baker, who created this cake for Metternich in 1832. It’s also a nod to my own part-Jewish family. 

I mentioned in the first paragraph that my husband has family in Vienna. He does and they are Roman Catholic. They are his mother’s family, but his father’s family was Jewish. They were Russian Polish Jews who escaped the pogroms and came to Britain in the 1890s. 

My husband’s Levy family in East London circa 1910.
Dorothy Jeffreys nee Levy, my husband’s paternal grandmother.

At the end of October, I posted the following on Instagram. . . 

“I don’t share my husband’s surname; but if I did, it should be Jaffe, not Jeffreys. Jeffreys was a name they chose in the 1920s so the children would have an easier time at boarding school. So they could join the country club and assimilate and just be British without being Jewish first. This chimes with what my 87 year old nana from Brooklyn has said about moving to Cincinnati in the 1960s. As a Lemkin née Bernstein, she wasn’t allowed at the country clubs there either. Lately, friends of mine in Los Angeles have reported all kinds of hateful mishegoss. Vile anti-Semitic fliers have been delivered to their doorsteps in plastic bags containing rocks so those evil words don’t fly away. This has happened on multiple occasions. At the weekend, a banner reading “Kanye is right about the Jews” was hung across the 405 by the Goyim Defense League who gave nazi salutes and encouraged drivers to honk in support. Anti-Semitism cannot be tolerated. I support my Jewish friends and family. #callmemrsjaffe

Someone I don’t know replied to my post with abusive anti-Semitic comments and despite the many friends and family who reported the hate to Instagram, it took ages for the comments to be removed. The account that originally posted them has multiple hate accounts that still exist. My point in sharing this is that anti-Semitism is alive and well. I never thought I’d have friends who were scared to display their Jewishness, especially in Los Angeles, but here we are.

An exchange with a friend of mine in California.

On a menorah there is a helper candle called a shamash. It is the candle used to light the others. Coincidentally, Shamash is also the name of my husband’s oncologist who helped heal him years ago, but as usual, I digress. On this night, the first night of Hanukkah, I want to thank the helper candles in my life, the ones who go out out of their way to make sure we all burn brighter. I hope I illuminate your life too. A bit of light dispels a lot of darkness. Sometimes so can a quality chocolate cake.

Chag sameach! Happy Hanukkah!

A photo taken by Rosi Posner from her home in Kiel in 1931.

Ingredients

For the cake:

140g dark chocolate with a minimum of 55% cocoa content (I use 63% for this recipe)

150g unsalted butter, room temperature

210g caster sugar, divided into 110 g and 100 g

1tsp vanilla bean paste

A pinch of salt flakes

6 medium eggs at room temperature

50g ground almonds

100g matzo meal

For filling and glazing the cake:

340g jar of fine shred marmalade

For the glaze:

125ml black tea (Breakfast, Earl Grey or Darjeeling)

150g caster sugar

150g dark chocolate, once again with a minimum of 55% cocoa content

For piping:

30g milk chocolate

NB: Make sure your eggs and butter really are at room temperature because if they’re not, your batter could curdle. If your eggs are cold, place them in a bowl of warm water for ten minutes. If your butter is cold, cut it into cubes. You can even microwave it for a few seconds to soften but do not let it melt. 

Method

Preheat the oven to 180°C/160°C fan/Gas 4.

Prepare a 23cm cake tin by lightly greasing it and lining it with baking paper.

Melt 140g of dark chocolate in a bowl over boiling water. Allow it to cool slightly so it’s still warm and runny, but not hot. 

Next, separate your eggs. Put the whites in a large bowl and the yolks in a smaller one.

In another large bowl, cream the 150g of unsalted butter, 110g of caster sugar, teaspoon of vanilla bean paste, and pinch of salt until pale and fluffy. I use a handmixer at medium speed. Cream them until the consistency is satiny, but not whipped. This will take longer than you think. I note it’s approximately 8 to 10 minutes.

Whisk the yolks into the butter mixture one at a time. Make sure each yolk is fully incorporated before adding the next. Lest your emulsion become unstable and splits. 

Slowly whisk in the melted chocolate.   

Then use a blender, food processor, or pestle and mortar to grind your almonds and matzo meal or flour as finely as possible. Sieve these flours into the chocolate butter mixture. 

Now whip the egg whites. I do this in a standing mixer but a hand mixer is fine too. Gradually add the remaining 100g of caster sugar, a tablespoonful at a time. Beat the whites until soft peaks form, but do not take them past this point. If you beat them until stiff peaks appear, the egg whites won’t develop fully in the oven which is where you want them to expand so your cake will rise. 

When the egg whites are sufficiently voluminous, use a large metal spoon and fold ⅓ of them into the batter. Add another third and fold it until it’s incorporated. Then repeat one last time. Get as much air folded into your batter as possible as aeration yields a lighter fluffier result. 

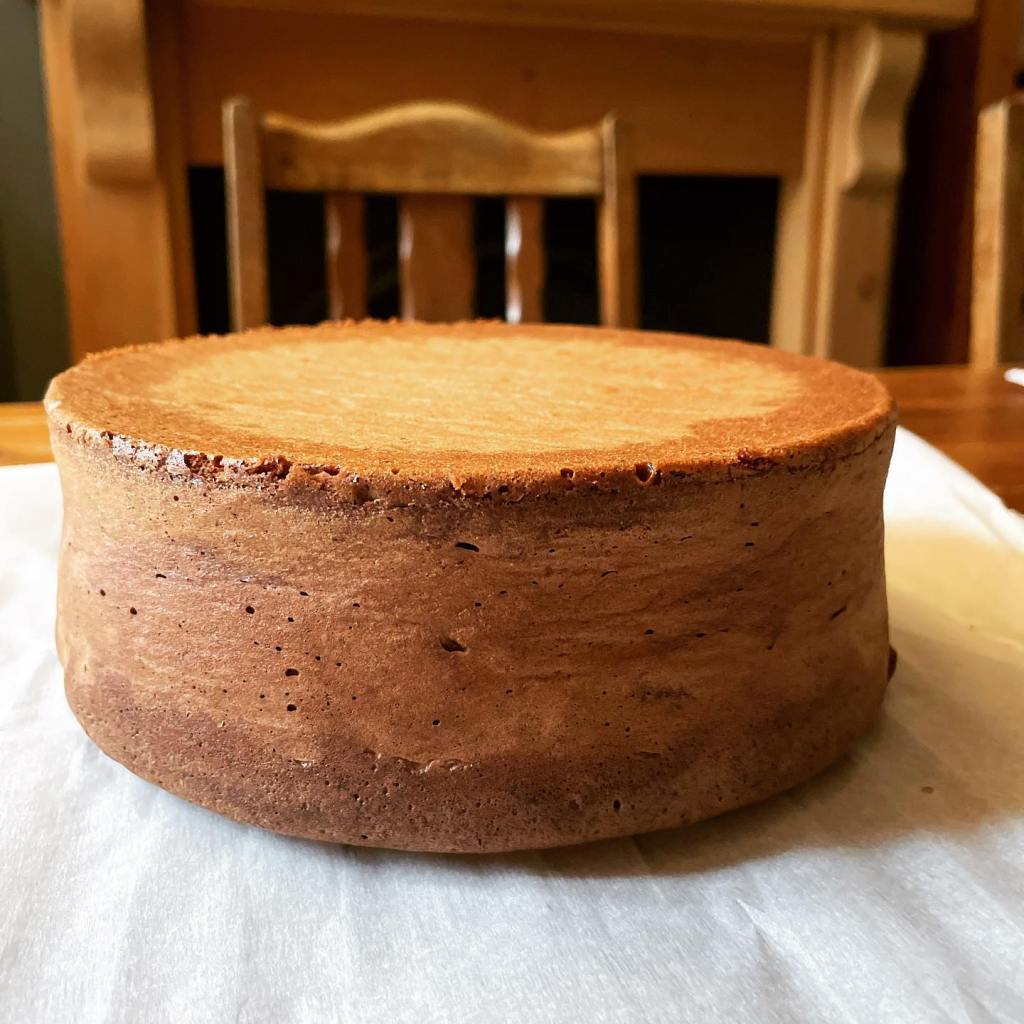
Pour the batter into the prepared cake tin. Place it in the oven and bake for approximately 45 minutes or until the top springs back when gently pushed with a finger. Or test it as I do by sticking an uncooked piece of spaghetti into the centre then pulling it out to check if it’s clean. 

Once the cake is ready, remove it from the oven and let it cool in its tin for ten minutes. After this time, transfer it to a cooling rack and remove any baking paper that remains. 

As the cake cools, sieve your marmalade over a bowl. If it is too thick to sieve, heat it slightly in a saucepan but do not let it go all liquidy. There must be enough viscosity so it can fill the cake rather than saturate it. Keep the shred that collects in the sieve. Should the shred be particularly long, cut it shorter with a knife. Set the shred and the sieved marmalade aside.

When your cake is cool to the touch, carefully cut it in half on the horizontal. Place the rounds next to each other with the cut side up. Use ⅓ of the sieved marmalade to brush across both layers. Then spoon enough shred on to the bottom layer so it is completely covered. Do not omit the shred. If you do, your cake will not have that burst of citrus sunshine that it should. 

Put the layers back together and now using only the sieved marmalade, paint it over the rest of the cake. Use only the sieved marmalade for this or your chocolate glaze will not be smooth. Brush ⅓ on the top and ⅓ on the sides. Place the cake in the freezer for approximately 20 minutes or until the jam is set–not frozen, but set.

In the meantime, make the chocolate glaze. Start by brewing a strong cup of tea. This will not make the glaze taste of tea, but the tannins in it will subtly enhance the dark chocolate flavour. Mix 125ml of tea with 150g of caster sugar in a saucepan over low heat. Once the sugar has dissolved, bring this to a boil then simmer until it thickens and becomes syrupy, approximately 4 minutes. Then take it off the heat and leave it to cool slightly. Add 150g of dark chocolate to the syrup and stir it until it has melted and the mixture is smooth and shiny. You’ll know the glaze is the right consistency if it can coat a spoon. 

To glaze the cake, put it on a rack then pour the lukewarm chocolate all at once over the cake’s centre. Use a palette knife or spatula to make sure the sides are covered and the top is smooth. Leave the glaze to set.  

Melt 30g of milk chocolate in a bowl over hot water then spoon it into a plastic piping bag. If you don’t have one, you can fashion one out of a small sandwich bag. Snip the corner and write whatever you like on the top as steadily as you can. I always practice my piping on a bit of baking paper before attempting the real thing. If piping makes you nervous, take a deep breath and have courage.   

This torte says ER as I made it in celebration of the late Queen’s Platinum Jubilee.

Your cake will be ready to eat once the chocolate has set and while it’s perfect from day one, it only improves with age.

Cut the cake and serve it with copious amounts of unsweetened whipped cream. 

Lady Masala

Hello. It’s been a while. Past year has been a bit shit, hasn’t it?  

I’ve never been good at segues. Ask anyone I’ve ever broken up with. “Where do you want to go for dinner?” “I think we should see other people.” 

When I was at Sarah Lawrence, my professor, Dr. Lee Edwards proposed a field trip that was shot down by the administration. They said it was too expensive. “But you cannot study Impressionism without seeing La Bohème,” she argued. They begged to differ. She put her money where her mouth is and paid out of her own pocket to take a class full of art history students to the New York Metropolitan Opera. At intermission, she escorted us to a table laden with profiteroles, fruit, and cheese very near one of the Chagall murals. There she took out her pointer and gave a short lecture on Chagall. Eavesdropping strangers moved closer to hear better. 

     I will always remember Lee. Not just because she was sparklier than the chandeliers in the Met’s lobby, though she was. Or because of her legendary field trips, which they were. But because she talked me out of going to Glasgow age 19. I had been accepted to a combined writing and photography program with the Glasgow School of Art and was contemplating whether or not to go for my junior year abroad. We spent one of our conference meetings discussing it. “My concern for you is that you get depressed in New York in February. Winter in Glasgow will make you feel absolutely suicidal. Also, I don’t know why anyone who wants to write would leave Sarah Lawrence to do so.” 

     The first time I visited Glasgow I was 29. My husband and I went for a long weekend a few months before our first child was born. We spent the better part of a dreich Saturday in a pub called Stravaigin where the chicken curry was so delicious I ordered it twice during our 6 hour stay. This makes me smile because chicken curry is my panacea of choice when the weather is wet and cold and the sky is a soul destroying shade of slate grey. My favourite is tikka masala and though it’s probably apocryphal, some say it has its origins in Glasgow. Legend has it that a Bangladeshi chef created the dish in the 1970s in an effort to please the Scottish palate.

     A good tikka masala should never be so spicy that it burns, nor should it be bland. Instead, the garlic and ginger should spark a gentle flame that gives heat to the spices and makes them smoulder. Nothing smells quite so delicious as warm spices beginning to bloom. When their fragrance fills the house, it also fills my soul and I can’t be that sad anymore. Sort of like listening to The Beatles. This week I made chicken tikka masala and naan. Right as I called my family to dinner, Lady Madonna was playing. The Beatles recorded it right before their famous journey to Rishikesh to study with guru, Maharishi Mahesh Yogi. 

     Paul McCartney has saidThe original concept was the Virgin Mary but it quickly became symbolic of every woman; the Madonna image but as applied to ordinary working class women. It’s really a tribute to the mother figure, it’s a tribute to women. . . I think women are very strong, they put up with a lot of shit, they put up with the pain of having a child, of raising it, cooking for it, they are basically skivvies a lot of their lives, so I always want to pay a tribute to them.” Ten months into Coronavirus and having given birth to a baby in the middle of it whilst still having an older child to care for and educate, I’ve definitely been feeling this even with the help of my husband. Many of us have. Men and women. All I can say is find joy and comfort where you can. Mine is in the glow of my family. And this curry.

INGREDIENTS: 

1 kg of chicken breasts, halved lengthwise

7 garlic cloves, finely grated

2 Tbsp finely grated ginger

3 tsp garam masala

4 rounded tsp turmeric powder

3 tsp ground coriander

3 tsp ground cumin

500 ml natural full-fat yoghurt

1 Tbsp sea salt flakes

2 Tbsp rapeseed or vegetable oil or ghee if you prefer

1 thinly sliced yellow onion

1/3 c tomato paste

12 cardamom pods, pounded to a powder

a pinch of chilli flakes

2 x 400 g tins of crushed tomatoes

1/3 -1/2 cup double cream

1 small bunch of coriander, chopped

METHOD:

In a medium sized bowl, combine the garlic, ginger, garam masala, turmeric, coriander, and cumin.

In a large bowl, whisk together the yoghurt, salt, and half of the spice mixture. Cover the remaining spice mixture and set it aside in the fridge. Add the chicken to the yoghurt mixture. Make sure to coat every piece well. Cover it and refrigerate for about 6 hours.

Heat your oil/ghee in a large saucepan over medium heat. Add the sliced onion, tomato paste, cardamom, and chilli flakes. Cook until the onions are soft and the tomato paste is dark. Then add the remaining spice mixture. Cook until the bottom of your saucepan starts to brown and you can smell the spices bloom.

At this point, stir in the tinned tomatoes. Bring to a boil then turn down to simmer. Stir often, making sure to scrape the bottom of your pot. Reduce and thicken.

Add the cream and half of the coriander. Continue simmering.

While the curry gently bubbles away, grill or griddle your chicken until it blackens in spots but is not cooked all the way through. Then, chop your chicken into large pieces and stir them into the pot. Put a lid on top and continue simmering until the meat is thoroughly cooked, about 20 minutes to a half hour.

Serve with basmati rice and naan. Top with the remaining coriander.


Hot Cross Buns

Until a few years ago, I had never eaten a hot cross bun. They weren’t an Easter tradition where I come from and to be honest, I generally loathe dried fruit in baked goods. If you ask me, sultanas are the ruin of a quality scone. Which is why I was surprised the first time I tried a hot cross bun and immediately wanted another.

The exact history of the hot cross bun is not known. Some people say a monk in the 12th century baked the buns and incised them with a cross in honor of Good Friday. Others say it was a monk in the 14th century in St. Albans. During the the reign of Queen Elizabeth I, a law was passed that restricted the sale of sweet buns to funerals, Christmas, and Good Friday. Thank heavens that isn’t the law now.

For my recipe, I chop the dried fruit before putting it into the dough. I feel that this helps people like me who have a fear of fruited baked goods. I also add a tart apple to balance the sweetness and stem ginger for a bit of warmth.

Per my friend Rachel’s request, here is my recipe. The quantity of dried fruit I’ve given suits my tastes but you should absolutely tailor it to suit yours. I hope you enjoy them like I do. For breakfast, for elevenses, for tea. . .


Ingredients:

For the buns

300 ml + 2 tbsp full fat milk

50 g unsalted butter

1 tsp cinnamon

1/4 tsp allspice

a few dustings of nutmeg

500 g strong white bread flour (plus up to 250 g extra for kneading)

1 tsp salt

75 g caster sugar

7 g fast-action yeast

1 egg, beaten

the zest of 1 orange

25 g mixed peel, chopped

30 g dried cherries, chopped

15 g dried cranberries, chopped

10 g raisins, chopped

1 large piece of stem ginger in syrup, minced

1 small tart apple, peeled, cored, and finely chopped (I use a Cox or a Granny Smith)


For the crosses

80 g plain white flour

95 ml water


For the glaze

1 tbsp apricot jam

1 tsp golden syrup

1/2 tsp water


Method:

Put the milk in a small saucepan and heat it on a low flame until bubbles form. Once this happens, turn off the heat and stir in the butter until it’s melted. Allow the mixture to cool a bit. If you can touch it and it doesn’t feel too hot, that’s perfect. Mix in the cinnamon, allspice, and nutmeg.

In a large bowl, whisk together the flour, sugar, salt, and yeast.

Make a well in  flour mixture. Pour the spiced milk mixture and crack the egg into it. Stir this with a wooden spoon just until the ingredients come together forming a shaggy sticky dough.

Remove the dough from the bowl and knead it on a lightly floured surface. Add extra flour if it’s too sticky to handle, but keep in mind that too much flour will make dense dough. Knead the dough until is smooth. This takes me about 8 minutes. It might take more or less time for you.  Once the dough is properly elastic, put it in a large lightly greased bowl and cover it with cling film. Allow it to rise someplace warm and draught free until it doubles in bulk. This can take 1-2 hours.

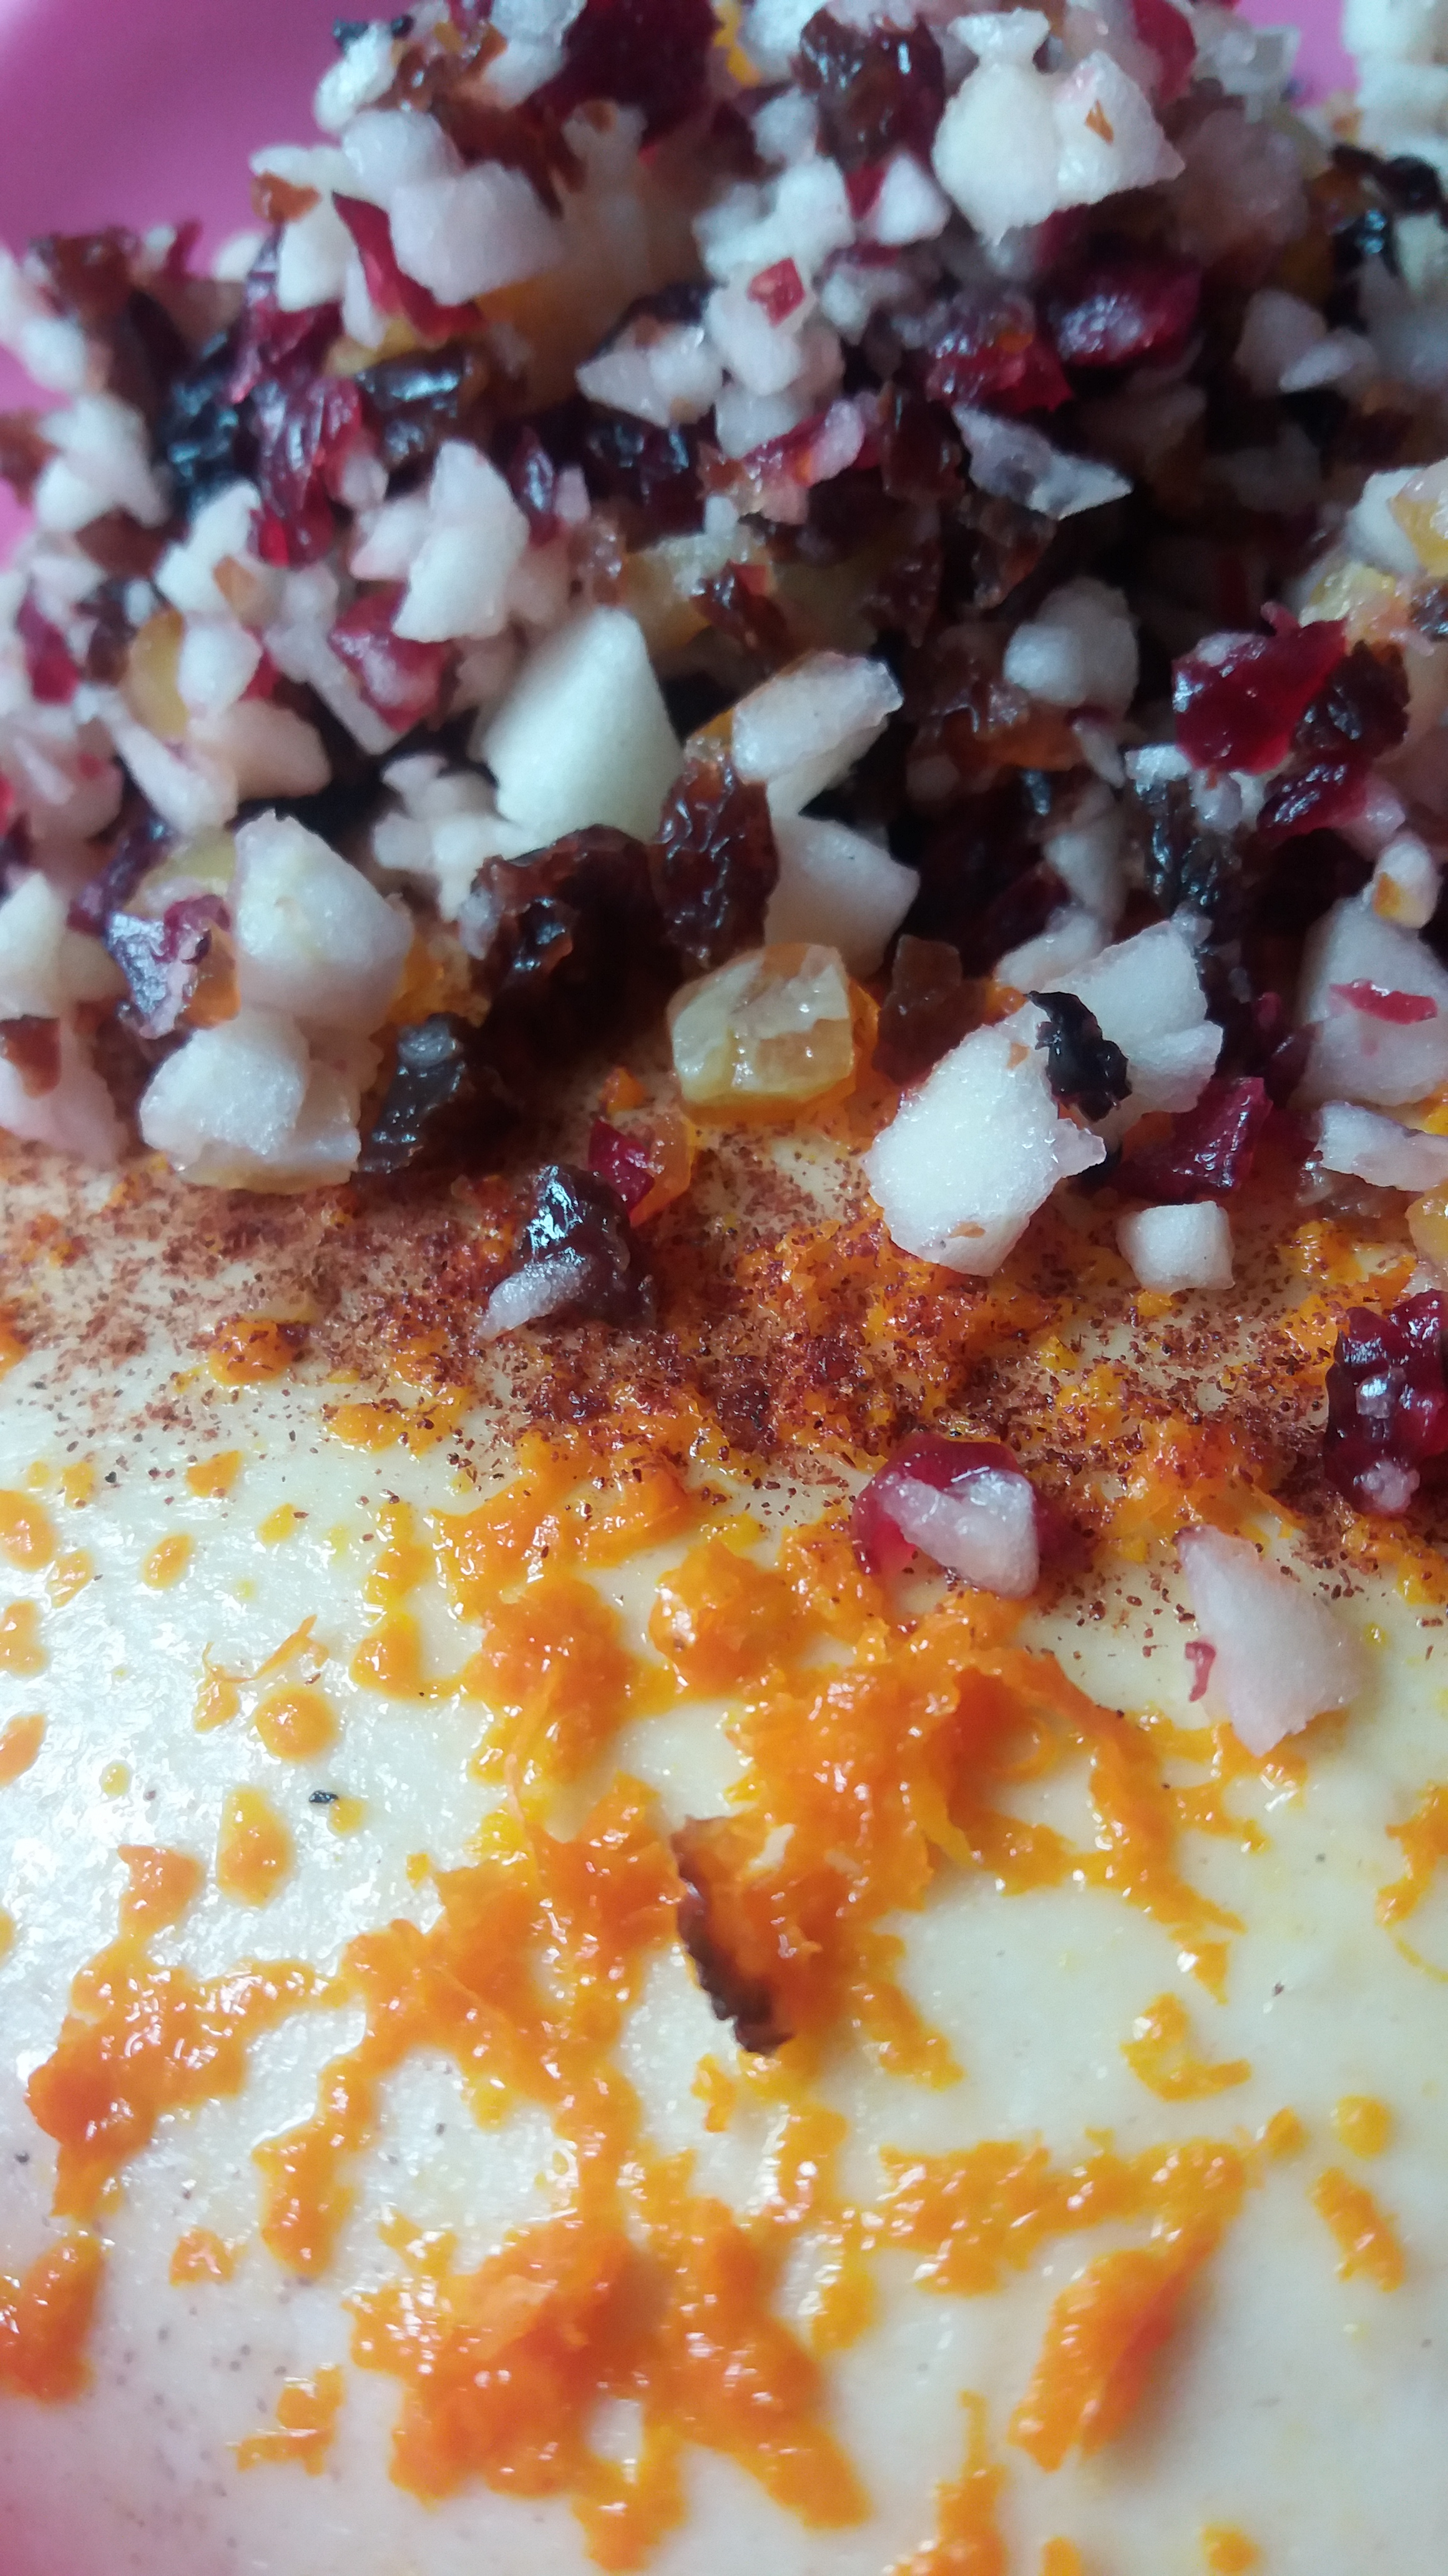
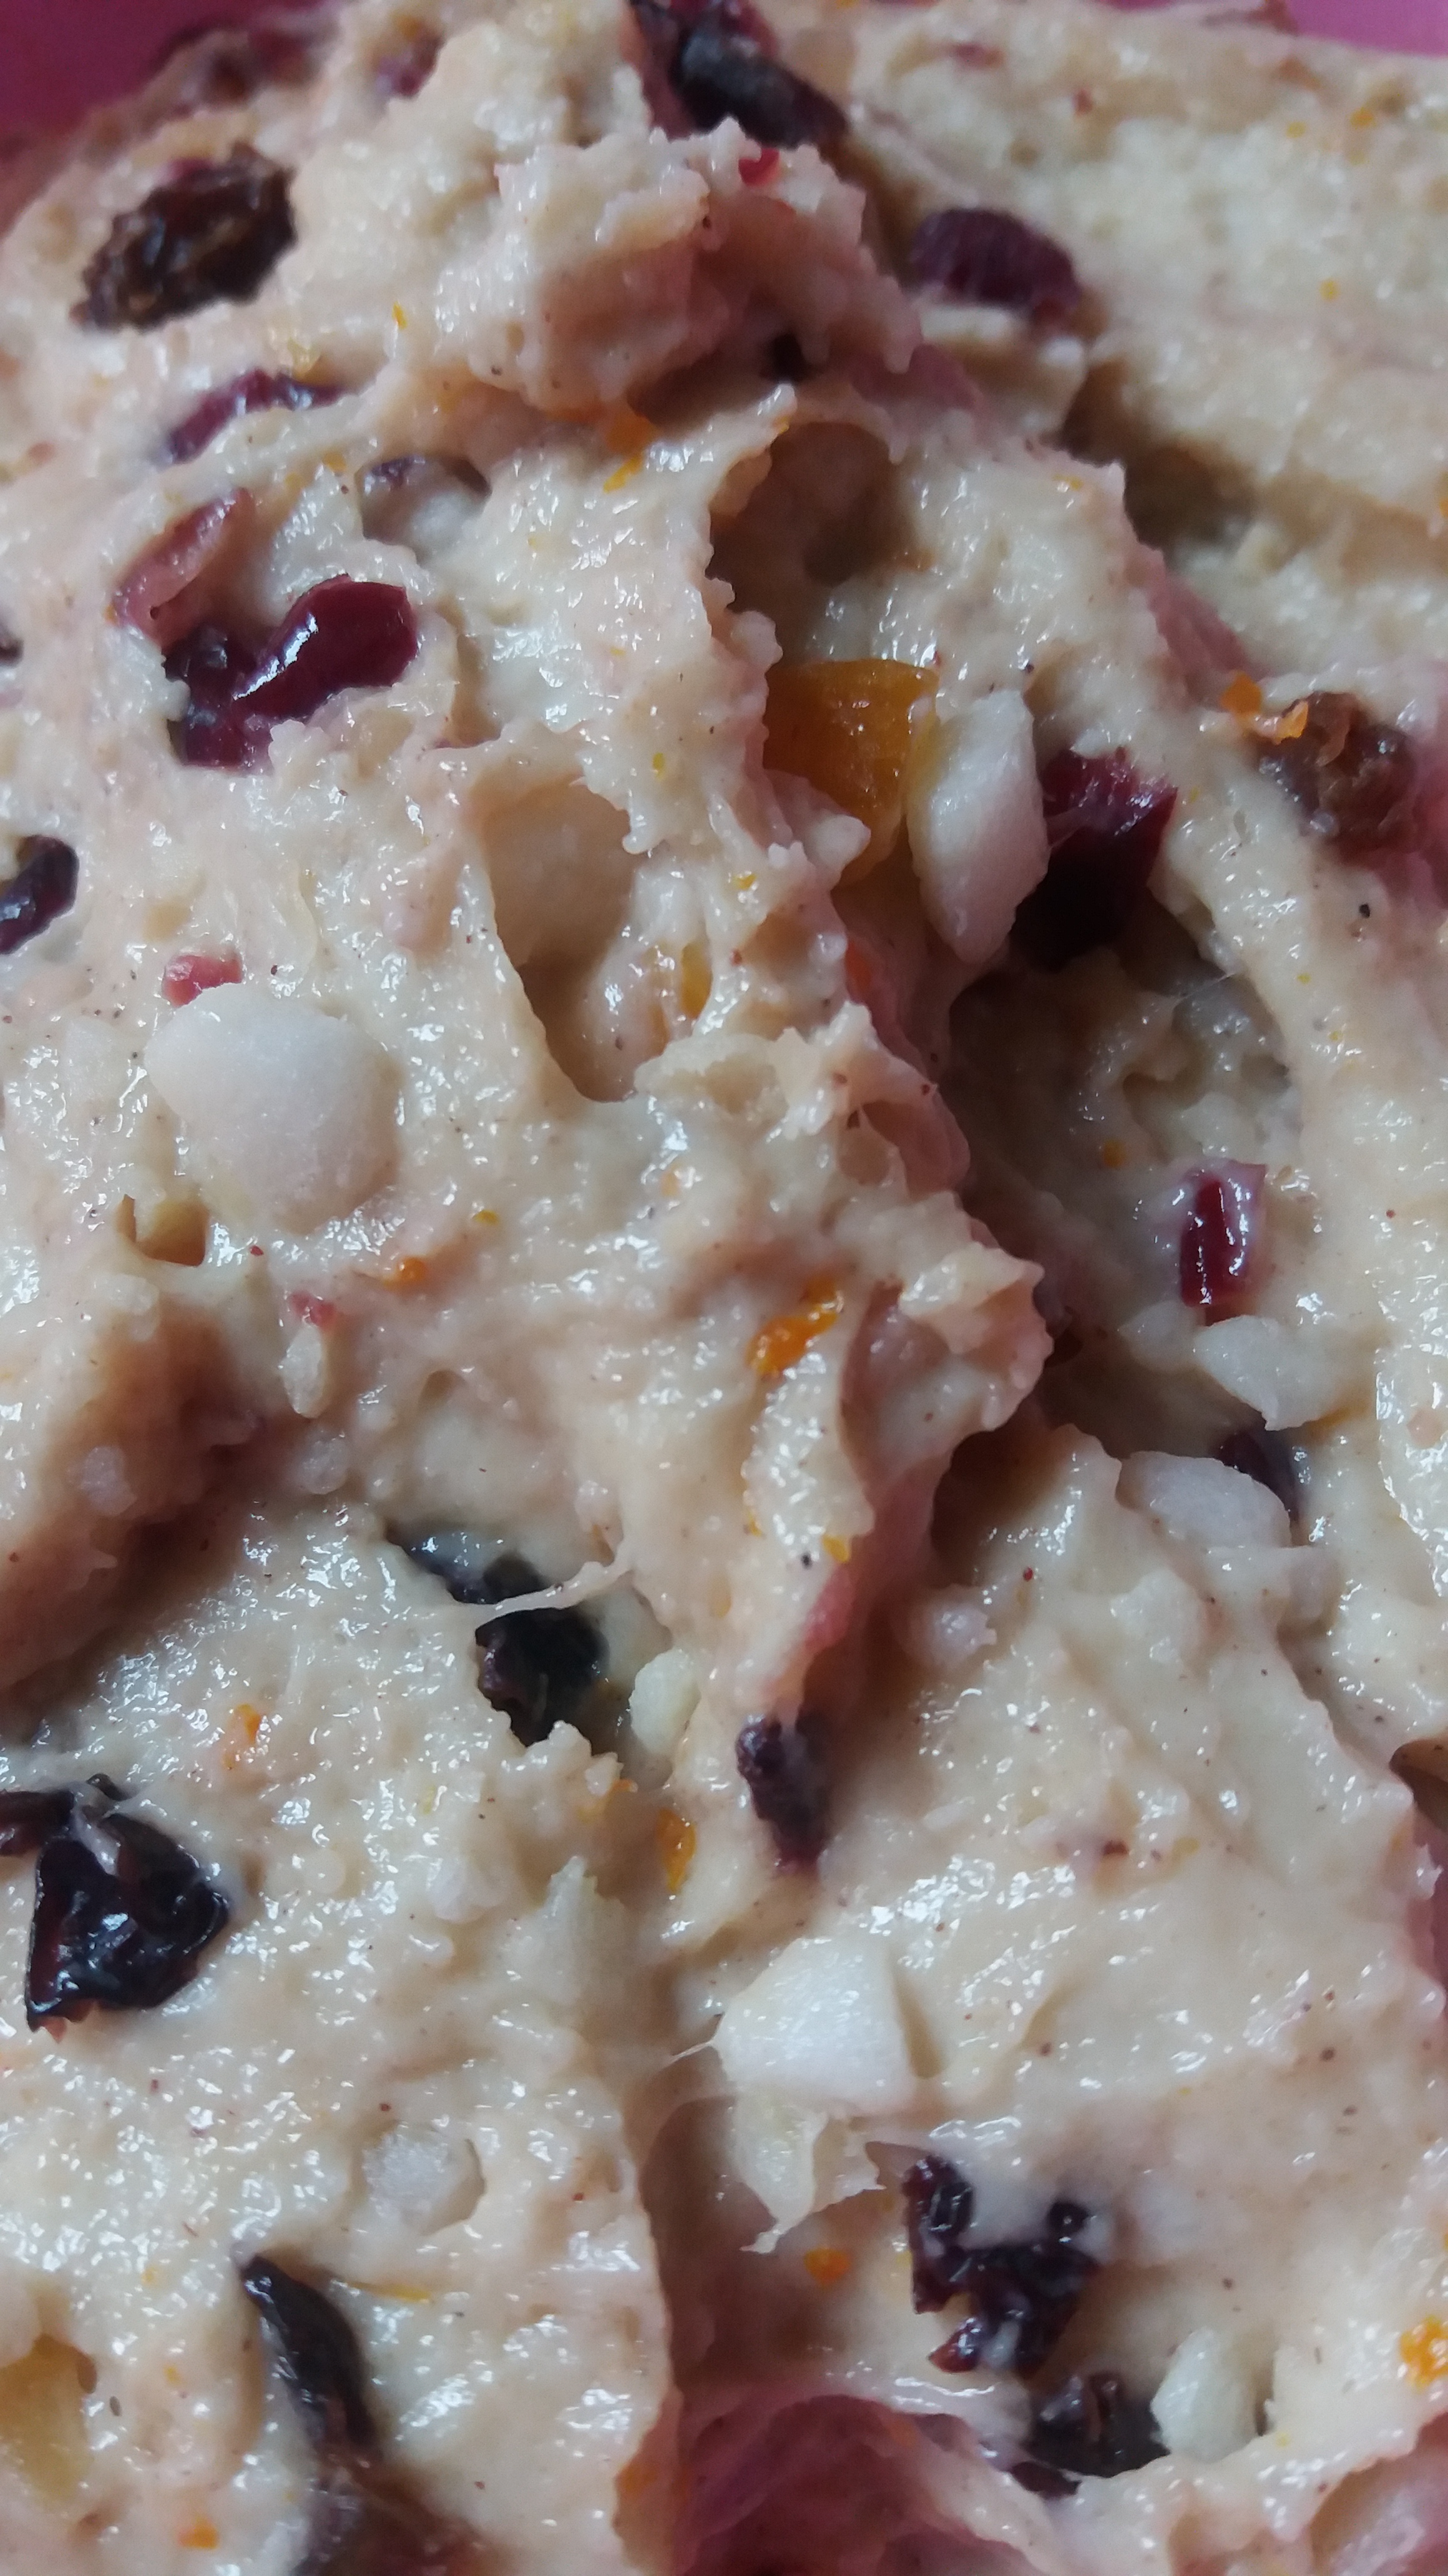
When the dough has doubled, add the zest, peel, cherries, cranberries, raisins, apple, and ginger to the bowl. Knead them into the dough until they are well incorporated. Then once again cover it with cling film and allow the dough to rise a second time. Roughly another hour.

After it has raised a second time, tip the dough out of the bowl and divide it dough into 12 pieces. You can be precise and weigh it all like you’re in the Bake Off or you can eyeball it. I do the latter. Roll the pieces into smooth balls on a lightly floured surface.

Line a rectangular glass or earthenware dish with baking paper. Place the buns in it. They should be touching, but make sure there is also enough room for them to expand. Cover them with plastic wrap and allow them to rise one last time.

Preheat the oven to Gas 7/220°C/425°F.

While the oven heats, mix the flour and water to form a thick paste for the crosses. If it’s too thick, add a teaspoon of water. If it’s too runny, add a teaspoon of flour. Once the desired consistency has been achieved, spoon the mixture into a piping bag. Be careful that the paste doesn’t run everywhere. Gently pipe a straight line across a row of buns. I like to start going from left to right. Then do the next row and so on. To finish the crosses, rotate your dish and pipe lines in the other direction so they are perpendicular.

Bake the buns on the middle shelf of your oven for approximately 20 minutes or until golden brown. While they bake, make the glaze by putting the jam, syrup, and water in a small pot and bringing them to a boil. Allow it to thicken a moment before turning off the heat.

After you have removed the buns from the oven, immediately brush them with the glaze then transfer them to a cooling rack.


The Rising: A Sourdough Recipe

I like laundry. Things spin around; there is a sense of renewal at the end. I feel gratified breathing in the scent of clean clothes and having restored softness in my socks. It’s a simple short term reward.

At the opposite end of the spectrum is making sourdough, a process I never endeavored until late last year. A single loaf can take a day to make, even longer depending on the recipe. The starter alone requires several weeks to become active. It can really test one’s patience, a virtue I do not have in abundance. Still, I became and remain a faithful follower to this lactic acid way of life.

My husband jokes that I pay more attention to my starter than I do to him. Of course that’s not true but I do love how quickly my starter responds to the attention I give it. It’s immediate and reliable. I know that if I feed it with rye flour and fresh water and stir it every morning, it will bubble and grow and be ready to bake by a certain time. Sourdough is a constant in my life that I control. A delicious beautiful constant. I take comfort in the fact that if I tend to it regularly, it will live in perpetuity. I can’t say the same about my body or even my house plants.

There is a poster in The Library of Congress inspired by one of Judy Grahn‘s Common Woman poems. The quote comes from “Vera, From My Childhood” and it reads:

I swear to you

on my common woman’s head

The common woman is as common as the best of bread

and will rise

For years I have been baking. When I was younger, I’d help my grandmother who is American but of Danish and Norwegian heritage. She comes from folks who love a sweet roll. Lots of people who cook, bakers even, are terrified of working with yeast. Not Grandma. She wills it to her command.Though as far as I know, she’s never worked with sourdough. If commercial yeast scares you, then wild yeast is probably the stuff of nightmares. So let me tell you what I’ve learned about sourdough. It is forgiving and surprisingly resilient. Even after a vicious bashing and having the wind knocked out of it, it will still rise.

Across Christmas I forgot my sourdough at home and for a week, it starved. I was convinced I’d never be able to revive my beloved starter I’d affectionately nicknamed The Queen Mother. Lo, after several feedings she lived! I changed her name to Lazarus. Not only did she endure, she thrives just like the common woman in Grahn’s poem. I wonder how many loads of laundry she washed.

Someone recently told me sourdough is a hipster hobby. Perhaps but not for me. Sourdough is life-affirming. Making it fills me with hope. The way it grows and gives and feels between my fingers as I knead and shape it. That wonderfully, warm, bready, slightly sour smell that permeates the flat when I bake it, I love it and am grateful for it as simple and common as it may be.

TO MAKE A SOURDOUGH STARTER:

The first ingredient is patience. Something with which I struggle.

Equal parts organic flour and filtered water. (I use rye flour)

I started by stirring 50 g of each into a smooth paste. Within 24 hours, small bubbles were visible.

FEEDING YOUR STARTER:

On day 2, I disposed half of my mixture before adding 50 g of flour and 50 g of fresh water.

I repeated this step daily. Not until day 9 did I see bubbles all throughout my starter as opposed to just on the top. This is when I knew my starter was close to ready.

TESTING YOUR STARTER: Put a teaspoonful of starter in a cup of water. If it floats, it’s ready. If it sinks, it’s not. Continue feeding it for a few more days then test it again. Once it is ready for use, you can keep it alive with daily feedings. Or if you’re not going to use it that much, place it in the refrigerator and top it up with occasional feedings. This can go on forever. You can read more about this on The Perfect Loaf.


Ingredients for a sourdough sponge:

250 g strong white bread flour

275 g warm water

150 g sourdough starter


Method: Mix all ingredients in a bowl the night before you want to bake. Cover with plastic wrap. In the morning, the mixture should be good and bubbly. You want it to look this frothy.

Ingredients for a Sourdough Boule:

the sponge you just made

280 g strong bread flour (White is easiest and yields lighter loaves but feel free to mix in a bit of whole wheat. Play with the ratios to discover the taste and texture you like best.)

10 g sea salt

olive oil

Method: Combine the sponge, flour, and salt in a large bowl. Use your hands to bring everything together. Knead the dough for at least 10 minutes or until smooth and elastic. Personally, I am fond of The French Method as demonstrated in the video below, but there are lots of ways to knead your dough. Do whatever pleases you.

A good test to tell whether or not you’ve built up the gluten enough with your kneading is the window pane test. Stretch a bit of dough between your fingers. If you can do this and it stretches thin enough that you can see the light through it without tearing, the dough is ready. If not, continue kneading. This isn’t to insinuate the dough won’t rip at all, but if it does, it should do so in small circles as opposed to long tears. If the dough sticks whilst kneading, use a bit of olive oil on your hands and counter top. This will help and won’t make the dough heavier like using flour.

Once it’s ready, place your dough in a large bowl that has been lightly greased with olive oil. Cover it with plastic wrap and set it aside.

When the dough has doubled in bulk, knock it back and shape it into a boule. Below is a very good video from Hobbs House Bakery that gives you several options on how to do this. Use whichever method you like best.

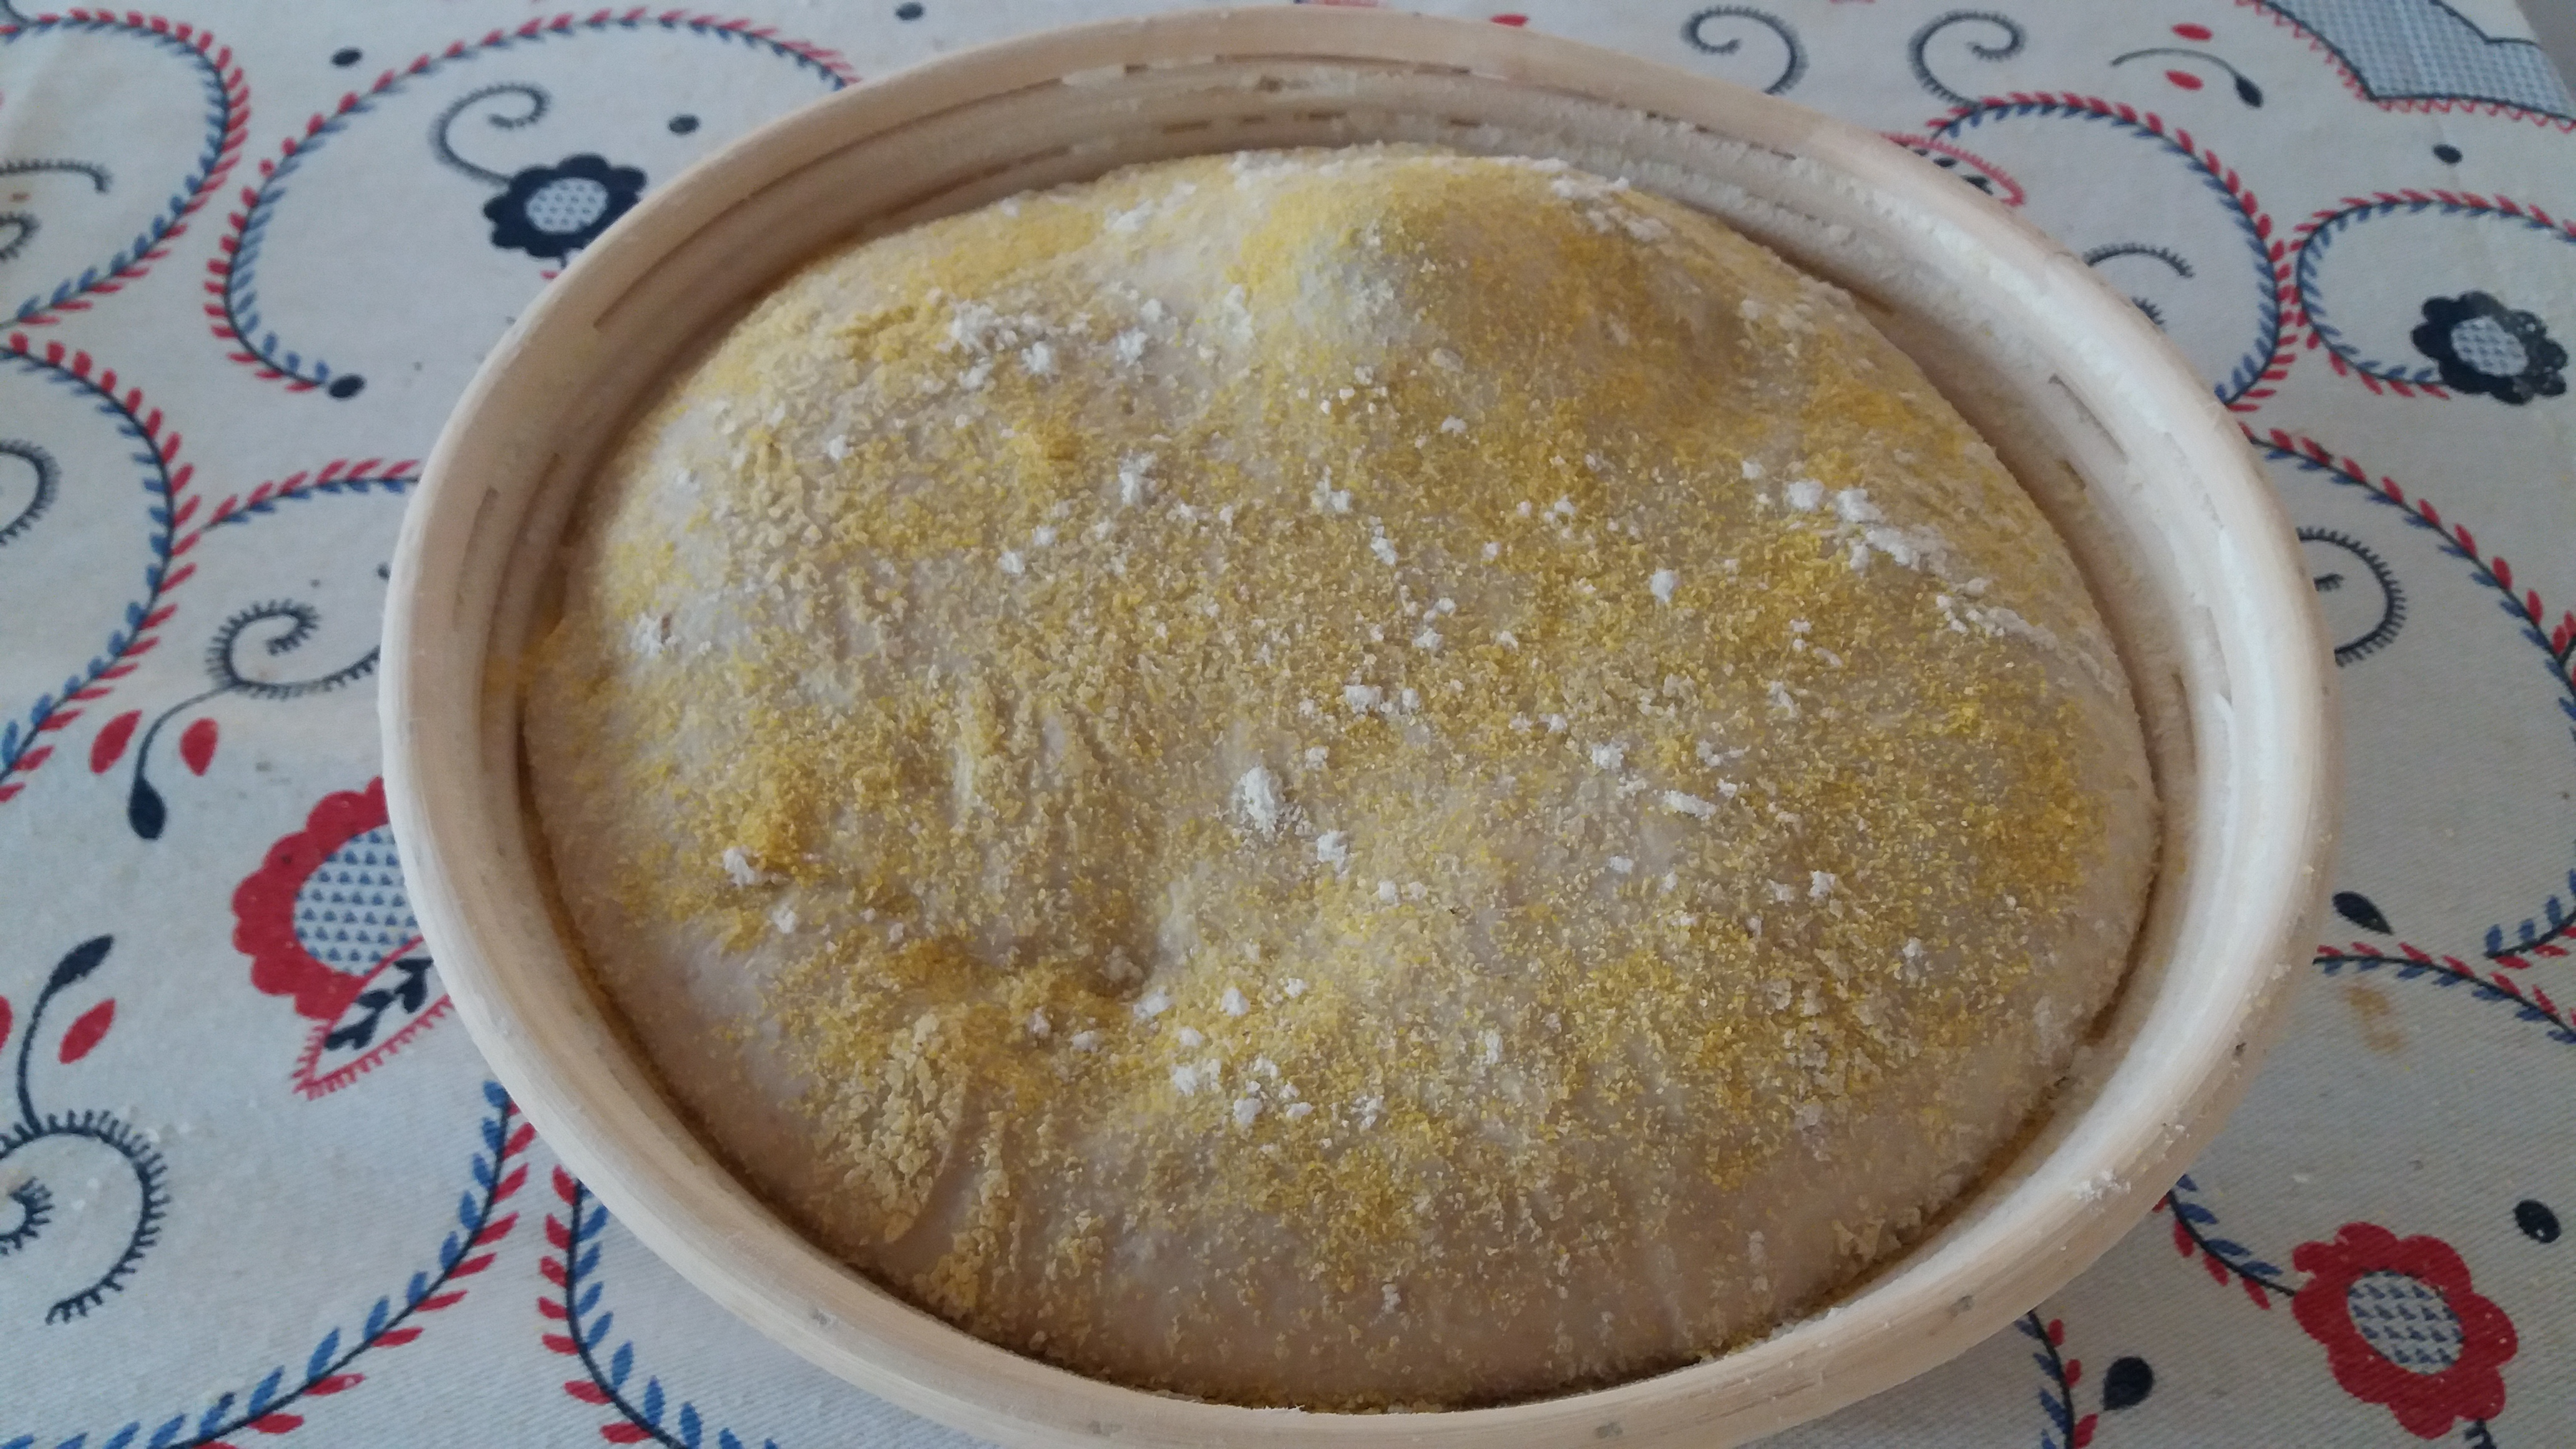
Once you have your dough in the banneton, cover the top and leave it for a second rise. Again, allow it to double in bulk.

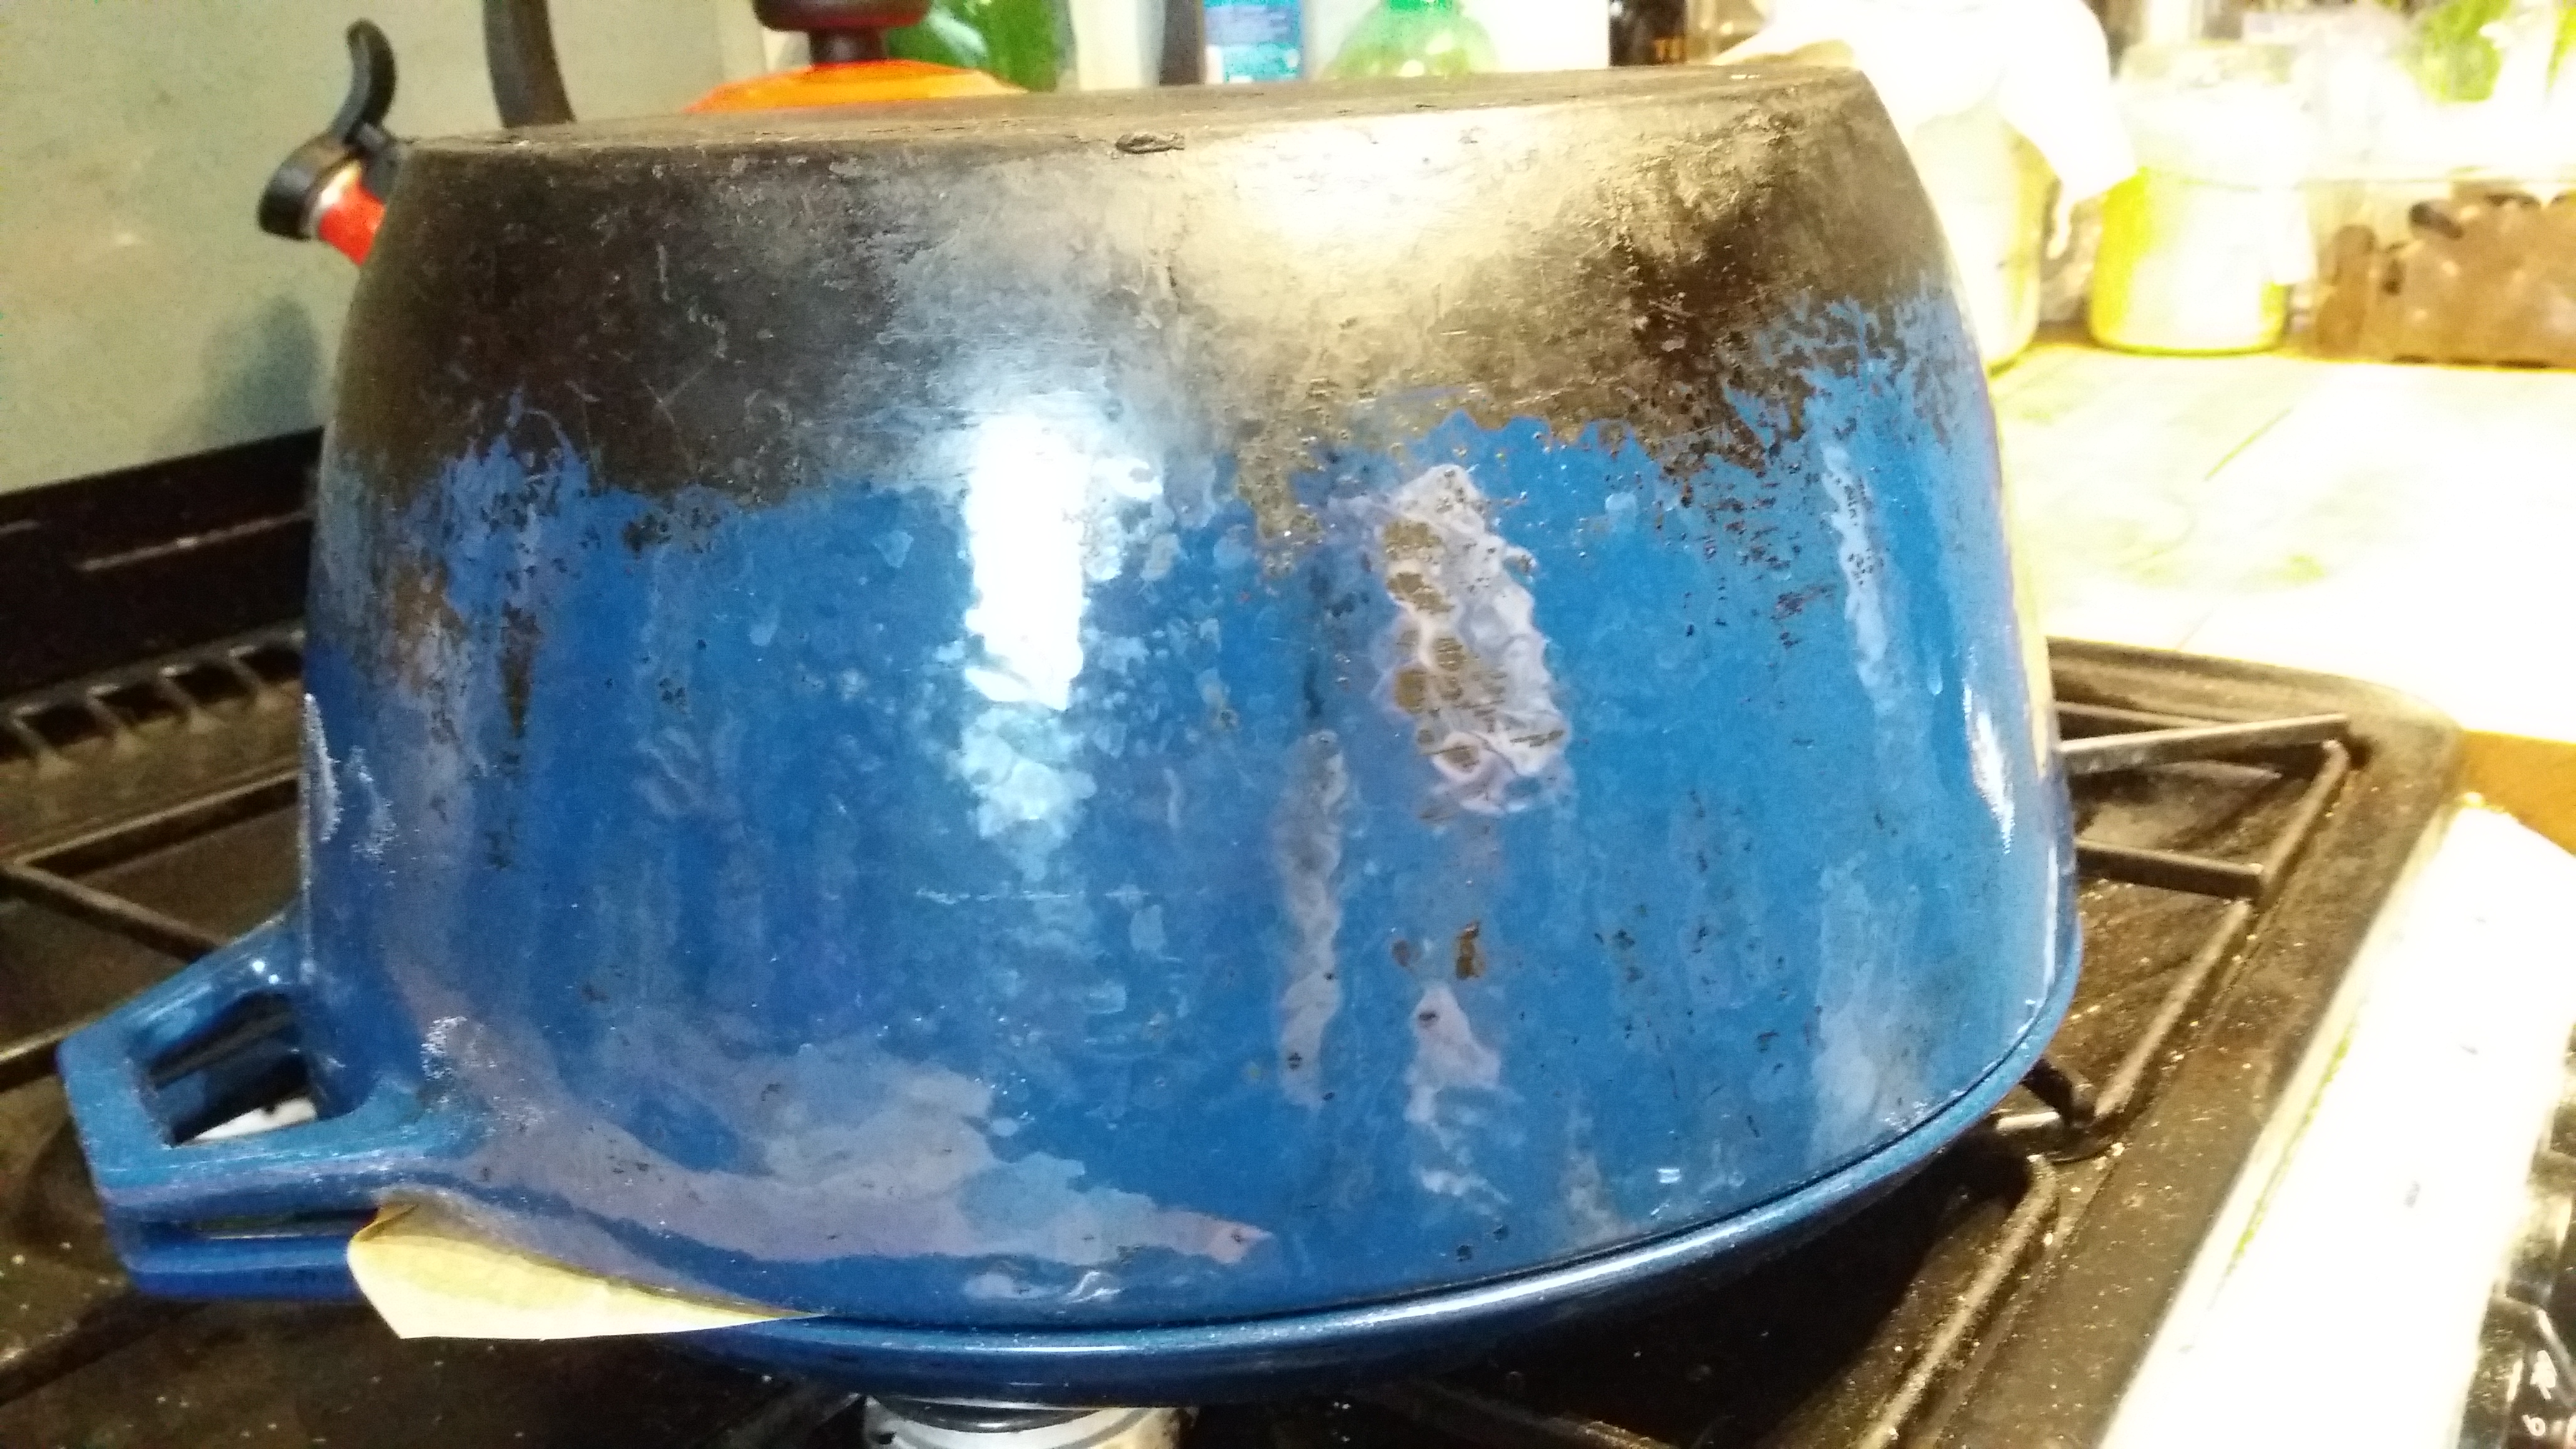
Preheat the oven to Gas 10/500°F/260°CPlace the lid of a Dutch oven in the center rack to heat and a bowl of water on the very bottom rack for added moisture.

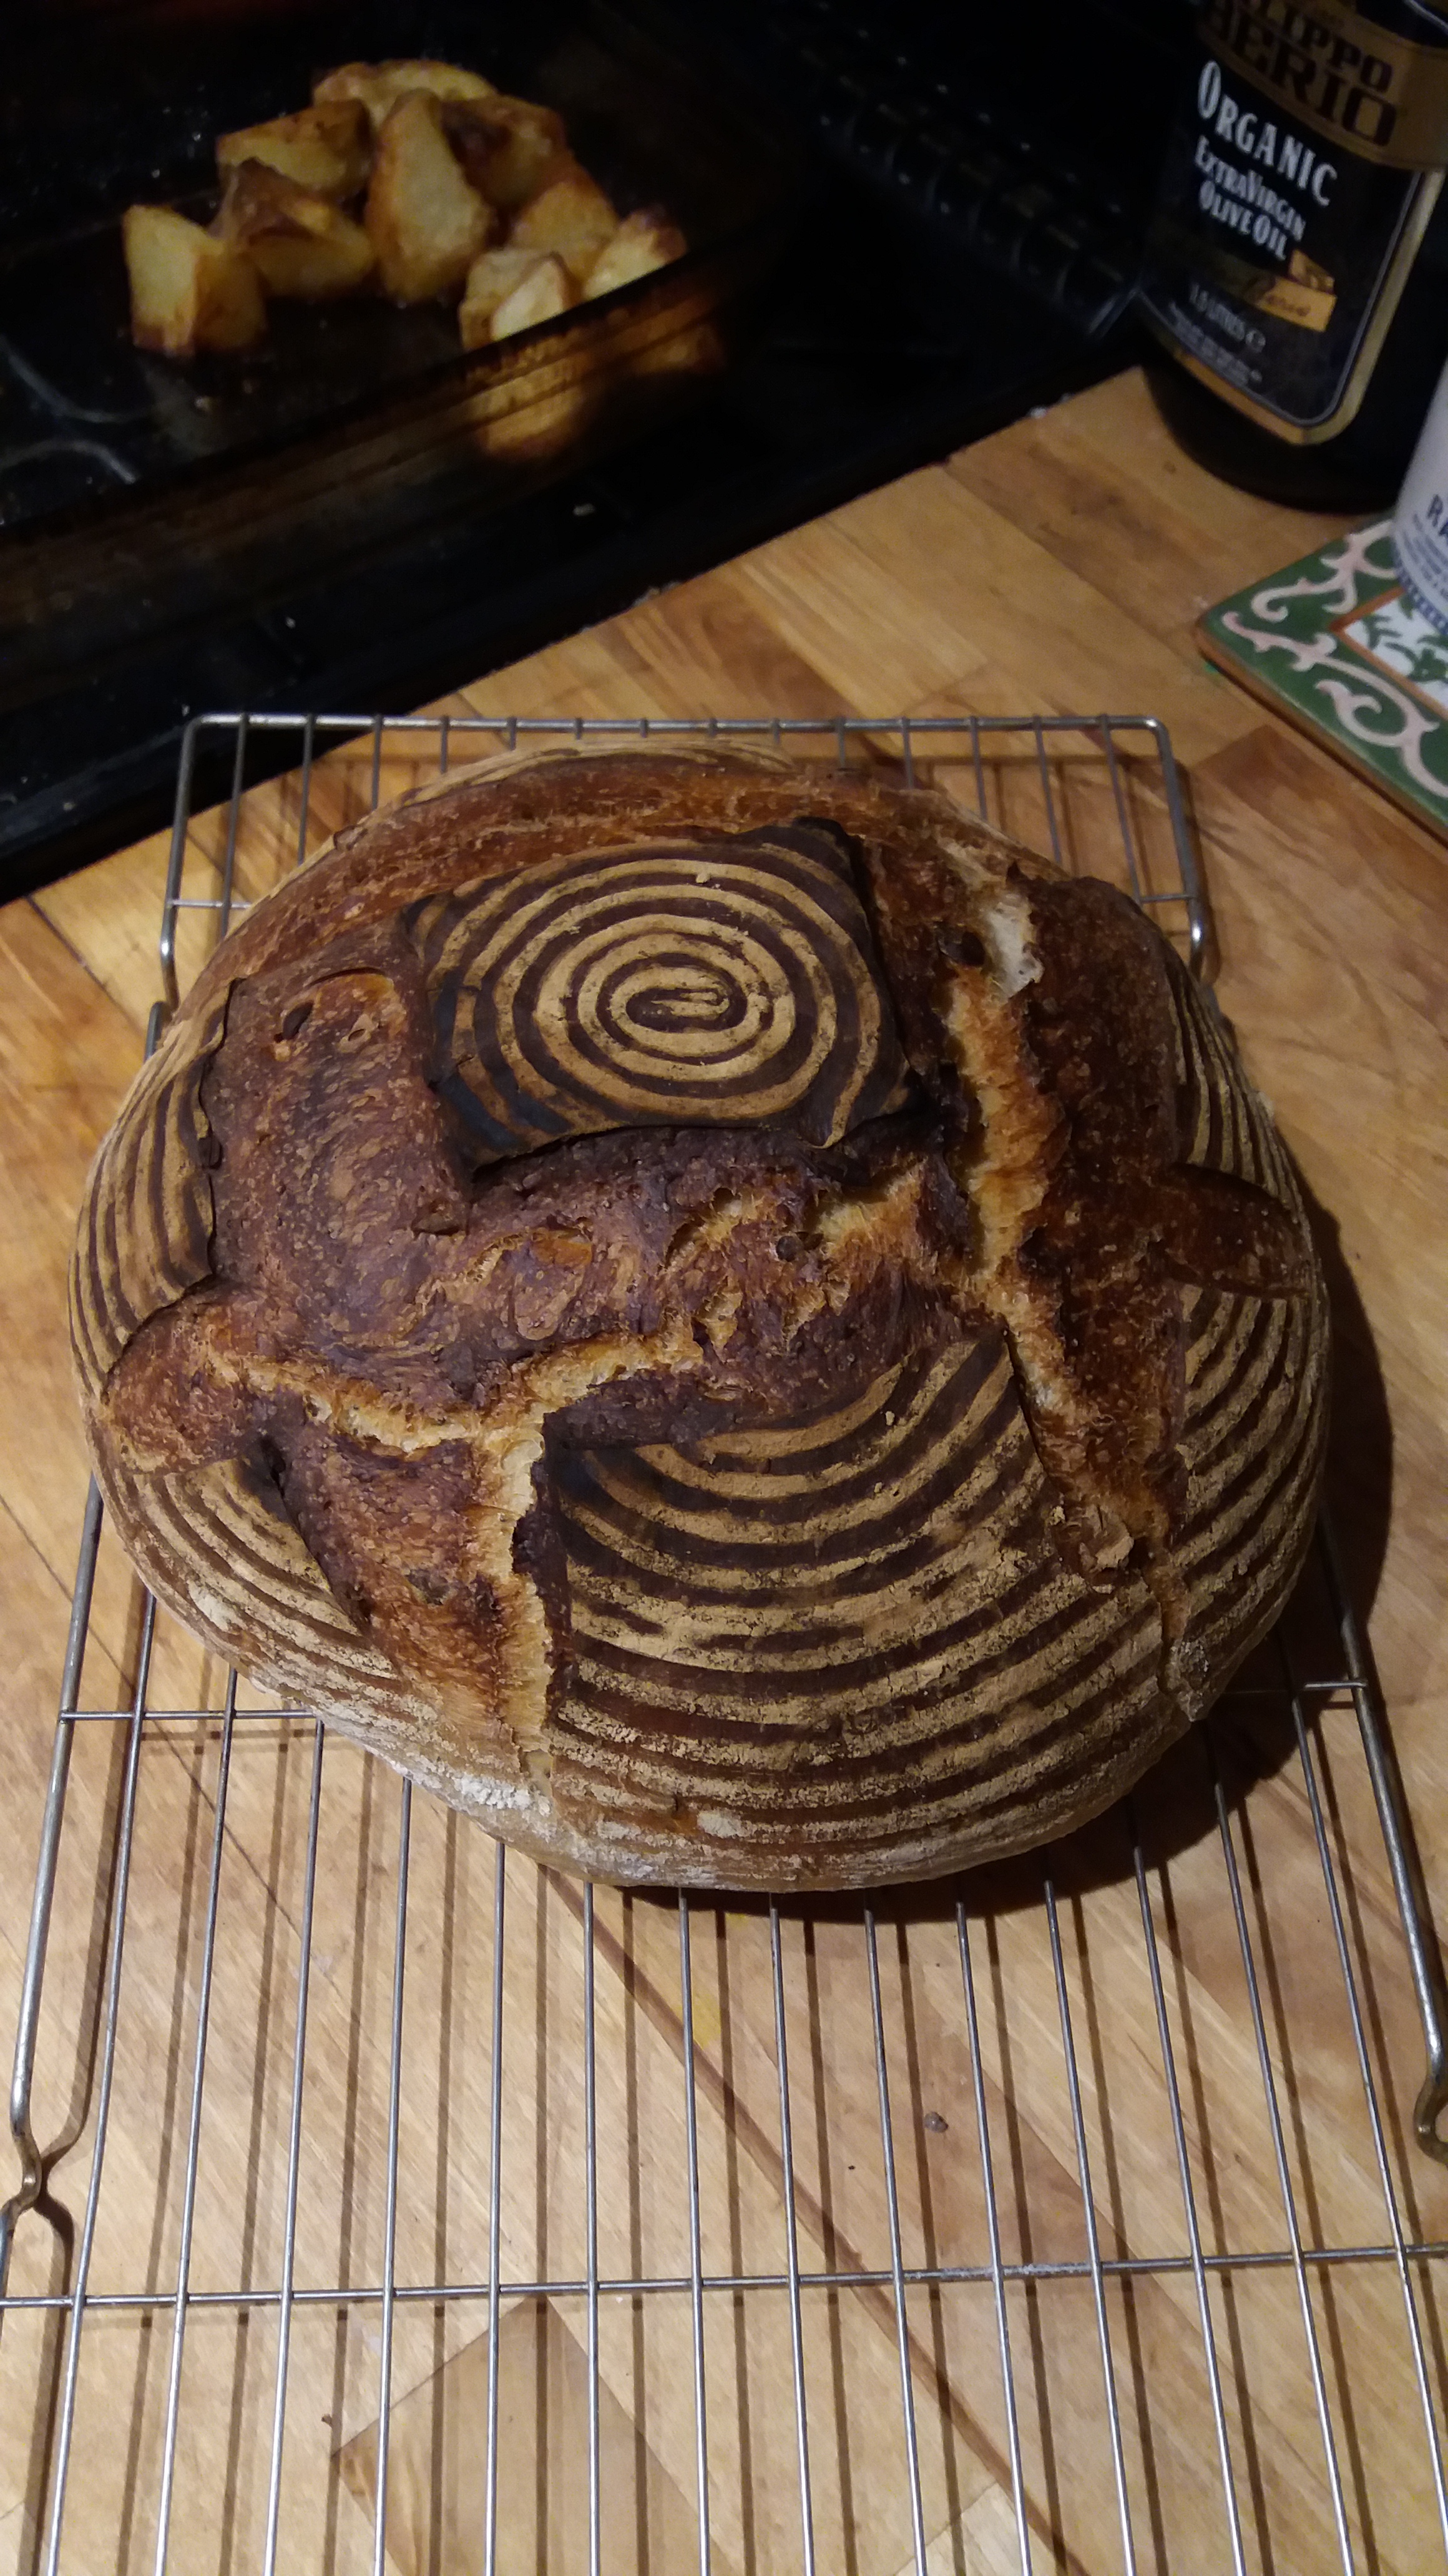
When your oven is hot enough, turn your dough out of the banneton onto a piece of baking paper. Score the bread with a design of your choice.

Remove the Dutch oven lid.

Carefully move the baking paper with the dough on it onto the Dutch oven lid. Sprinkle the boule or spray it with a a bit of water. Put the bottom part of the Dutch oven over the bread. Doing this will trap moisture which will make a good crust.

Place the upside down Dutch oven into the oven and bake for roughly 35 minutes.

After this time, remove the top of Dutch oven and continue baking the loaf for another 10 to 15 minutes depending on how dark you like your crust.

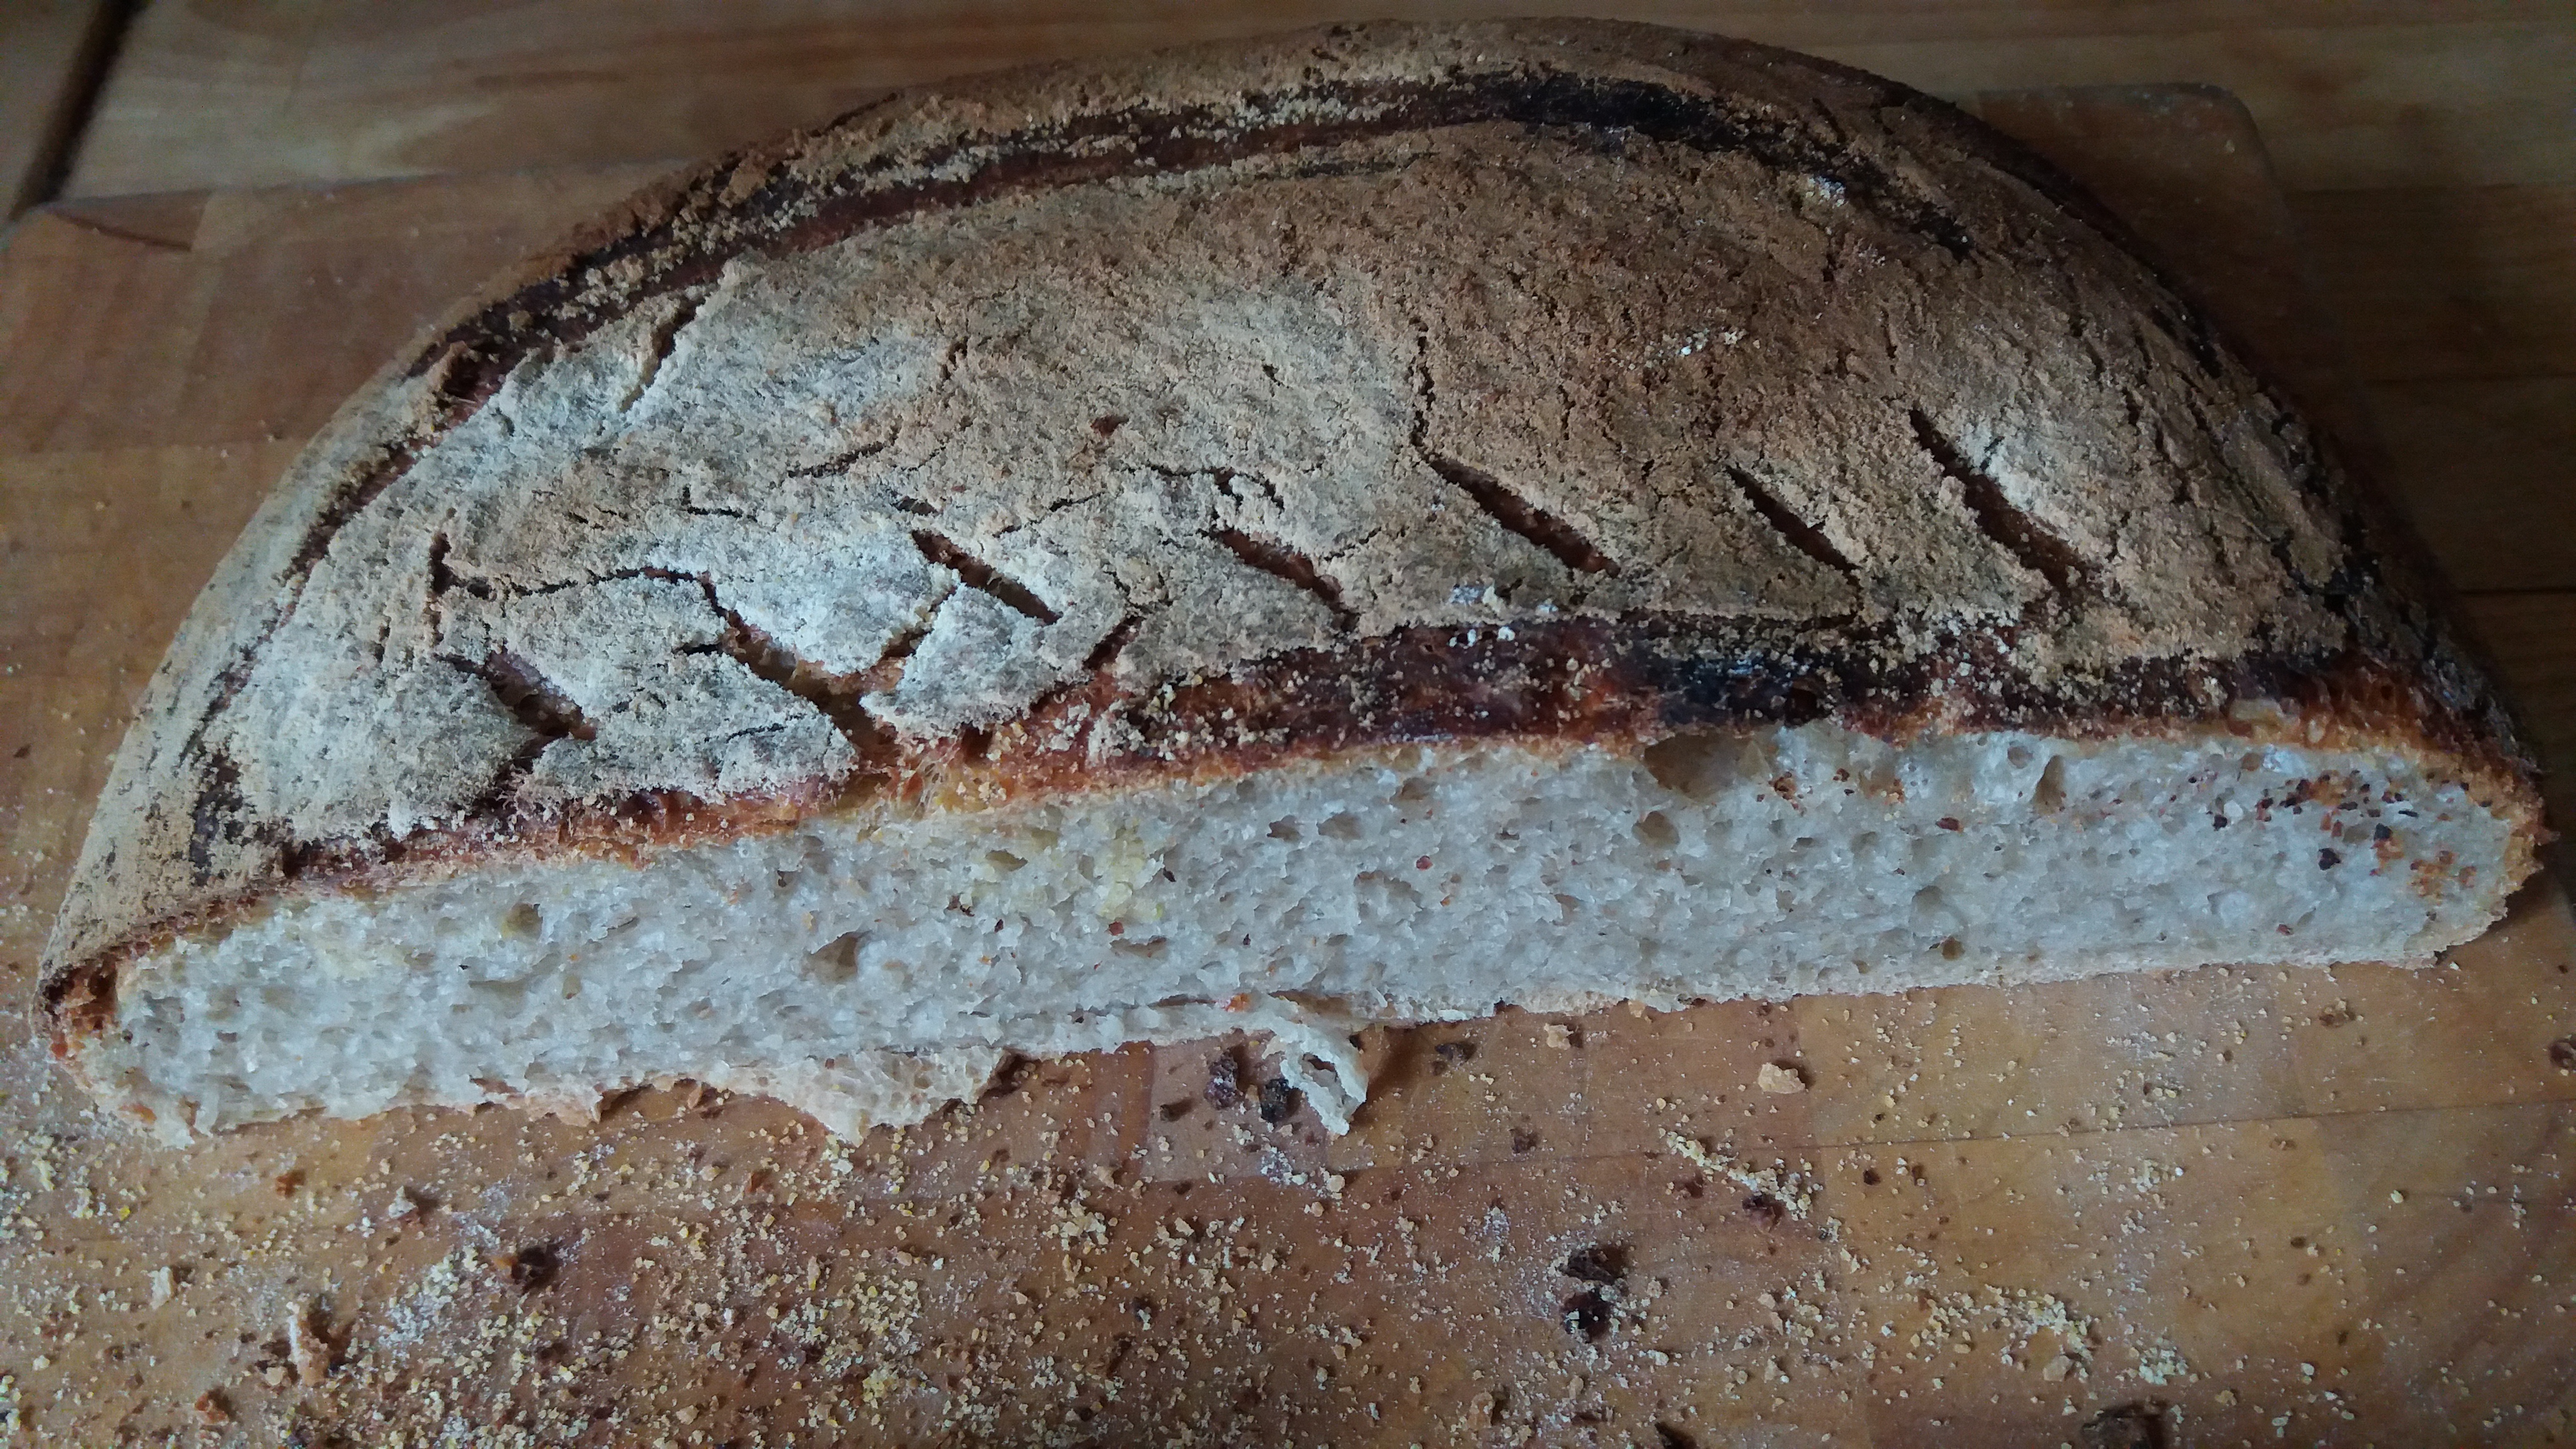
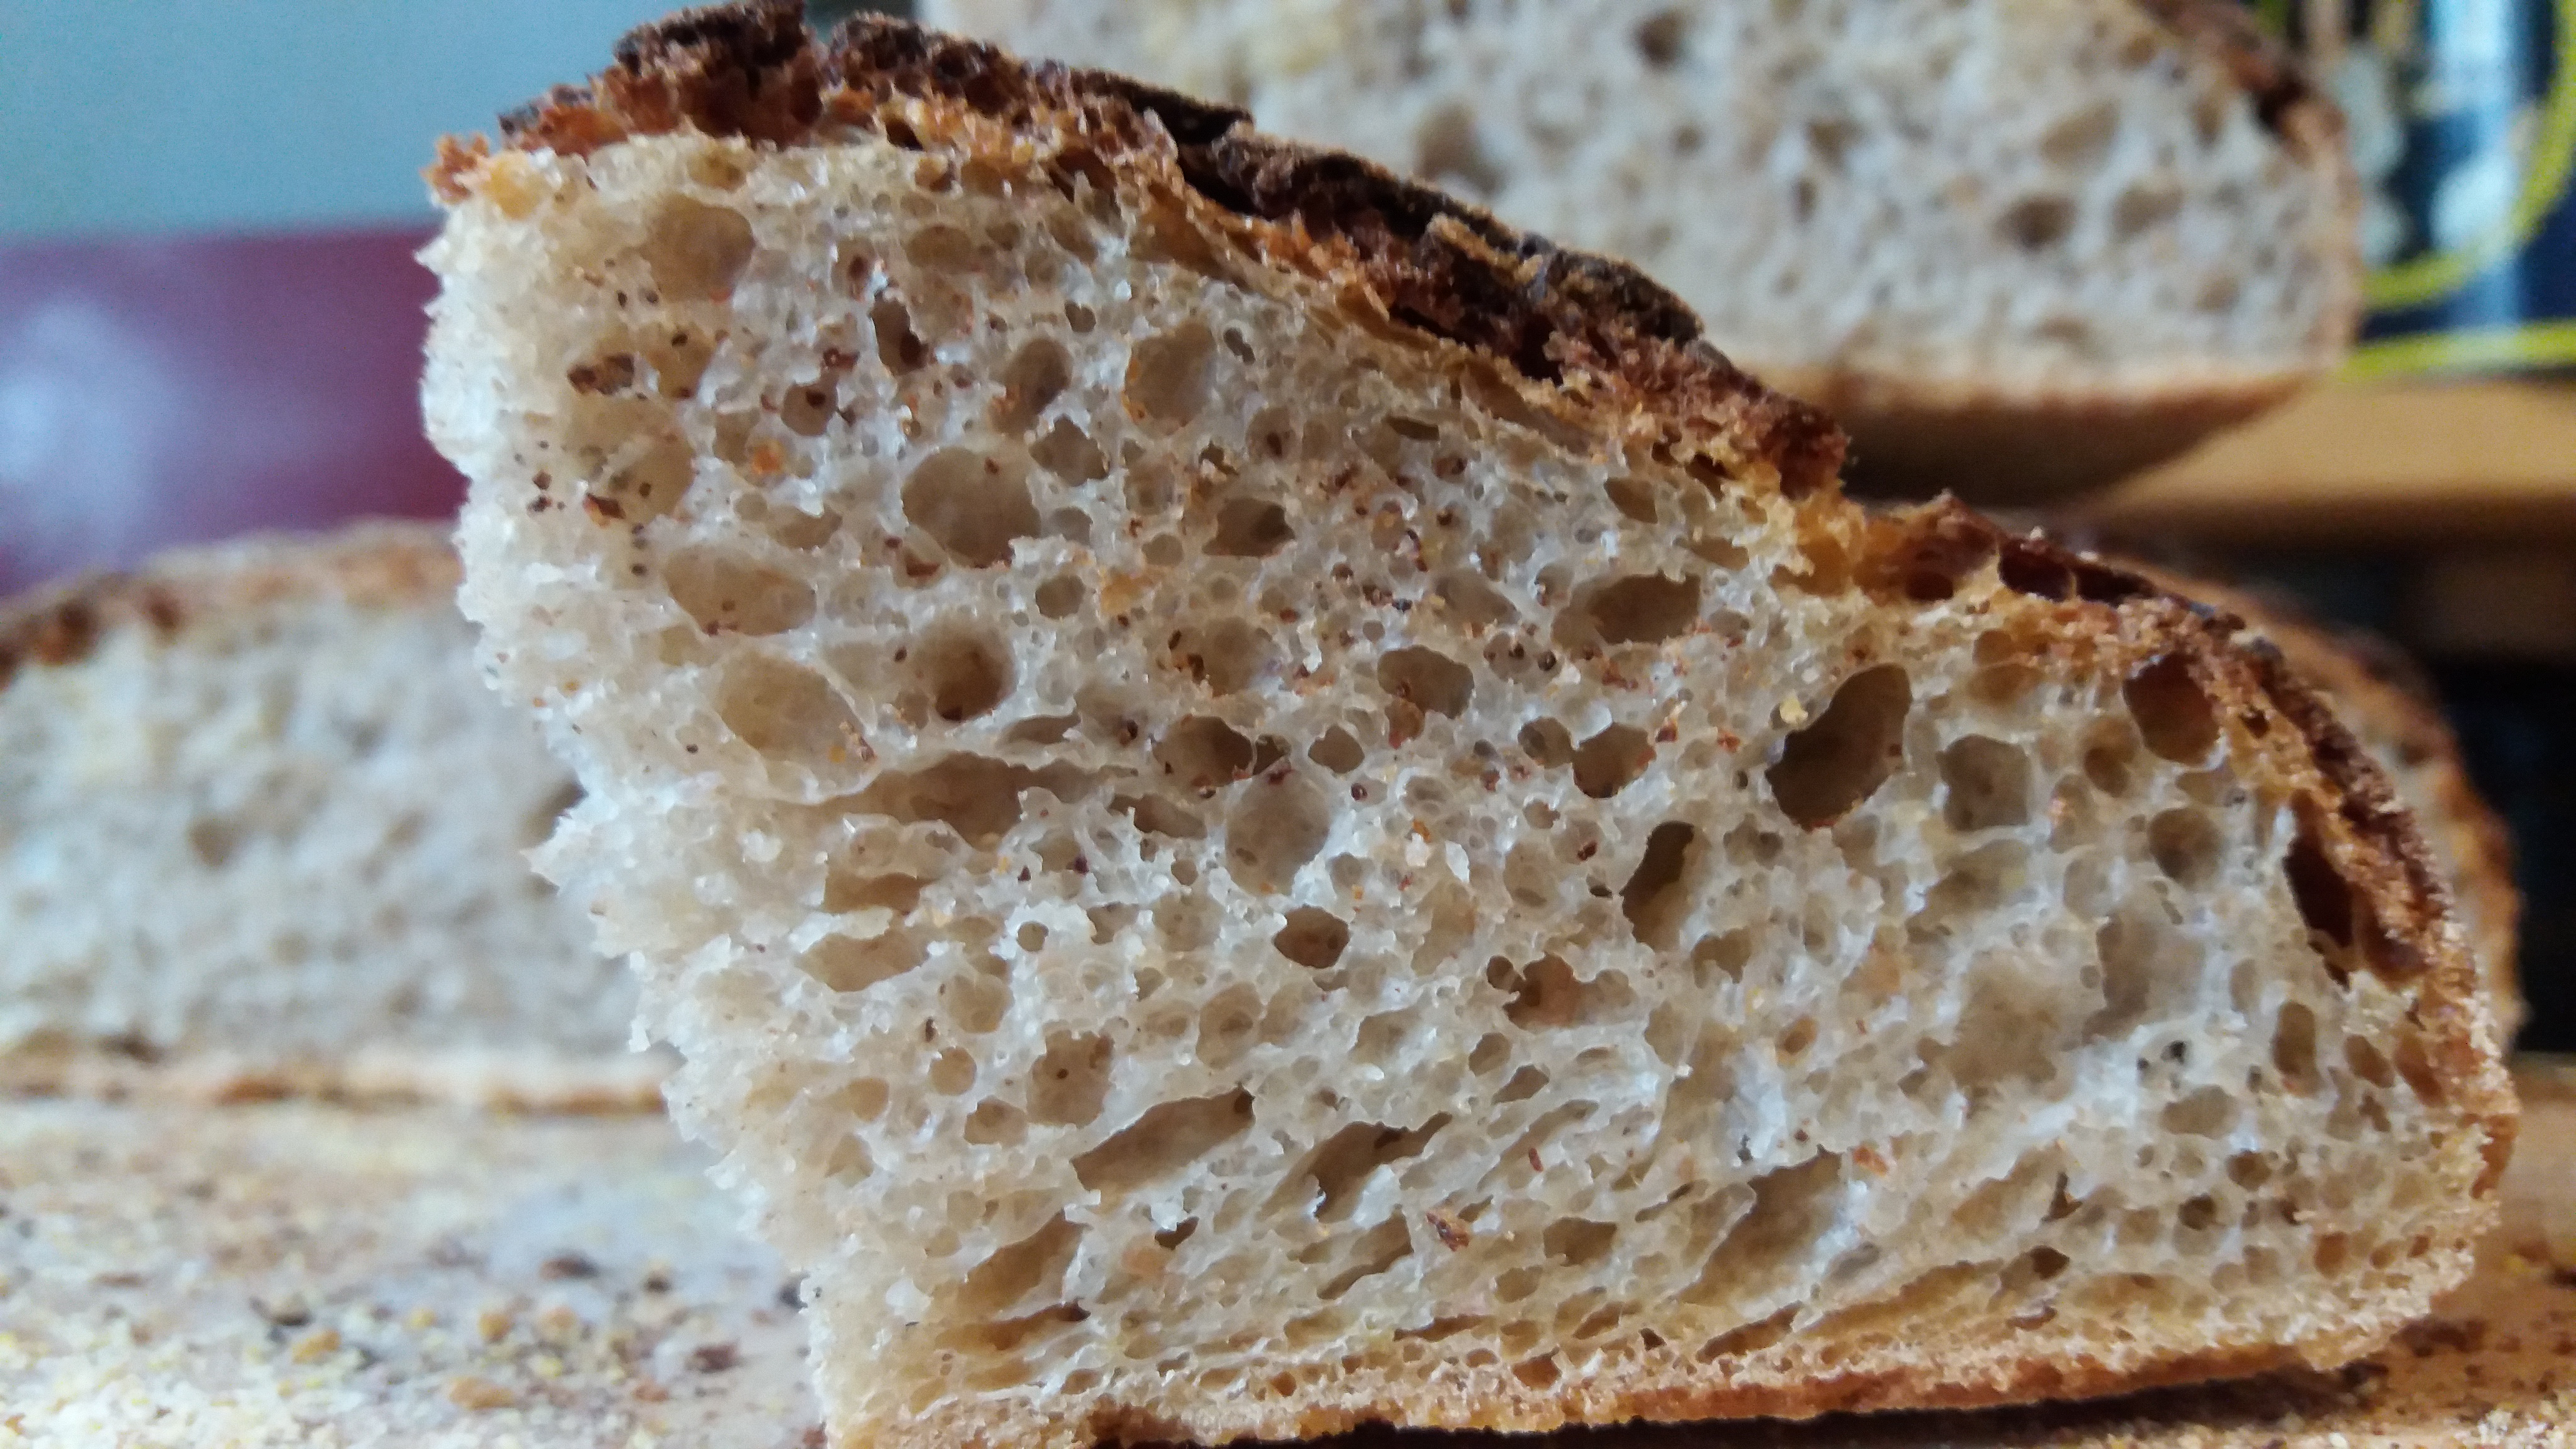
When it is finished baking, remove it from the oven. Remove it from the baking paper and allow it to cool on a wire rack. This will prevent the bottom crust from going soggy. Don’t cut into it before it’s cooled or the texture might be a bit gummy inside.


Galette Des Rois

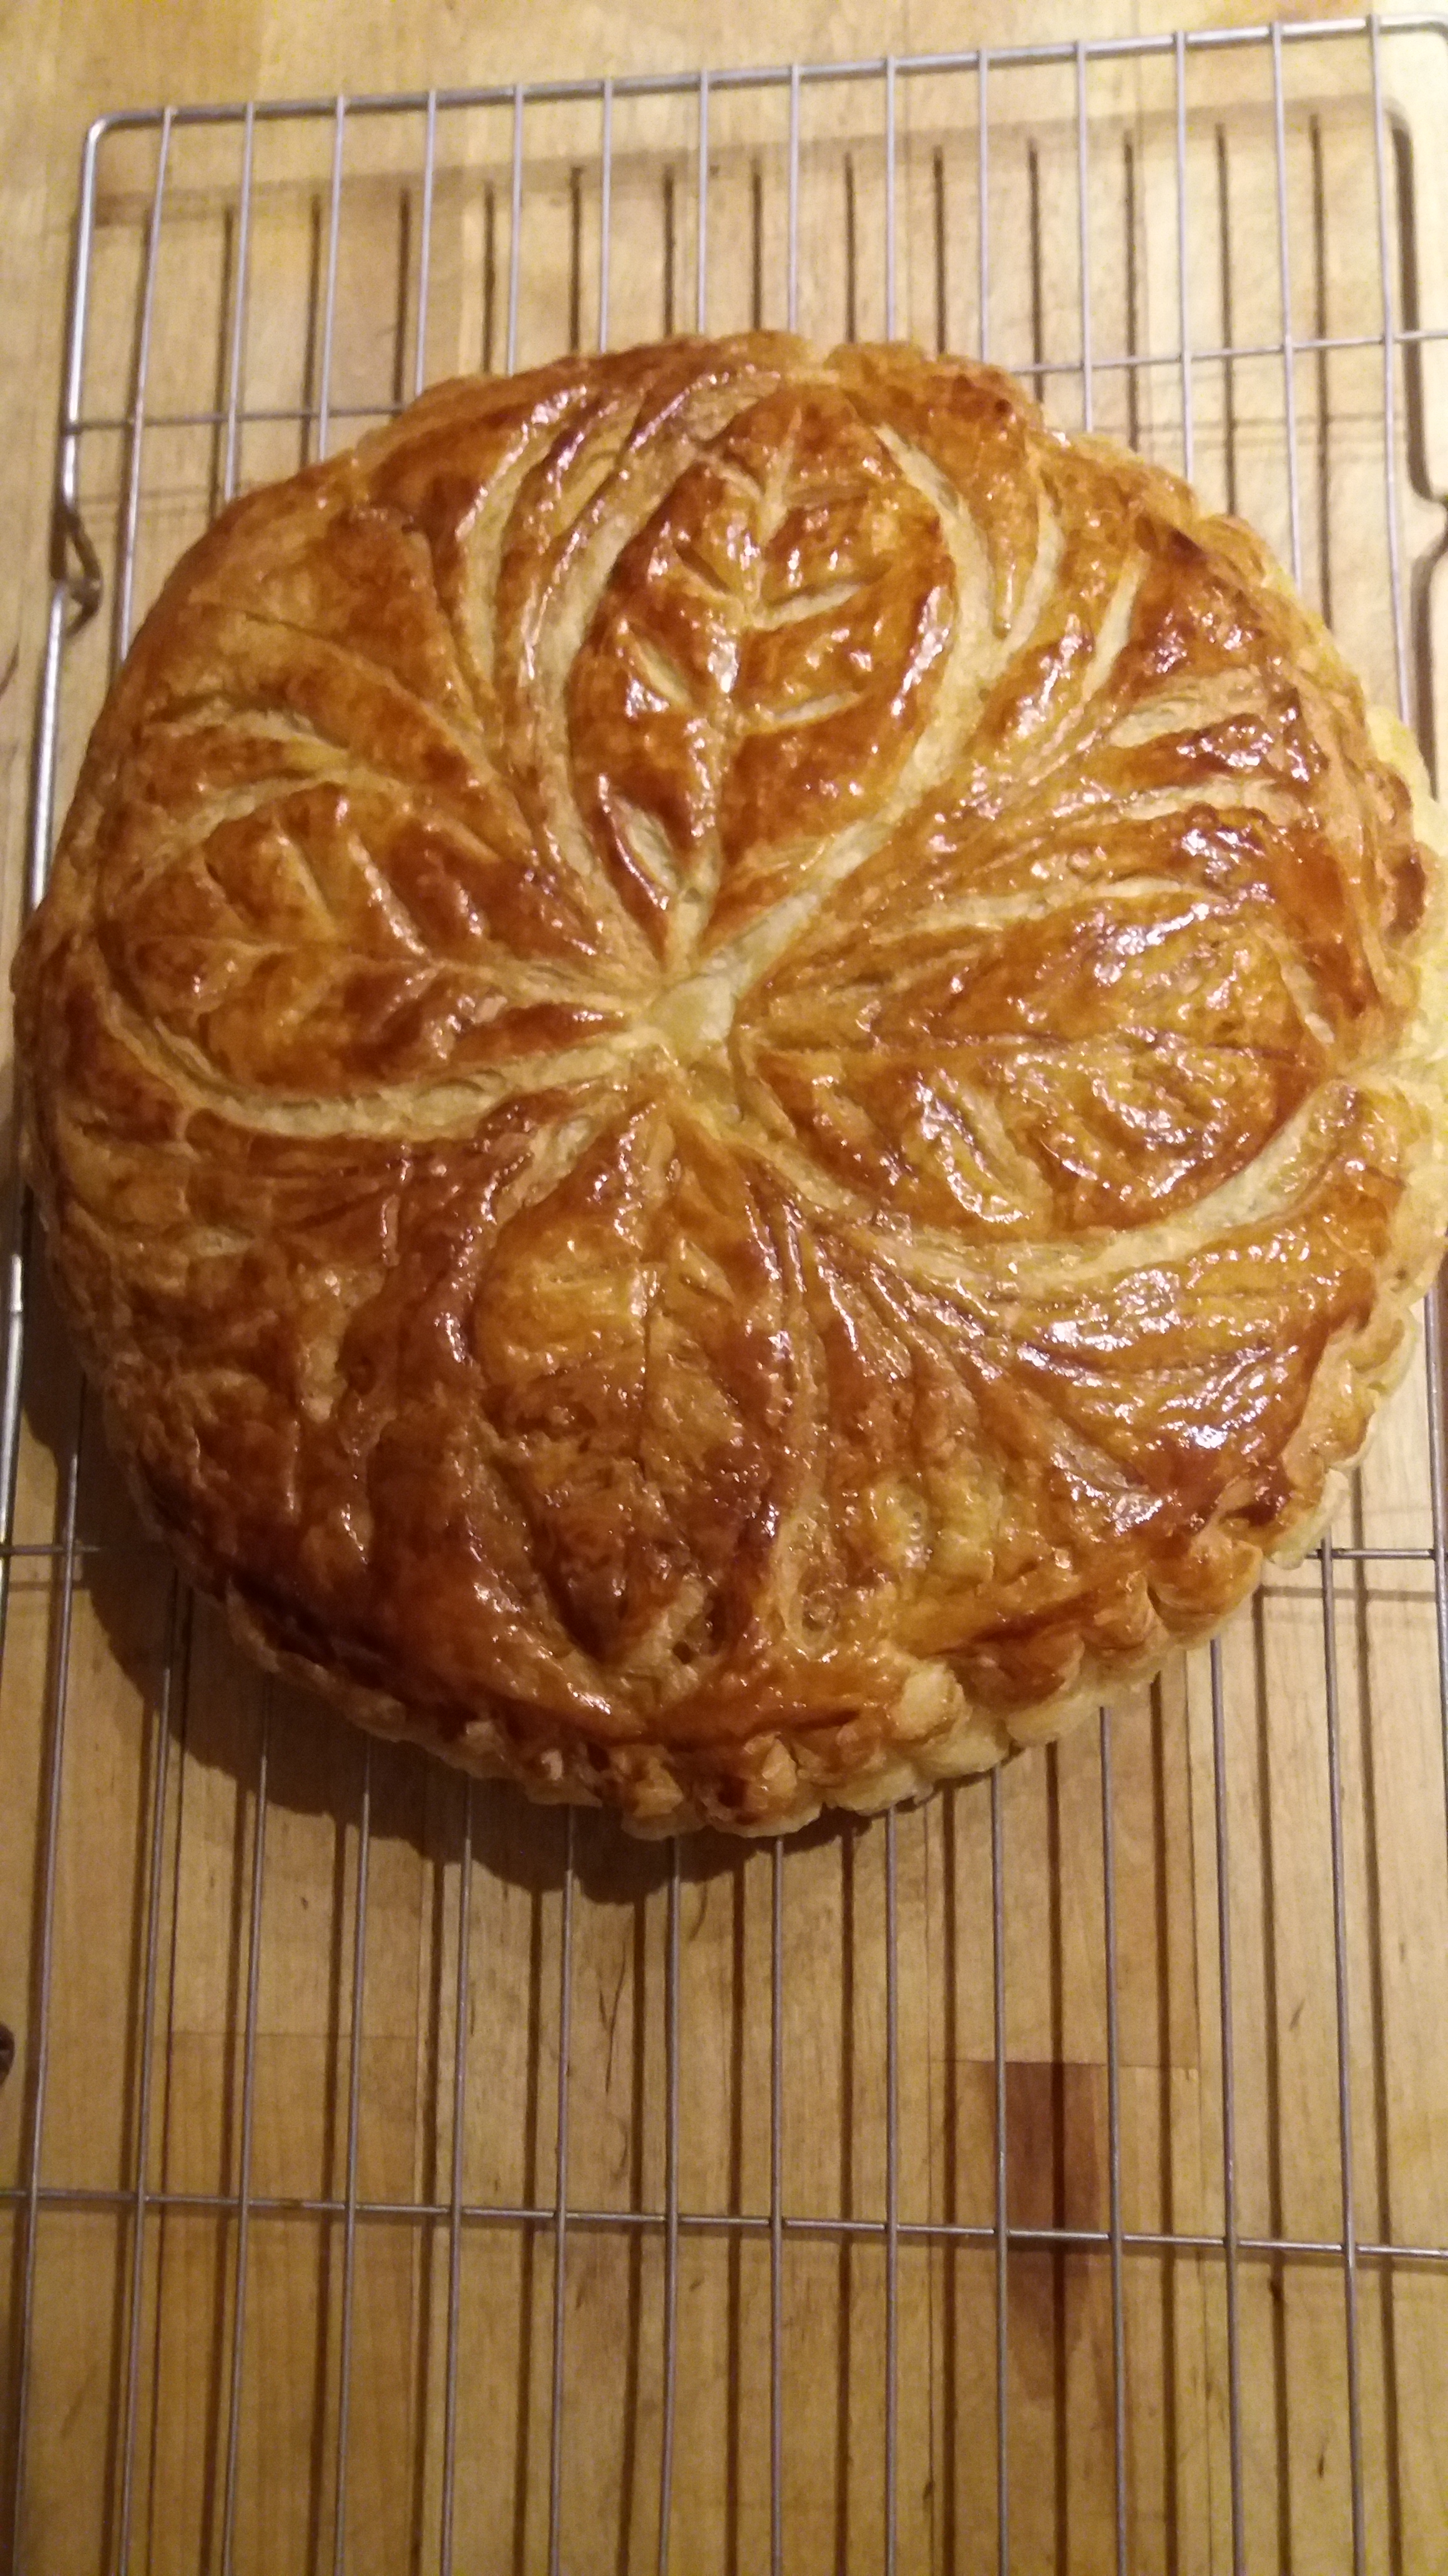
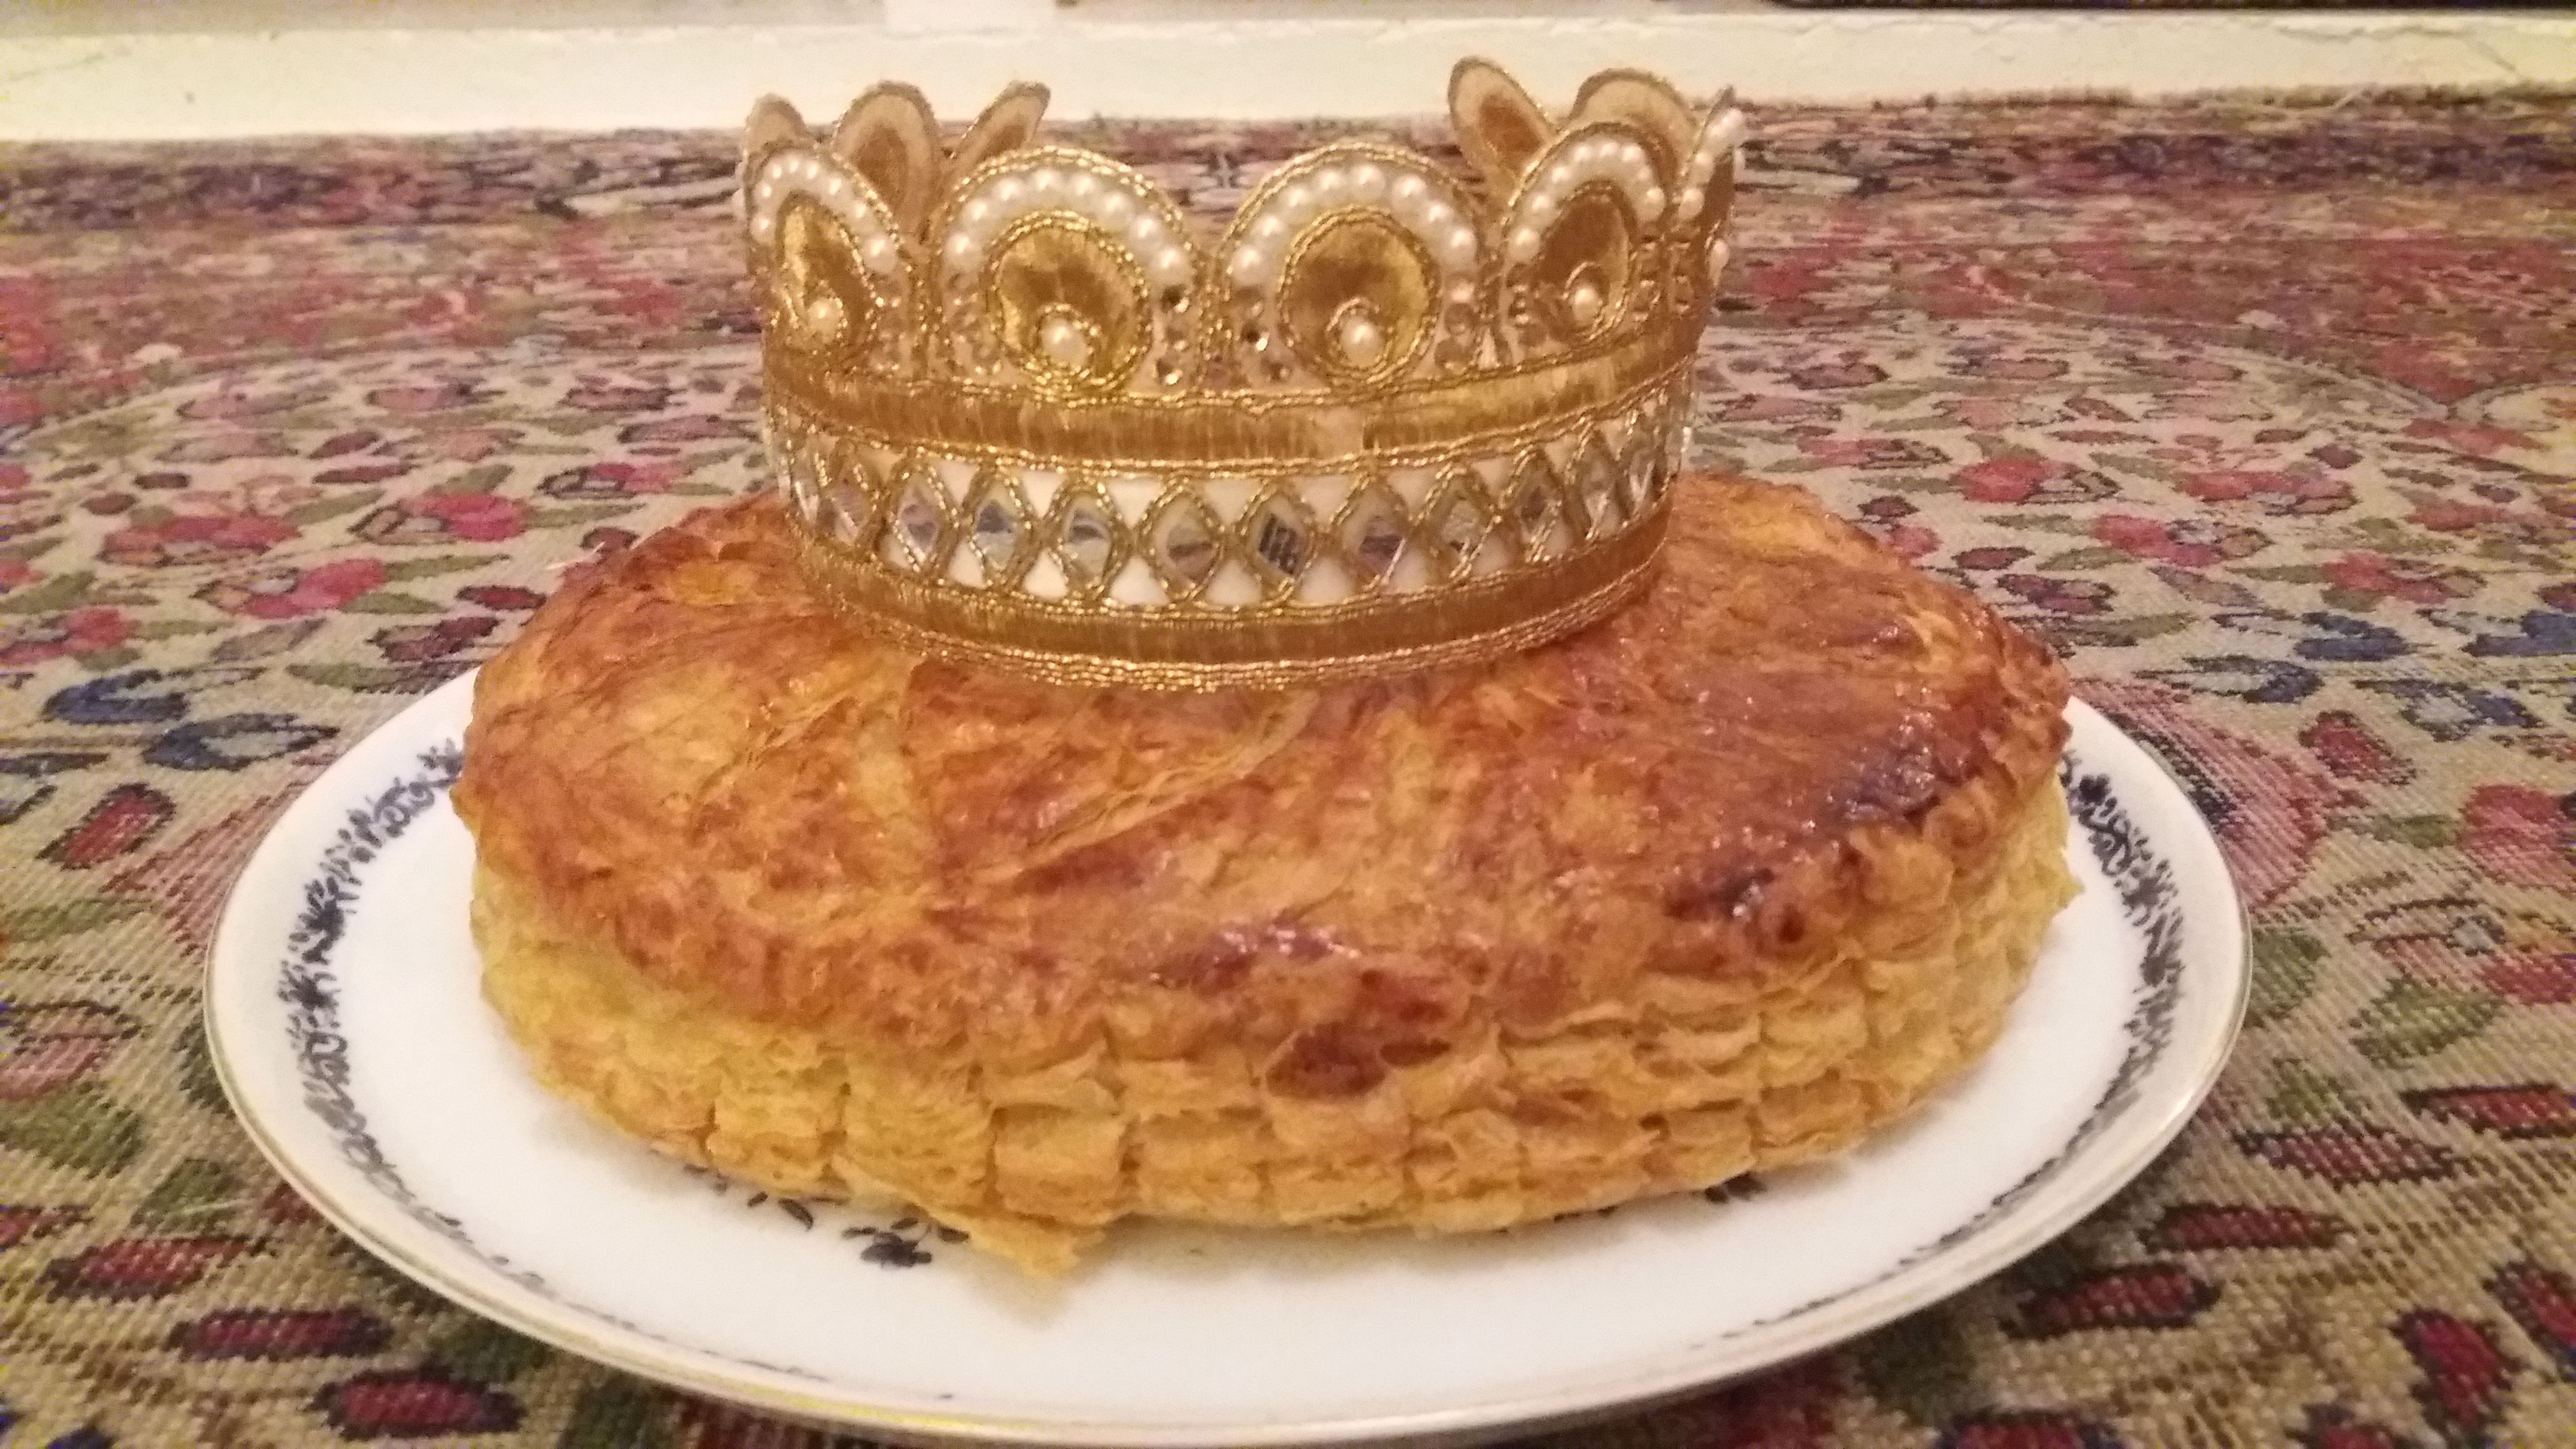
Tomorrow is the sixth of January which means it’s Epiphany which means you should be eating Kings’ Cake or galette des rois as it is called en français. The significance of this day is that it commemorates the magi who journeyed to see the infant Jesus. Upon their arrival these three kings, Melchior, Caspar, and Balthazar, presented their gifts of gold, frankincense, and myrrh which they had carried from afar. To express their gratitude, Mary and Joseph offered the wise men slices of a puff pastry dessert filled with frangipane and also a hidden trinket. The first wise man to find the charm got to wear a paper crown. Not really, but that’s what galette des rois is and it’s delicious. Traditionally, it is a puff pastry cake filled with almond cream but of course there are always variations on a theme. Raymond Blanc adds poached pears to his. Some people add chocolate. Others, apricot jam. I am partial to rum and orange zest. But I’ve been thinking. . . I bet it’d be really good with cherries. I guess I’ll have to make another to see. Until then, here is my recipe as it stands.

NB: You can use store bought puff pastry if you like (just make sure it’s all butter!) or you can make your own. I have a cheat’s way inspired by Nigella then made even lazier by me. But it works! So who cares? A little helpful heresy never hurt anyone.

Ingredients for the puff pastry:

250 g of strong white flour + a little extra for rolling

250 g of cold unsalted butter cut into small cubes (I chill mine in the freezer for 15 minutes)

a pinch of salt

6 tablespoons of ice water (or vodka that’s been kept in the freezer)

a squeeze of lemon juice


Method: Put the flour, salt, and butter in a food processor. Pulse only a couple of times. Pour in the water and lemon juice. Pulse again until just combined. Dump the dough onto a counter and bring it together with your hands. You should still be able to see small chunks of butter. The dough should look marbled with it. Form the dough into a disk. Wrap it tightly with plastic wrap and allow it to chill in the refrigerator for at least half an hour.

At this point, remove it from the fridge. Lightly dust a work surface with flour. Roll the dough into a long rectangle. Now roll it up like a chocolate log or a jelly roll. Cover it with plastic once more and put it back in the fridge for another half hour.

Then repeat this again. Believe me. If you do it correctly, you will get layers. You’ll see the lamination.


Ingredients for the frangipane:

80 g unsalted room temperature butter

80 g ground almonds

80 g icing sugar (this is powdered sugar in America)

1 whole egg + 1 egg yolk

1 tsp rum

1/2 tsp almond extract

the zest or 1 orange or 2 clementines


Method: You can whisk this by hand or use a mixer to combine the ingredients. The consistency you need is that of a thick paste. Cover it and put it in the fridge until it is needed.


Ingredients for the glaze:

1 egg + 1 yolk + 1 tsp of heavy cream. Mix thoroughly with a fork in a small bowl.


To construct the galette:

Take your puff pastry out of the refrigerator. Cut in in half. Roll out a large circle. Take a dinner plate and turn it upside on the pastry. Cut around it with a knife. Set this aside. Roll out a second circle and repeat. Set these two pastry rounds back in the refrigerator to chill for another hour.

Then take a large piece of baking paper. Place one of the pastry rounds on it. Spread your frangipane in the middle of it. Leave about a half inch to 3/4 of an inch of space at the edges. If you want to place a small metal or ceramic charm in the galette, now is the time to do so.


Paint a bit of your egg glaze around the edge.

Place the second pastry round on top of the galette. Press a finger around the circumference of the pastry to seal it.

Lightly paint the top of the galette with some more egg glaze. There is no need to use it all. This will just make it soggy.

Now, take the dull side of a knife and use it to pull the indentations you just made into scallop shapes. Lightly score the top of the pastry with a design of your choice. There are many. Google one. Personally, I’m keen on flowers but you can also make stars or chevrons. Once this is finished, place it back in the refrigerator for another hour. I know this is a lot of refrigerator time, but trust me. You do not want the butter to melt in your pastry dough. Those layers of cold butter create desired flakiness.

Preheat the oven to Gas4/180°C/350°F and put a pizza stone or the lid of a large Dutch oven on the middle shelf.

Once the oven is ready, remove the stone. Carefully place the baking paper with the galette on it onto the stone. Put this in the oven and bake it for approximately 45 minutes or until golden.

Don’t worry if you discover that your galette leaked butter. Mine often do. If this is the case, don’t fret. Turn off the oven. Then carefully transfer the galette to a wire rack and place it back in the oven for another 5 minutes or so. It will crisp.

Allow your galette to cool on a rack for at least 10 minutes before serving.  Serve with tea or strong coffee (or cognac) and enjoy.


Meringues

I’ve only recently started making my own meringues. It came about after a weekend at the Serpentine Lido. The swans were out and my five year old commented on how much more graceful they were than the ducks at our local pond. This, I told her, was why there weren’t any ballets about them.

And thus began a conversation about Anna Pavlova, the Russian prima ballerina who danced the role of The Dying Swan more than 4,000 times and had a dessert created in her honour. That was it for Helena. She insisted we had to make a pavlova for Sunday lunch.

Since then, we’ve been on a meringue making kick. Below is our recipe. It’s very easy and yields lovely marshmallowy meringues as light and fluffy as Anna Pavlova’s tutu.


Ingredients:

egg whites

caster sugar

cream of tartar

*Weigh you egg whites. Double this weight and that’s how much caster sugar to use. For each egg white, add 1/4 teaspoon of cream of tartar.


Method:

Preheat the oven to Gas 2/150°C/300°F.

Line a metal baking tray with wax paper.

Add the cream of tartar to the egg whites then beat them with an electric mixer until stiff peaks form. Add the sugar a dessertspoonful at a time and continue beating until well incorporated and there is no sugary grit at the bottom of the mixture. When the mixture is smooth and glossy, it’s ready to be baked. Do be careful not to over beat the mixture or the meringues won’t rise properly.

Pipe or spoon the meringues on to the wax paper. If you’re making a pavlova, spread the mixture into a large circle.

Put them in the oven and immediately turn the heat down to Gas 1/140°C/275°F. Allow them to bake for an hour and a half. Rotate your tray halfway in between. After this time, turn the oven off but leave the meringues in there to cool.

Enjoy them on their own, with ice cream, or berries and whipped cream.