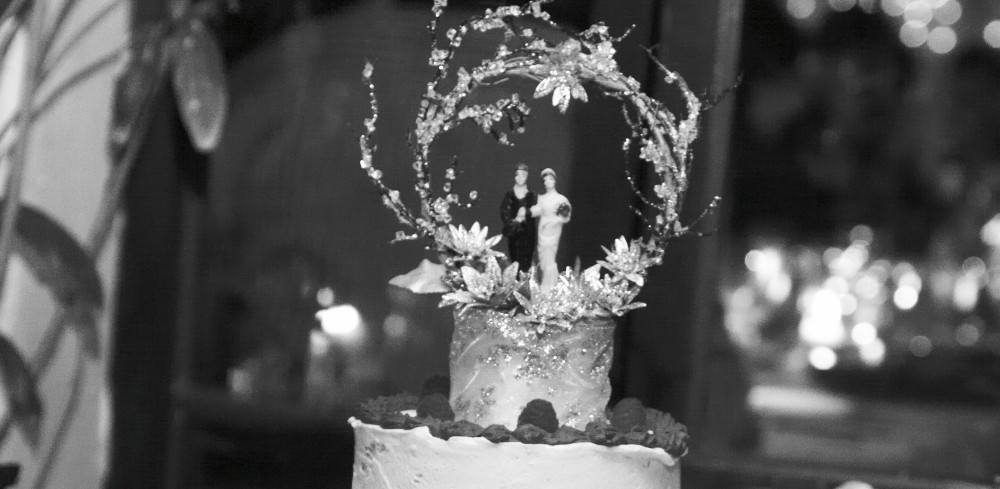
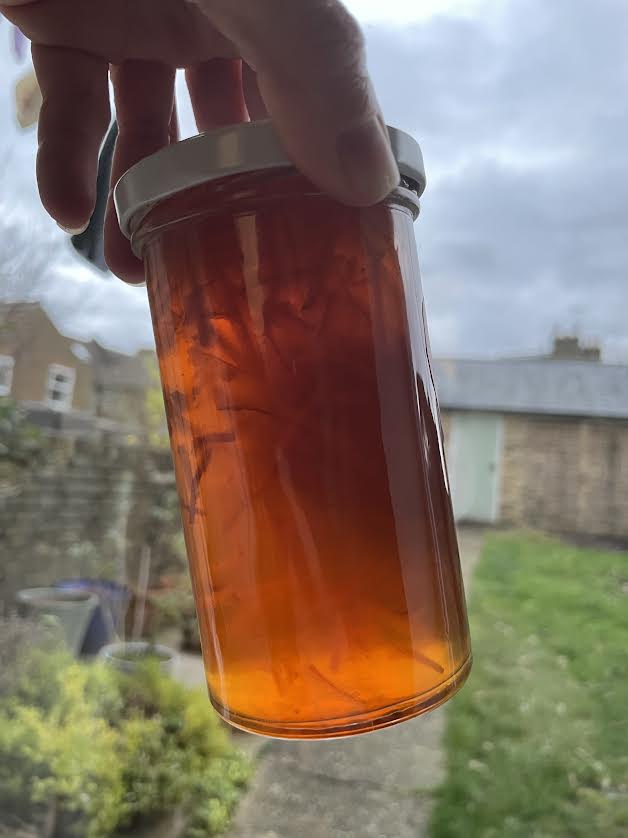
Yesterday marked seventy-seven years since It’s a Wonderful Life premiered at the Globe Theatre in New York. Yesterday was also my first day making marmalade since hanging up my maslin pan in January. Naturally, I named this winter’s inaugural batch after the film. I suppose it was also a nod to Donna Reed who acted in the role of Mary Hatch Bailey. She was born in Denison, Iowa, not more than 30 minutes from where the corn is always knee-high by the fourth of July and my family resides in Harlan. I hope this batch serves as a reminder: No matter how bitter things may seem, remember there is still sweetness.
If you’re familiar with this blog, or you know me at all, then you’re aware I’ve been making marmalade for a long time. It started with my Indefinite Leave to Remain application in 2015 and culminated with me receiving silver marks at Dalemain six years in a row. I was the Raymond Poulidor of pure orange jelly, the Susan Lucci of Seville marmalade, a perpetual bridesmaid but never a bride. Last winter, I wrote about my marmalade obsession and my silver medalist syndrome for a magazine. Today, I’d like to share it with you. I’d also like to share my marmalade recipe as it’s changed over the years. My wish is that when you taste it, it makes you feel like George Bailey lassoing the moon.
Seville orange marmalade recipe
Ingredients:
1 kg of Seville oranges
Preserving sugar (the larger crystals dissolve slower than granulated or caster which means less froth, less skimming, and a clearer preserve)
A lemon
Equipment:
Maslin pan or the largest heavy bottom pan you can find
Cheesecloth (I buy bags made of it)
Chopping board
Large bowl
Knife
Teaspoon
Citrus reamer
Spatula
Small plate
Clean jars with lids
Ladle
Funnel (optional)
Method:
Day one:
Place your cheesecloth in a large bowl. Keep your maslin pan on the side.
Wash the oranges and pat them dry. Cut them in half and juice them. Pour the juice into the bowl with the cheesecloth. Now scrape the insides of the orange halves with your spoon. The goal is to remove as much pith as possible as it’s pith is that can make marmalade taste really bitter. Place the pith and seeds in the cheesecloth bowl.
Slice your shred. Personally, I like mine thinner, matchstick style, but sometimes, depending on how dull my knives are, this just isn’t possible. Place the shred in the maslin pan. I usually only shred 2/3 of my oranges and put the rest in the cheesecloth bag with everything else. Feel free to use it all if you like. I just prefer a high jelly content.
Add 2 1/4 litres of water to your maslin pan which should now contain the shred and the bag of strained juice/seeds/pith/peel you didn’t slice. Cover it all with plastic wrap and leave it to soak overnight. This step is crucial as it infuses the water with pectin and flavour as well as softens the shred.
Day two:
Bring the contents of the maslin pan to a boil then simmer until the shred is tender and the contents of the pan have been reduced by 1/3.
Stick your small plate in the freezer and heat your clean jars in a warm oven.
Let the mixture cool. When it has, squeeze the cheesecloth to extract as much pectin as you can. Pectin is what sets your marmalade and gives it a wonderful wobble. Once you have done this, discard the cheesecloth and its remaining contents.
Add the juice of a lemon (once again, this is for pectin) and 800 g of sugar for each litre of liquid and shred that remains. Stir this over a low flame until the sugar completely dissolves.
Once the sugar’s dissolved, turn up the heat and let it boil. Remove any scum that foams on the surface. This can generally be avoided, as previously stated, by using preserving sugar. Over time, the consistency and colour will change. In my experience, it usually takes about 45 minutes of boiling to achieve the set I like. Do test for set early and often. The way to do this is by going round the edges of your pan with a spatula then holding it sideways. Does the mixture run off like liquid or does it cling then drop like jelly? This is known as the flake test. The other method for testing is with a frozen plate. Drop a small teaspoon of the molten mixture on the plate then stick it back in the freezer for a minute. When you remove it, push the drop with your finger. If it wrinkles, it’s set.
Once your marmalade is set, take it off the heat and allow it to cool for at least ten minutes before potting. If you pot it while it’s still very hot, all the shred will float to the top. I use a funnel when potting my marmalade, but you don’t need one. I don’t dare assume everyone’s ladling skills are as shaky as mine.
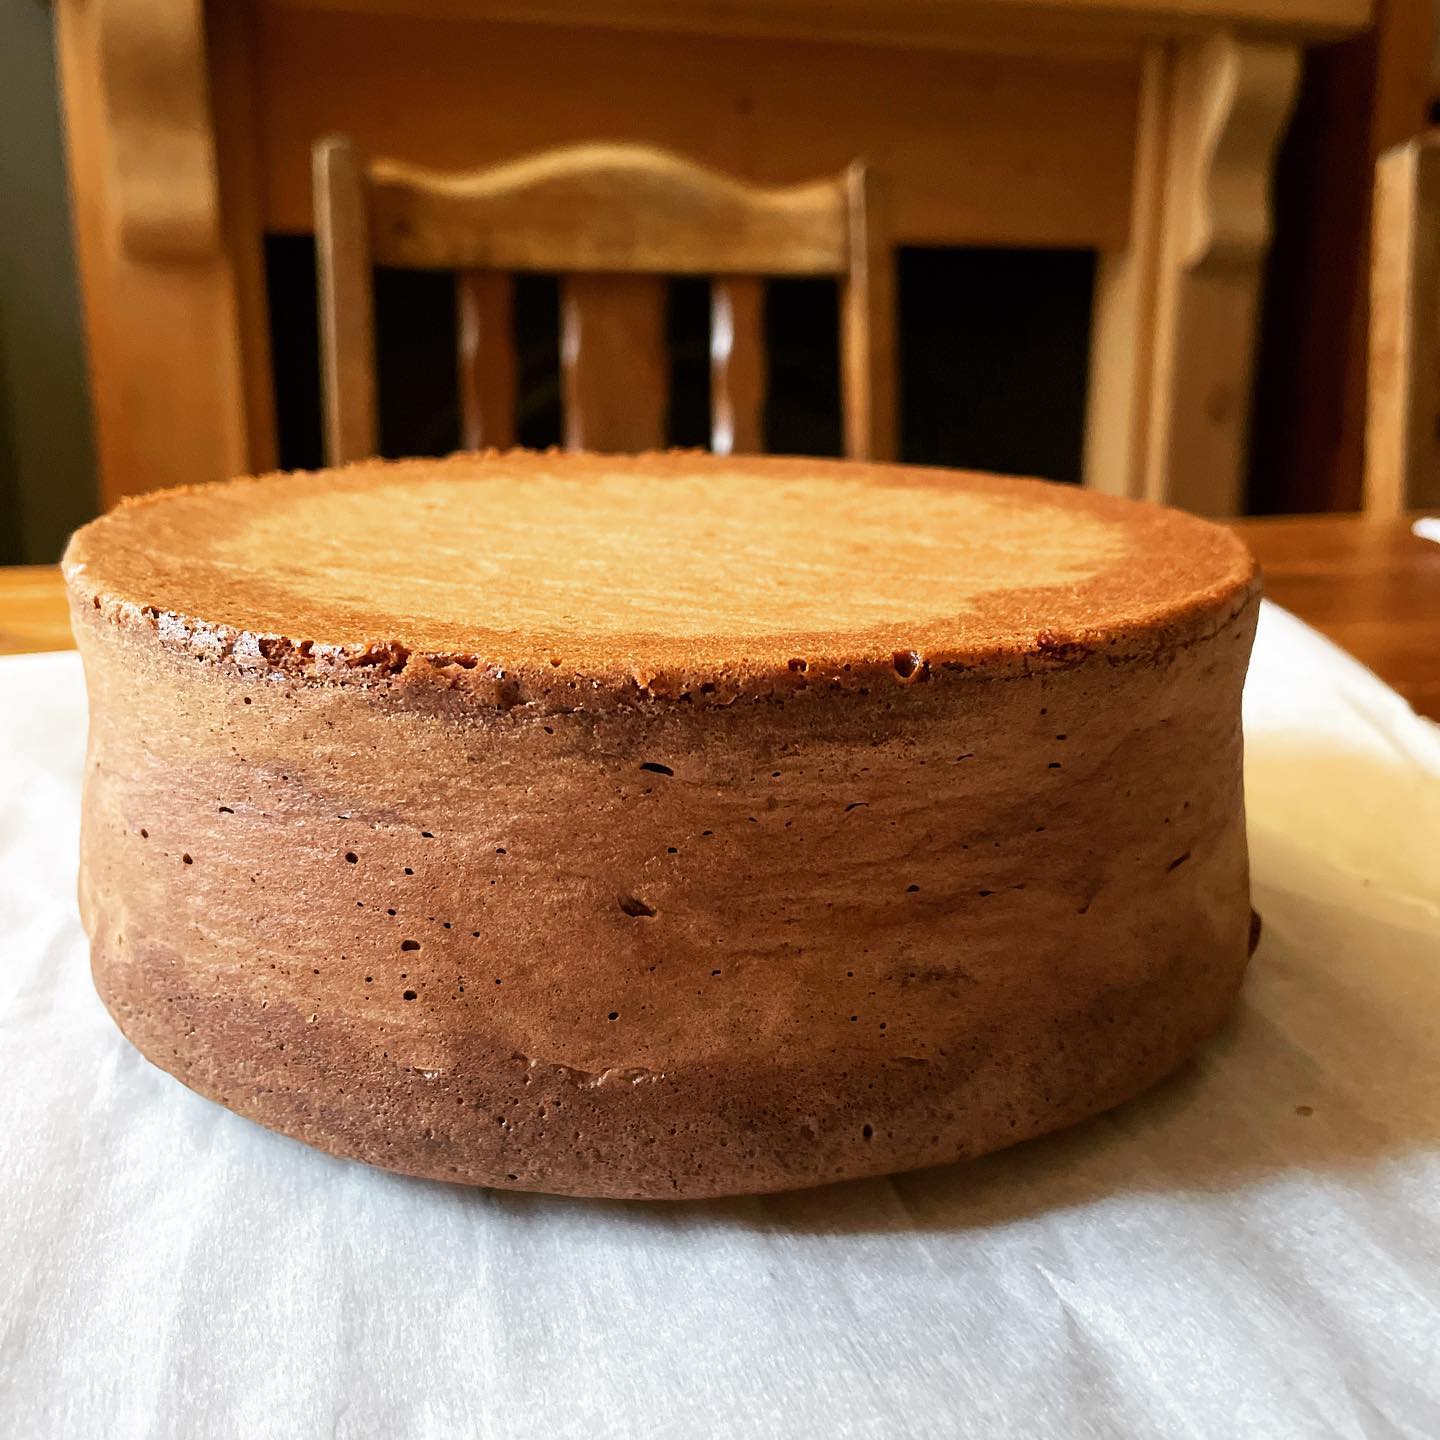
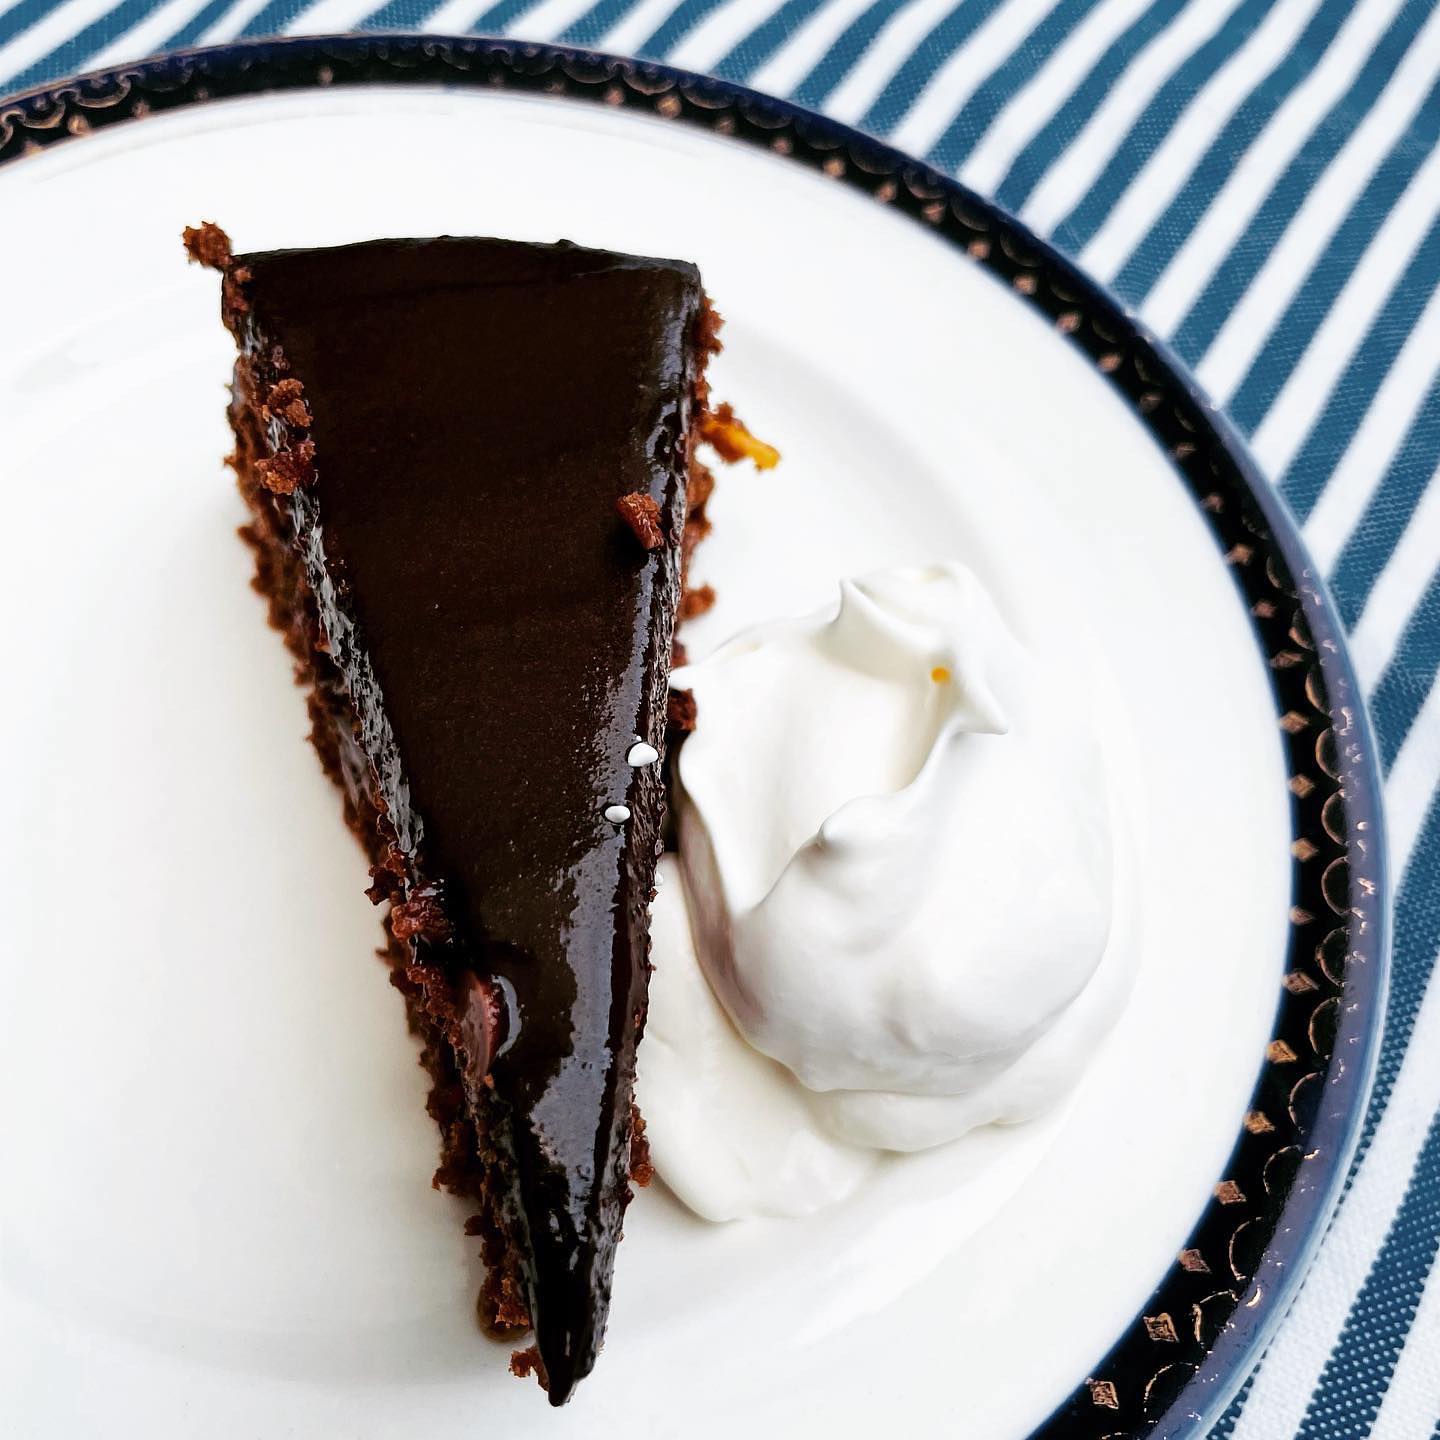
Hanukkah, the Jewish festival of light, begins at sundown today and were it not for the fact that I’m feeling poorly, I would be making this cake. Mercifully, Hanukkah lasts for eight nights and days so there is plenty of time to heal and get baking. This recipe is my take on one of Europe’s most famous cakes, the sachertorte, which I consider the tuxedo of tortes. The end result on the palate and the plate is elegant yet simple and I love the way it’s served–just a tidy dark slice next to a mountain of whipped cream. The first time I tasted it was in Vienna with my husband who has family there.
What’s different is that my torte is made with marmalade instead of the usual apricot jam. If you know me you know that marmalade holds a special place in my heart. I learned to make it whilst studying for my Life in the U.K. test and waiting for my citizenship to be granted. I learned about sticky wickets, Sevilles, the Divine Right of Kings and how to cut shred all at the same time. For this reason, marmalade and Britishness are inextricably linked for me.
My recipe uses matzo meal in lieu of flour which is a nod to those early covid days when flour was scarce so I baked with matzo meal instead. It’s also a nod to Franz Sacher, the young Jewish baker, who created this cake for Metternich in 1832. It’s also a nod to my own part-Jewish family.
I mentioned in the first paragraph that my husband has family in Vienna. He does and they are Roman Catholic. They are his mother’s family, but his father’s family was Jewish. They were Russian Polish Jews who escaped the pogroms and came to Britain in the 1890s.
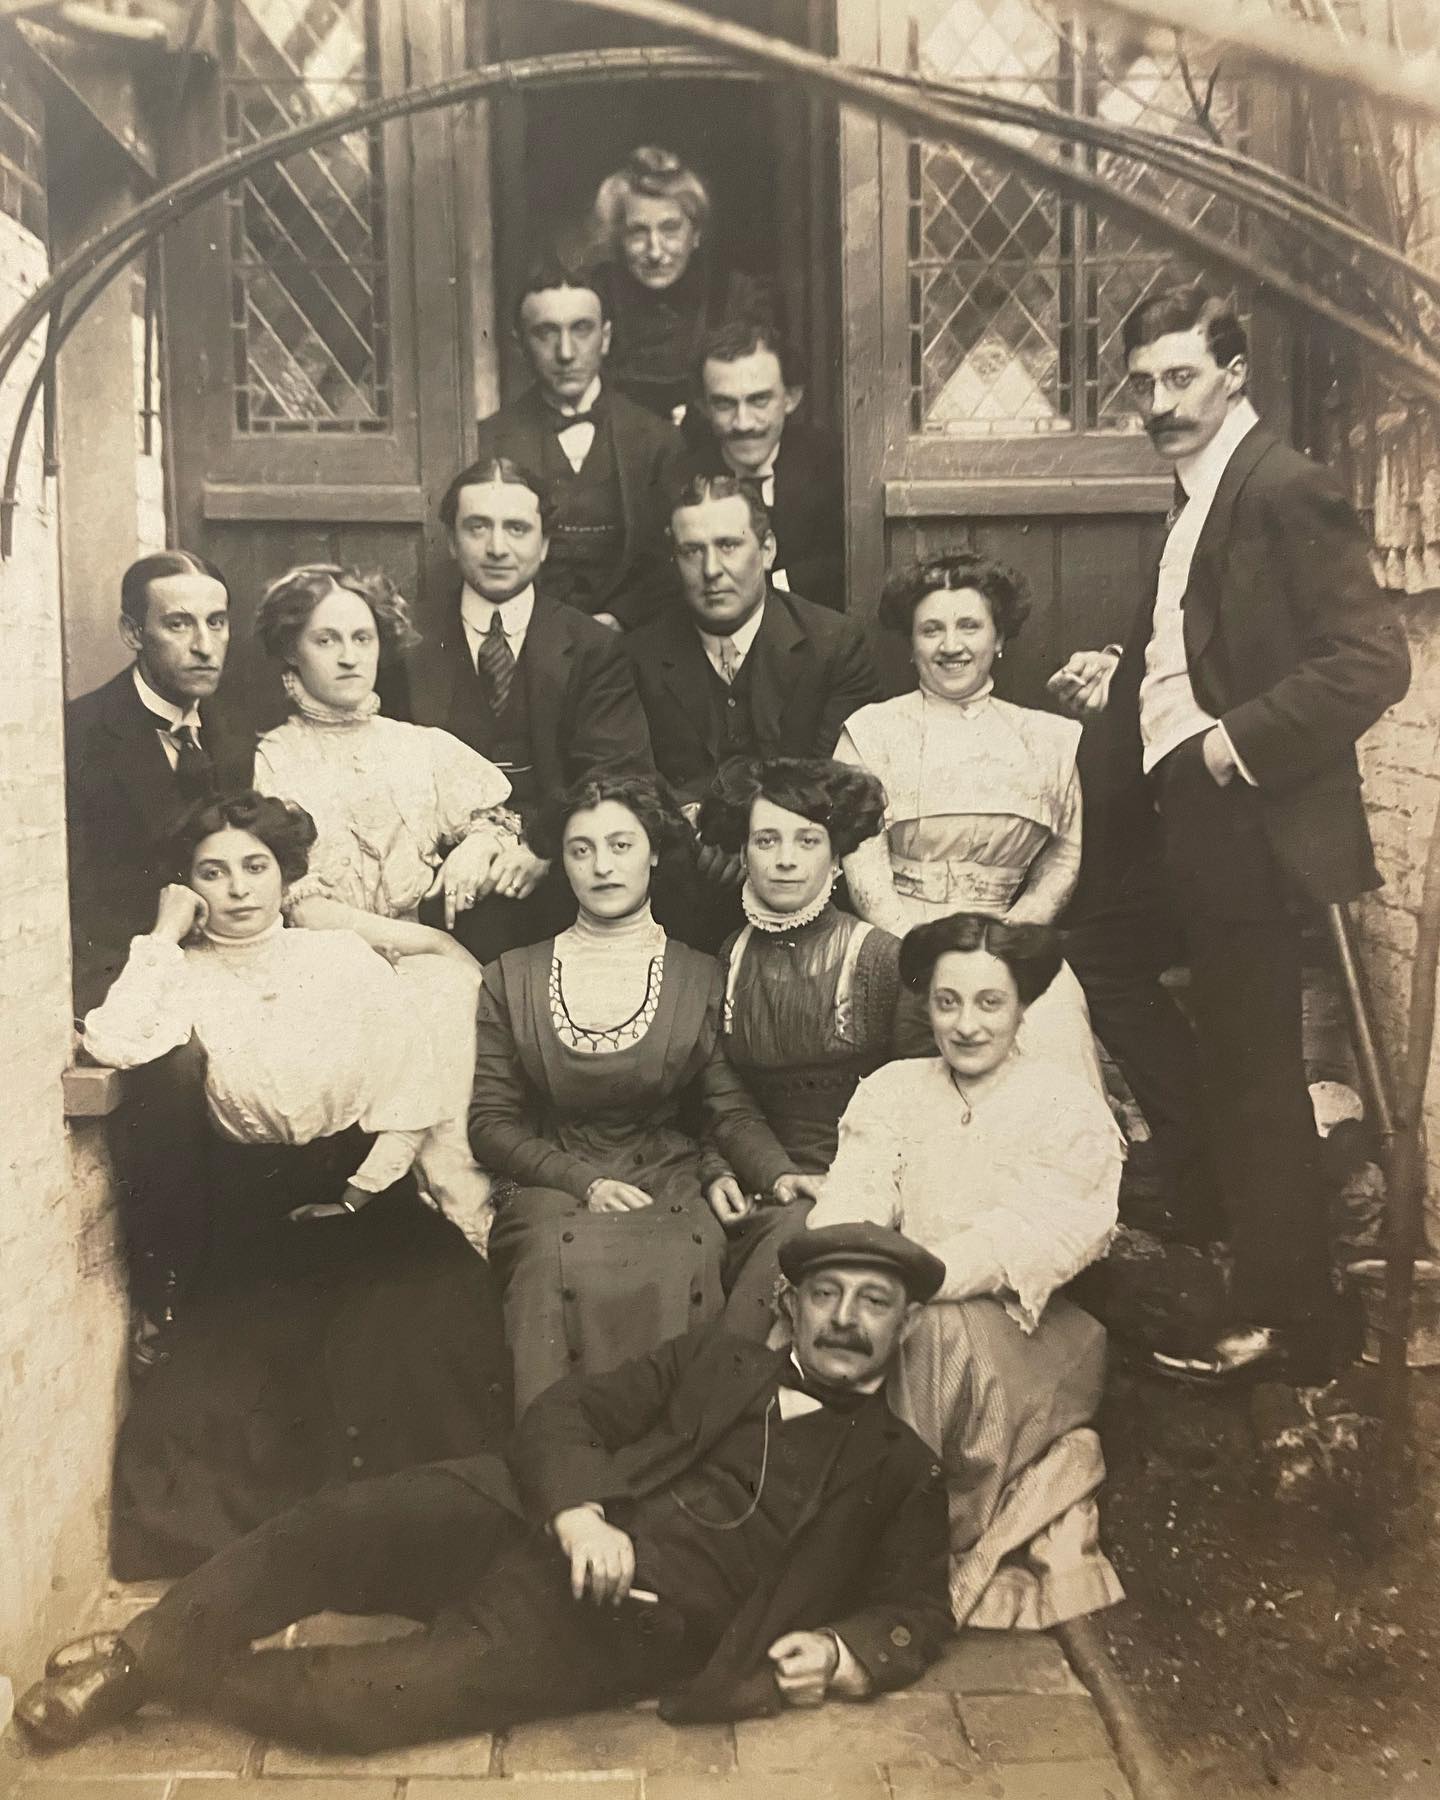
My husband’s Levy family in East London circa 1910.Dorothy Jeffreys nee Levy, my husband’s paternal grandmother.
At the end of October, I posted the following on Instagram. . .
“I don’t share my husband’s surname; but if I did, it should be Jaffe, not Jeffreys. Jeffreys was a name they chose in the 1920s so the children would have an easier time at boarding school. So they could join the country club and assimilate and just be British without being Jewish first. This chimes with what my 87 year old nana from Brooklyn has said about moving to Cincinnati in the 1960s. As a Lemkin née Bernstein, she wasn’t allowed at the country clubs there either. Lately, friends of mine in Los Angeles have reported all kinds of hateful mishegoss. Vile anti-Semitic fliers have been delivered to their doorsteps in plastic bags containing rocks so those evil words don’t fly away. This has happened on multiple occasions. At the weekend, a banner reading “Kanye is right about the Jews” was hung across the 405 by the Goyim Defense League who gave nazi salutes and encouraged drivers to honk in support. Anti-Semitism cannot be tolerated. I support my Jewish friends and family. #callmemrsjaffe”
Someone I don’t know replied to my post with abusive anti-Semitic comments and despite the many friends and family who reported the hate to Instagram, it took ages for the comments to be removed. The account that originally posted them has multiple hate accounts that still exist. My point in sharing this is that anti-Semitism is alive and well. I never thought I’d have friends who were scared to display their Jewishness, especially in Los Angeles, but here we are.
An exchange with a friend of mine in California.
On a menorah there is a helper candle called a shamash. It is the candle used to light the others. Coincidentally, Shamash is also the name of my husband’s oncologist who helped heal him years ago, but as usual, I digress. On this night, the first night of Hanukkah, I want to thank the helper candles in my life, the ones who go out out of their way to make sure we all burn brighter. I hope I illuminate your life too. A bit of light dispels a lot of darkness. Sometimes so can a quality chocolate cake.
Chag sameach! Happy Hanukkah!
A photo taken by Rosi Posner from her home in Kiel in 1931.
Ingredients
For the cake:
140g dark chocolate with a minimum of 55% cocoa content (I use 63% for this recipe)
150g unsalted butter, room temperature
210g caster sugar, divided into 110 g and 100 g
1tsp vanilla bean paste
A pinch of salt flakes
6 medium eggs at room temperature
50g ground almonds
100g matzo meal
For filling and glazing the cake:
340g jar of fine shred marmalade
For the glaze:
125ml black tea (Breakfast, Earl Grey or Darjeeling)
150g caster sugar
150g dark chocolate, once again with a minimum of 55% cocoa content
For piping:
30g milk chocolate
NB: Make sure your eggs and butter really are at room temperature because if they’re not, your batter could curdle. If your eggs are cold, place them in a bowl of warm water for ten minutes. If your butter is cold, cut it into cubes. You can even microwave it for a few seconds to soften but do not let it melt.
Method
Preheat the oven to 180°C/160°C fan/Gas 4.
Prepare a 23cm cake tin by lightly greasing it and lining it with baking paper.
Melt 140g of dark chocolate in a bowl over boiling water. Allow it to cool slightly so it’s still warm and runny, but not hot.
Next, separate your eggs. Put the whites in a large bowl and the yolks in a smaller one.
In another large bowl, cream the 150g of unsalted butter, 110g of caster sugar, teaspoon of vanilla bean paste, and pinch of salt until pale and fluffy. I use a handmixer at medium speed. Cream them until the consistency is satiny, but not whipped. This will take longer than you think. I note it’s approximately 8 to 10 minutes.
Whisk the yolks into the butter mixture one at a time. Make sure each yolk is fully incorporated before adding the next. Lest your emulsion become unstable and splits.
Slowly whisk in the melted chocolate.
Then use a blender, food processor, or pestle and mortar to grind your almonds and matzo meal or flour as finely as possible. Sieve these flours into the chocolate butter mixture.
Now whip the egg whites. I do this in a standing mixer but a hand mixer is fine too. Gradually add the remaining 100g of caster sugar, a tablespoonful at a time. Beat the whites until soft peaks form, but do not take them past this point. If you beat them until stiff peaks appear, the egg whites won’t develop fully in the oven which is where you want them to expand so your cake will rise.
When the egg whites are sufficiently voluminous, use a large metal spoon and fold ⅓ of them into the batter. Add another third and fold it until it’s incorporated. Then repeat one last time. Get as much air folded into your batter as possible as aeration yields a lighter fluffier result.
Pour the batter into the prepared cake tin. Place it in the oven and bake for approximately 45 minutes or until the top springs back when gently pushed with a finger. Or test it as I do by sticking an uncooked piece of spaghetti into the centre then pulling it out to check if it’s clean.
Once the cake is ready, remove it from the oven and let it cool in its tin for ten minutes. After this time, transfer it to a cooling rack and remove any baking paper that remains.
As the cake cools, sieve your marmalade over a bowl. If it is too thick to sieve, heat it slightly in a saucepan but do not let it go all liquidy. There must be enough viscosity so it can fill the cake rather than saturate it. Keep the shred that collects in the sieve. Should the shred be particularly long, cut it shorter with a knife. Set the shred and the sieved marmalade aside.
When your cake is cool to the touch, carefully cut it in half on the horizontal. Place the rounds next to each other with the cut side up. Use ⅓ of the sieved marmalade to brush across both layers. Then spoon enough shred on to the bottom layer so it is completely covered. Do not omit the shred. If you do, your cake will not have that burst of citrus sunshine that it should.
Put the layers back together and now using only the sieved marmalade, paint it over the rest of the cake. Use only the sieved marmalade for this or your chocolate glaze will not be smooth. Brush ⅓ on the top and ⅓ on the sides. Place the cake in the freezer for approximately 20 minutes or until the jam is set–not frozen, but set.
In the meantime, make the chocolate glaze. Start by brewing a strong cup of tea. This will not make the glaze taste of tea, but the tannins in it will subtly enhance the dark chocolate flavour. Mix 125ml of tea with 150g of caster sugar in a saucepan over low heat. Once the sugar has dissolved, bring this to a boil then simmer until it thickens and becomes syrupy, approximately 4 minutes. Then take it off the heat and leave it to cool slightly. Add 150g of dark chocolate to the syrup and stir it until it has melted and the mixture is smooth and shiny. You’ll know the glaze is the right consistency if it can coat a spoon.
To glaze the cake, put it on a rack then pour the lukewarm chocolate all at once over the cake’s centre. Use a palette knife or spatula to make sure the sides are covered and the top is smooth. Leave the glaze to set.
Melt 30g of milk chocolate in a bowl over hot water then spoon it into a plastic piping bag. If you don’t have one, you can fashion one out of a small sandwich bag. Snip the corner and write whatever you like on the top as steadily as you can. I always practice my piping on a bit of baking paper before attempting the real thing. If piping makes you nervous, take a deep breath and have courage.
This torte says ER as I made it in celebration of the late Queen’s Platinum Jubilee.
Your cake will be ready to eat once the chocolate has set and while it’s perfect from day one, it only improves with age.
Cut the cake and serve it with copious amounts of unsweetened whipped cream.
Recently, I failed spectacularly at something. Not only did I fail, but I did so in front of one of my heroes. Want to hear about it? Of course you do. Schadenfreude is real. So get comfy, keep reading, and consider this a gift.
A few weeks ago I saw that my favourite bakery in London was in need of a new baker. Despite never having worked in a professional kitchen or having attended a cooking school, I decided to say what the fuck and give it my best effort. I composed the most thoughtful and succinct email I could and sent it off, never expecting to get a response.
Imagine my excitement when I received a reply inviting me to an interview and instructing me to bring along two different baked goods to taste. I thumbed through all my cookbooks for inspiration. I reread my recipes here. After days of waffling, I decided on a lemon chess pie or what I like to call a Blue Horizon pie and something completely new.
I wanted to bring in a layer cake as this bakery specializes in them, and while I do the classics rather well, I wanted this one to have a touch of the exotic. Cardamom sponge with marmalade mascarpone is what I made. The sponge was Melissa Clark’s from her Cardamom Cream Cake recipe featured in The New York Times (with omission of the rosewater), but the syrup to soak the sponge and the marmalade mascarpone were all mine.
The morning of my interview, Storm Doris was blowing up a gale. And there was a tube strike. I left the flat at 7:15 which I thought left me ample time to get to the bakery by 9 a.m. Keep in mind that my arms were full of an enormous cake box and a pie. Both of which I managed to carry north of the river and through three train stations without a hitch.
When I exited the last train station, I figured I’d get a cab the rest of the way. Nope. There wasn’t a single one. So I thought I’d do what any person living in a city in 2017 would do. I ordered a pickup from Uber. Due to the weather and the strike, traffic was terrible. The car took forever. My heart felt relieved when I got a notification saying it was arriving. Then, I got a notification saying it was cancelled.
The driver cancelled! I didn’t even know that was allowed. And I’d been standing in the rain. Holding a cake box and a pie. I didn’t know what to do so I just headed in the general direction I needed to go. That’s when I saw a cab. Who drove right past me.
I checked the time. It was 9 o’clock. I called the bakery to say I was so sorry but I’d be at least another 20 minutes. I kept walking. Finally a good Samaritan asked if I needed help. I explained everything to her and she said she was taking a bus to that area and I should follow her.
As I boarded the bus, a manchild with an enormous backpack pushed past me and I dropped my cake, I dropped my pie, and I almost started to cry. After picking them up, I reached into my pocket for my ATM card which is how I swipe in and out of public transportation these days. It wasn’t there.
I begged the driver to let me off. I took a minute and screamed like a madwoman in the street then I started to retrace my steps. Mercifully I found my card on the pavement three blocks back in the same spot where I had pulled out my mobile. As I stood there in my soggy coat, with my frizzy hair, and my busted baked goods, I thought about calling it a day and going home.
For whatever fool-headed reason, I decided to keep going. Call it my Elizabeth Warren moment because. . .
When I made it to the bakery and they asked who I was I said I was the hot mess who was embarrassingly late to meet with the owner. Believe it or not, she ate my broken cake and my pie. She even had her staff sample them too and I got called in for a trial day. I didn’t get the job and if I’m honest, I never expected I would. Actually, I never expected an interview. But I am very proud of this particular failure. Without it, I wouldn’t have this story to share nor this recipe. I hope you enjoy them both.
Broken cake is the best cake.
Sponge ingredients:
170 g softened butter
330 g 00 flour
4 large egg whites
240 ml whole milk
1/2 tsp vanilla extract
300 g caster or granulated sugar
20 grams baking powder
the contents of 12 cardamom pods ground to a powder with a mortar & pestle
1/4 tsp salt
Method:
Preheat the oven to 350°F/177°C/Gas 4.
Grease, flour, and line two 9″ cake tins.
In a medium bowl, lightly whisk together the egg whites, milk, and vanilla.
In another bowl, combine the flour, sugar, baking powder, cardamom and salt with an electric mixer on a low speed. Only about 30 seconds to blend. Add the butter and 1/3 of the milk-egg mixture. Mix on low until the dry ingredients are moistened. Increase to medium and beat until everything is smooth.
Add the remaining milk-egg mixture in three batches.
Pour into the prepared tins and bake for 25-35 minutes or until a tester comes out clean.
Allow the cakes to cool in the tins on a rack for 20 minutes before unmolding them.
While the cakes finish cooling, make the syrup.
Syrup ingredients:
The juice of 2 oranges
the contents of 4 cardamom pods
3 tbsp caster or granulated sugar
1 tsp water
Method:
Bring all ingredients to a boil and simmer until reduced by half. Let the syrup cool completely before using it.
Marmalade mascarpone frosting ingredients:
500 g mascarpone
85 g cream cheese
85 g marmalade (I use my own homemade which is not as sweet as most commercial brands. Take this into account when making your frosting. If your marmalade is sweet, you will not need as much sugar.)
the zest of 1 orange
2 tbsp icing/powdered sugar
Method:
Use an electric mixer to combine the ingredients together until creamy. Do not overmix. Taste it. If you want it sweeter, add more sugar but only a small spoonful at a time. If you want it a little sharper, add more zest and marmalade.
To assemble the cake:
While your cake layers are still on the rack, brush them with some syrup. Be sure to get their sides as well as their tops. Beware you don’t saturate the cakes. You only want to add some moisture, not make them soggy. Leave them for a minute.
Select a cake plate or a stand that you want to use.
Put wide strips of wax paper around the plate.
Place your first cake layer on top of the paper. This will make cleaning up much easier.
Spread some of the marmalade mascarpone onto this layer. I like it about half an inch thick.
Put the second cake layer on top. Repeat with the marmalade mascarpone.
I coiled a piece of orange shred from my marmalade and placed it in the center of my cake. You don’t have to, but I think it looks nice.
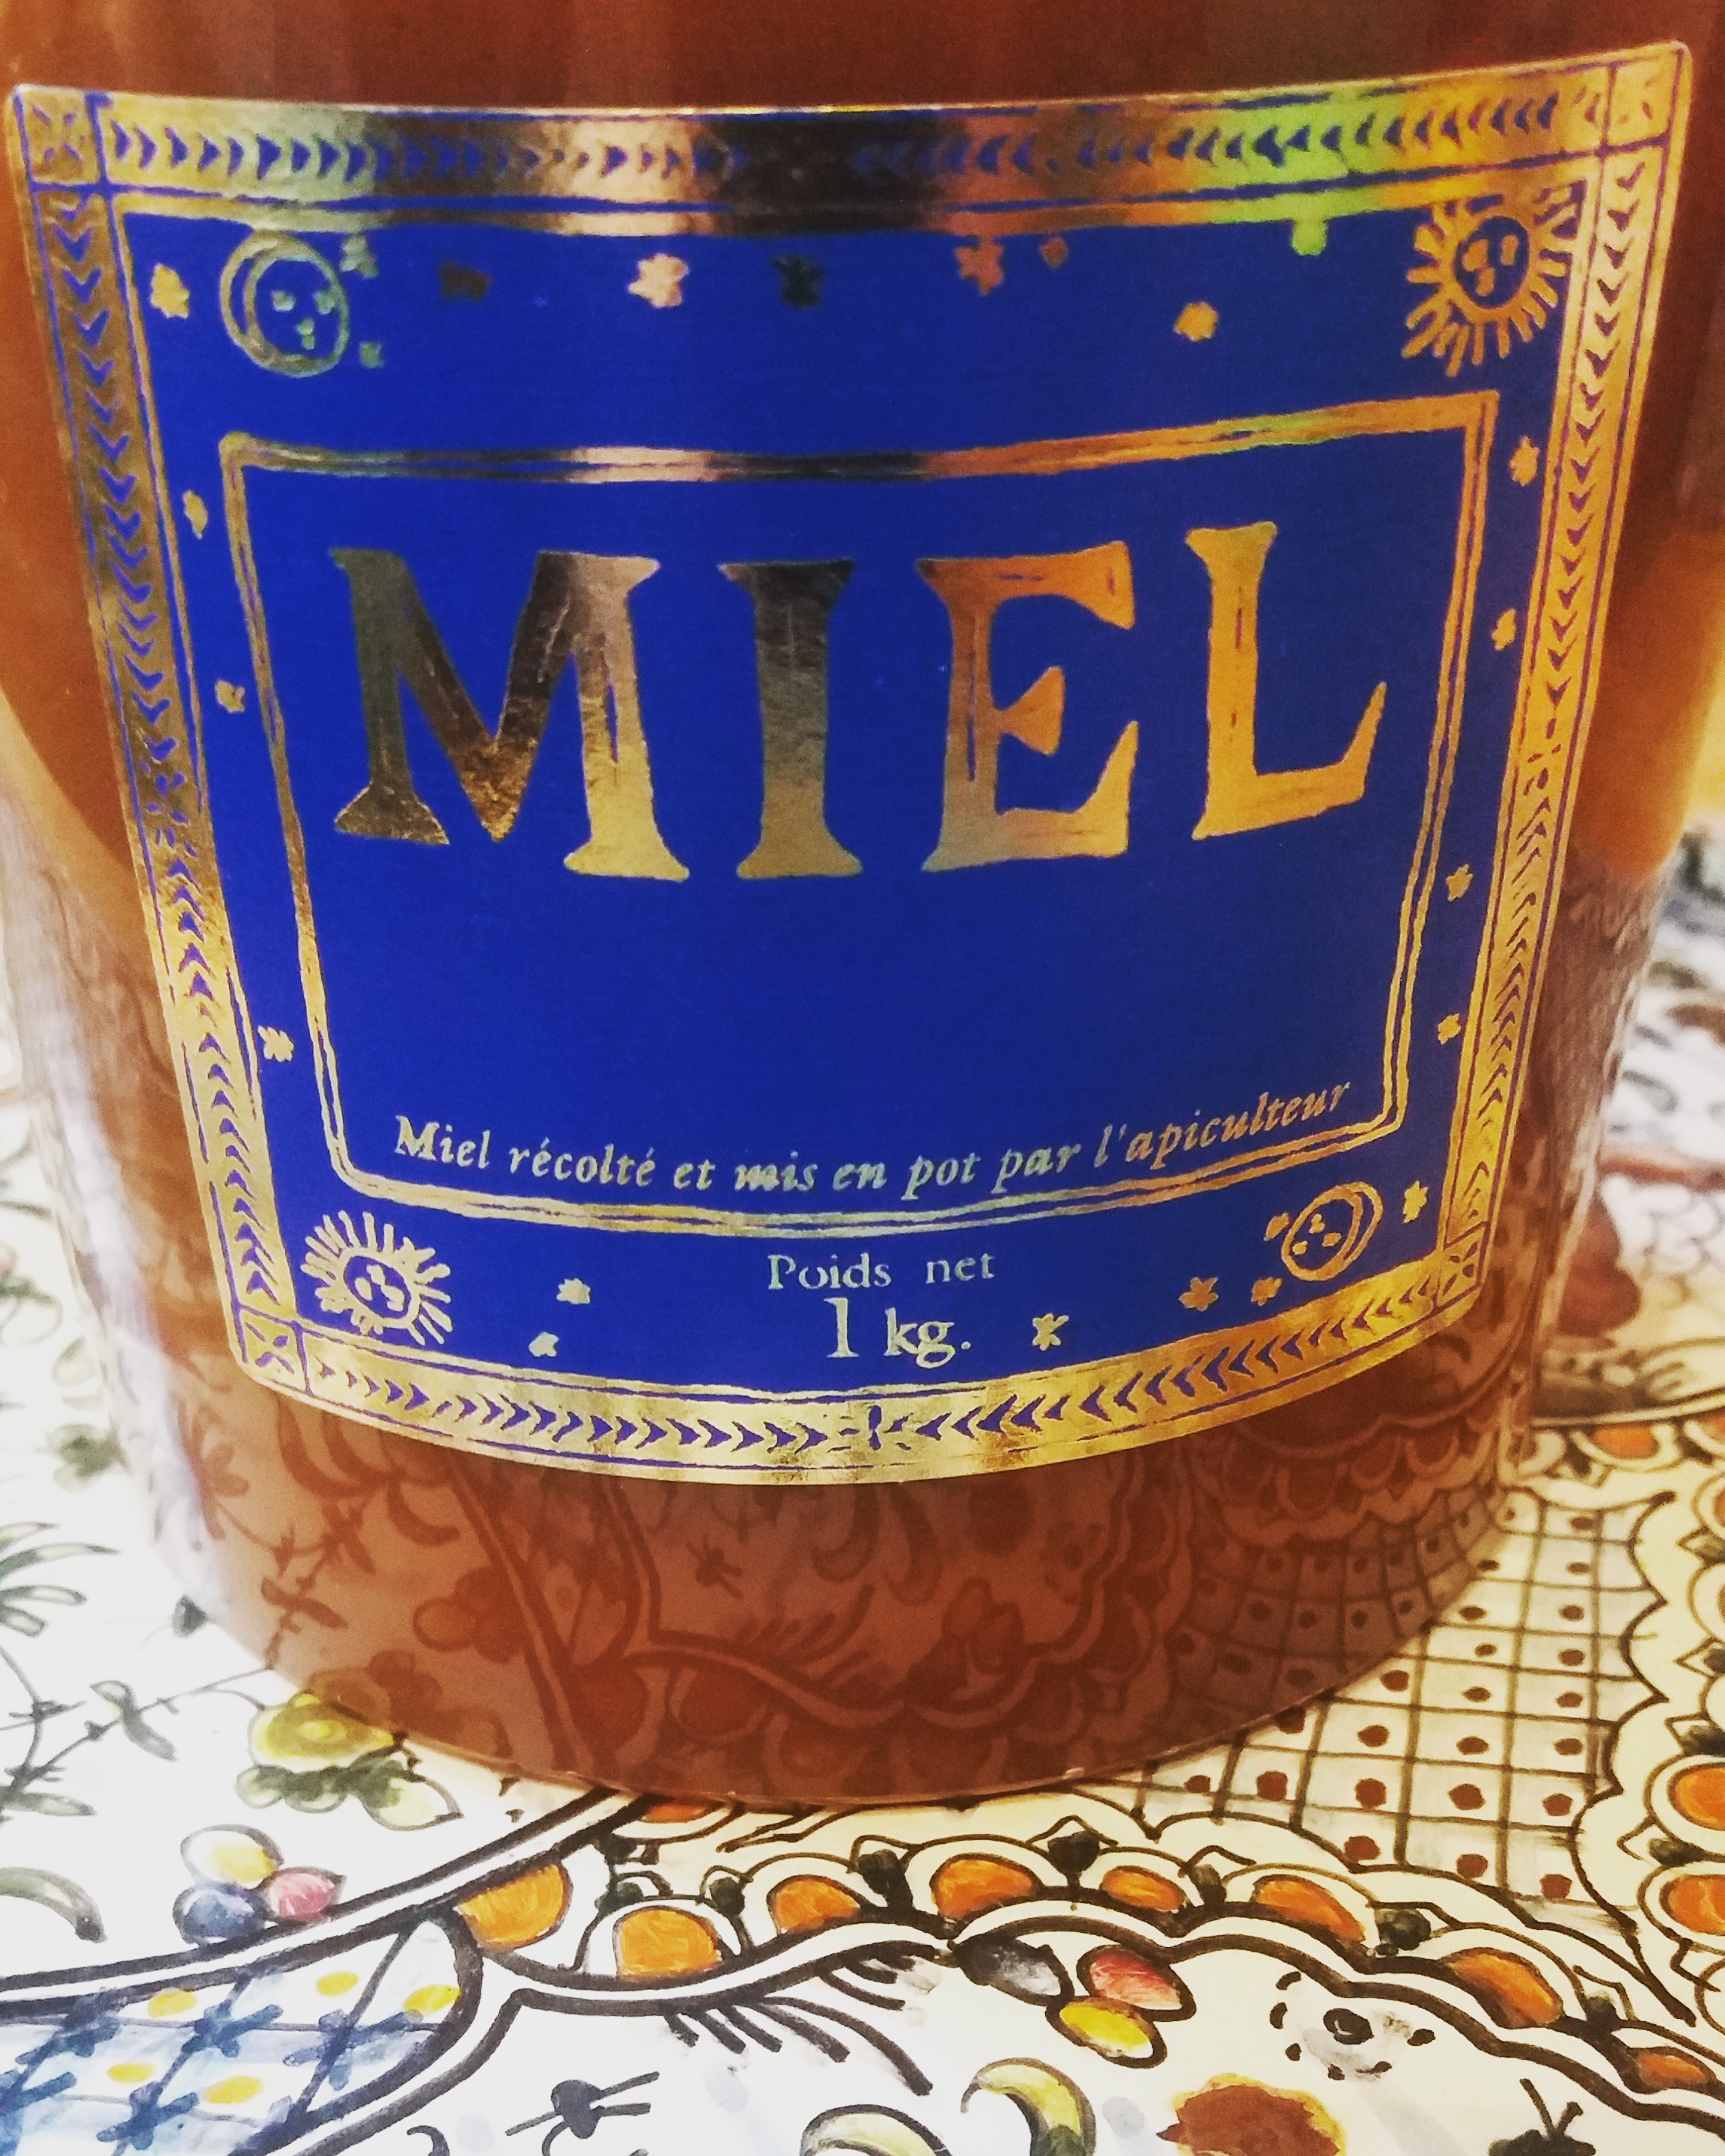
My in-laws were recently in France sorting my husband’s late Auntie Marianne’s affairs. While there they made two discoveries. One: Auntie M. took it upon herself to edit the books she read. Incorrect spellings and dropped punctuation were fixed with her red pen. Two: She had vats of local honey sitting in the cellar. Honey as thick and rich as creme fraiche caramels and flecked with bits of the forest from which it came. Everyone got a kilo upon their return.
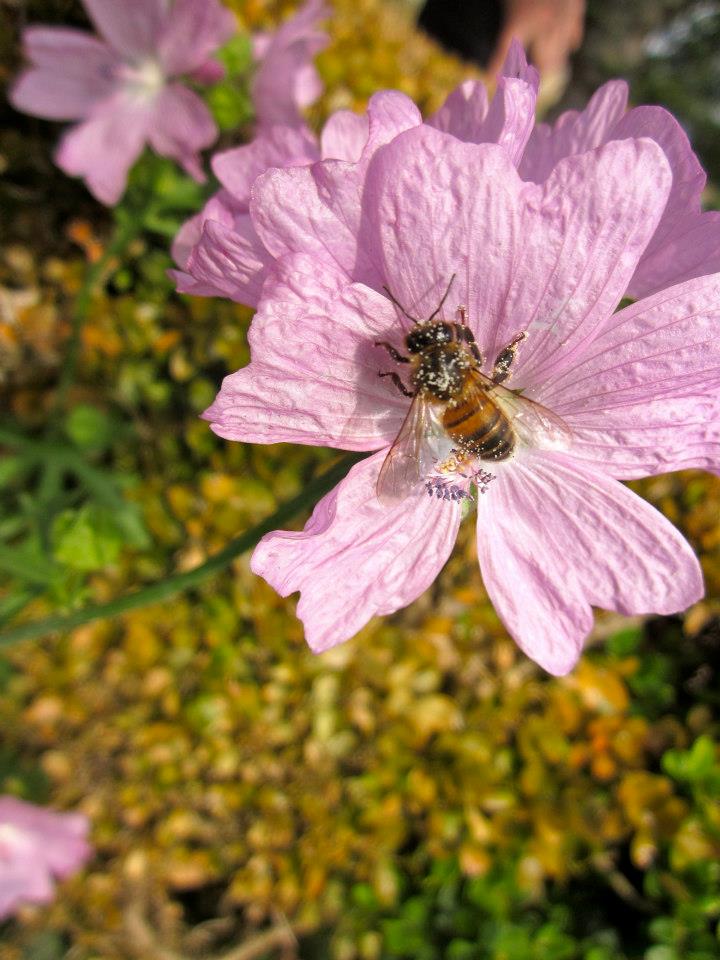
Honey is a staple in my home. I love it. Runny, set, manuka, clover, English wildflower, Scottish heather–I’ve got it all. But this new honey, Auntie Marianne’s garrigue honey, really is the bee’s knees. Other than enjoying it in my tea, I wanted to bake something special with it.
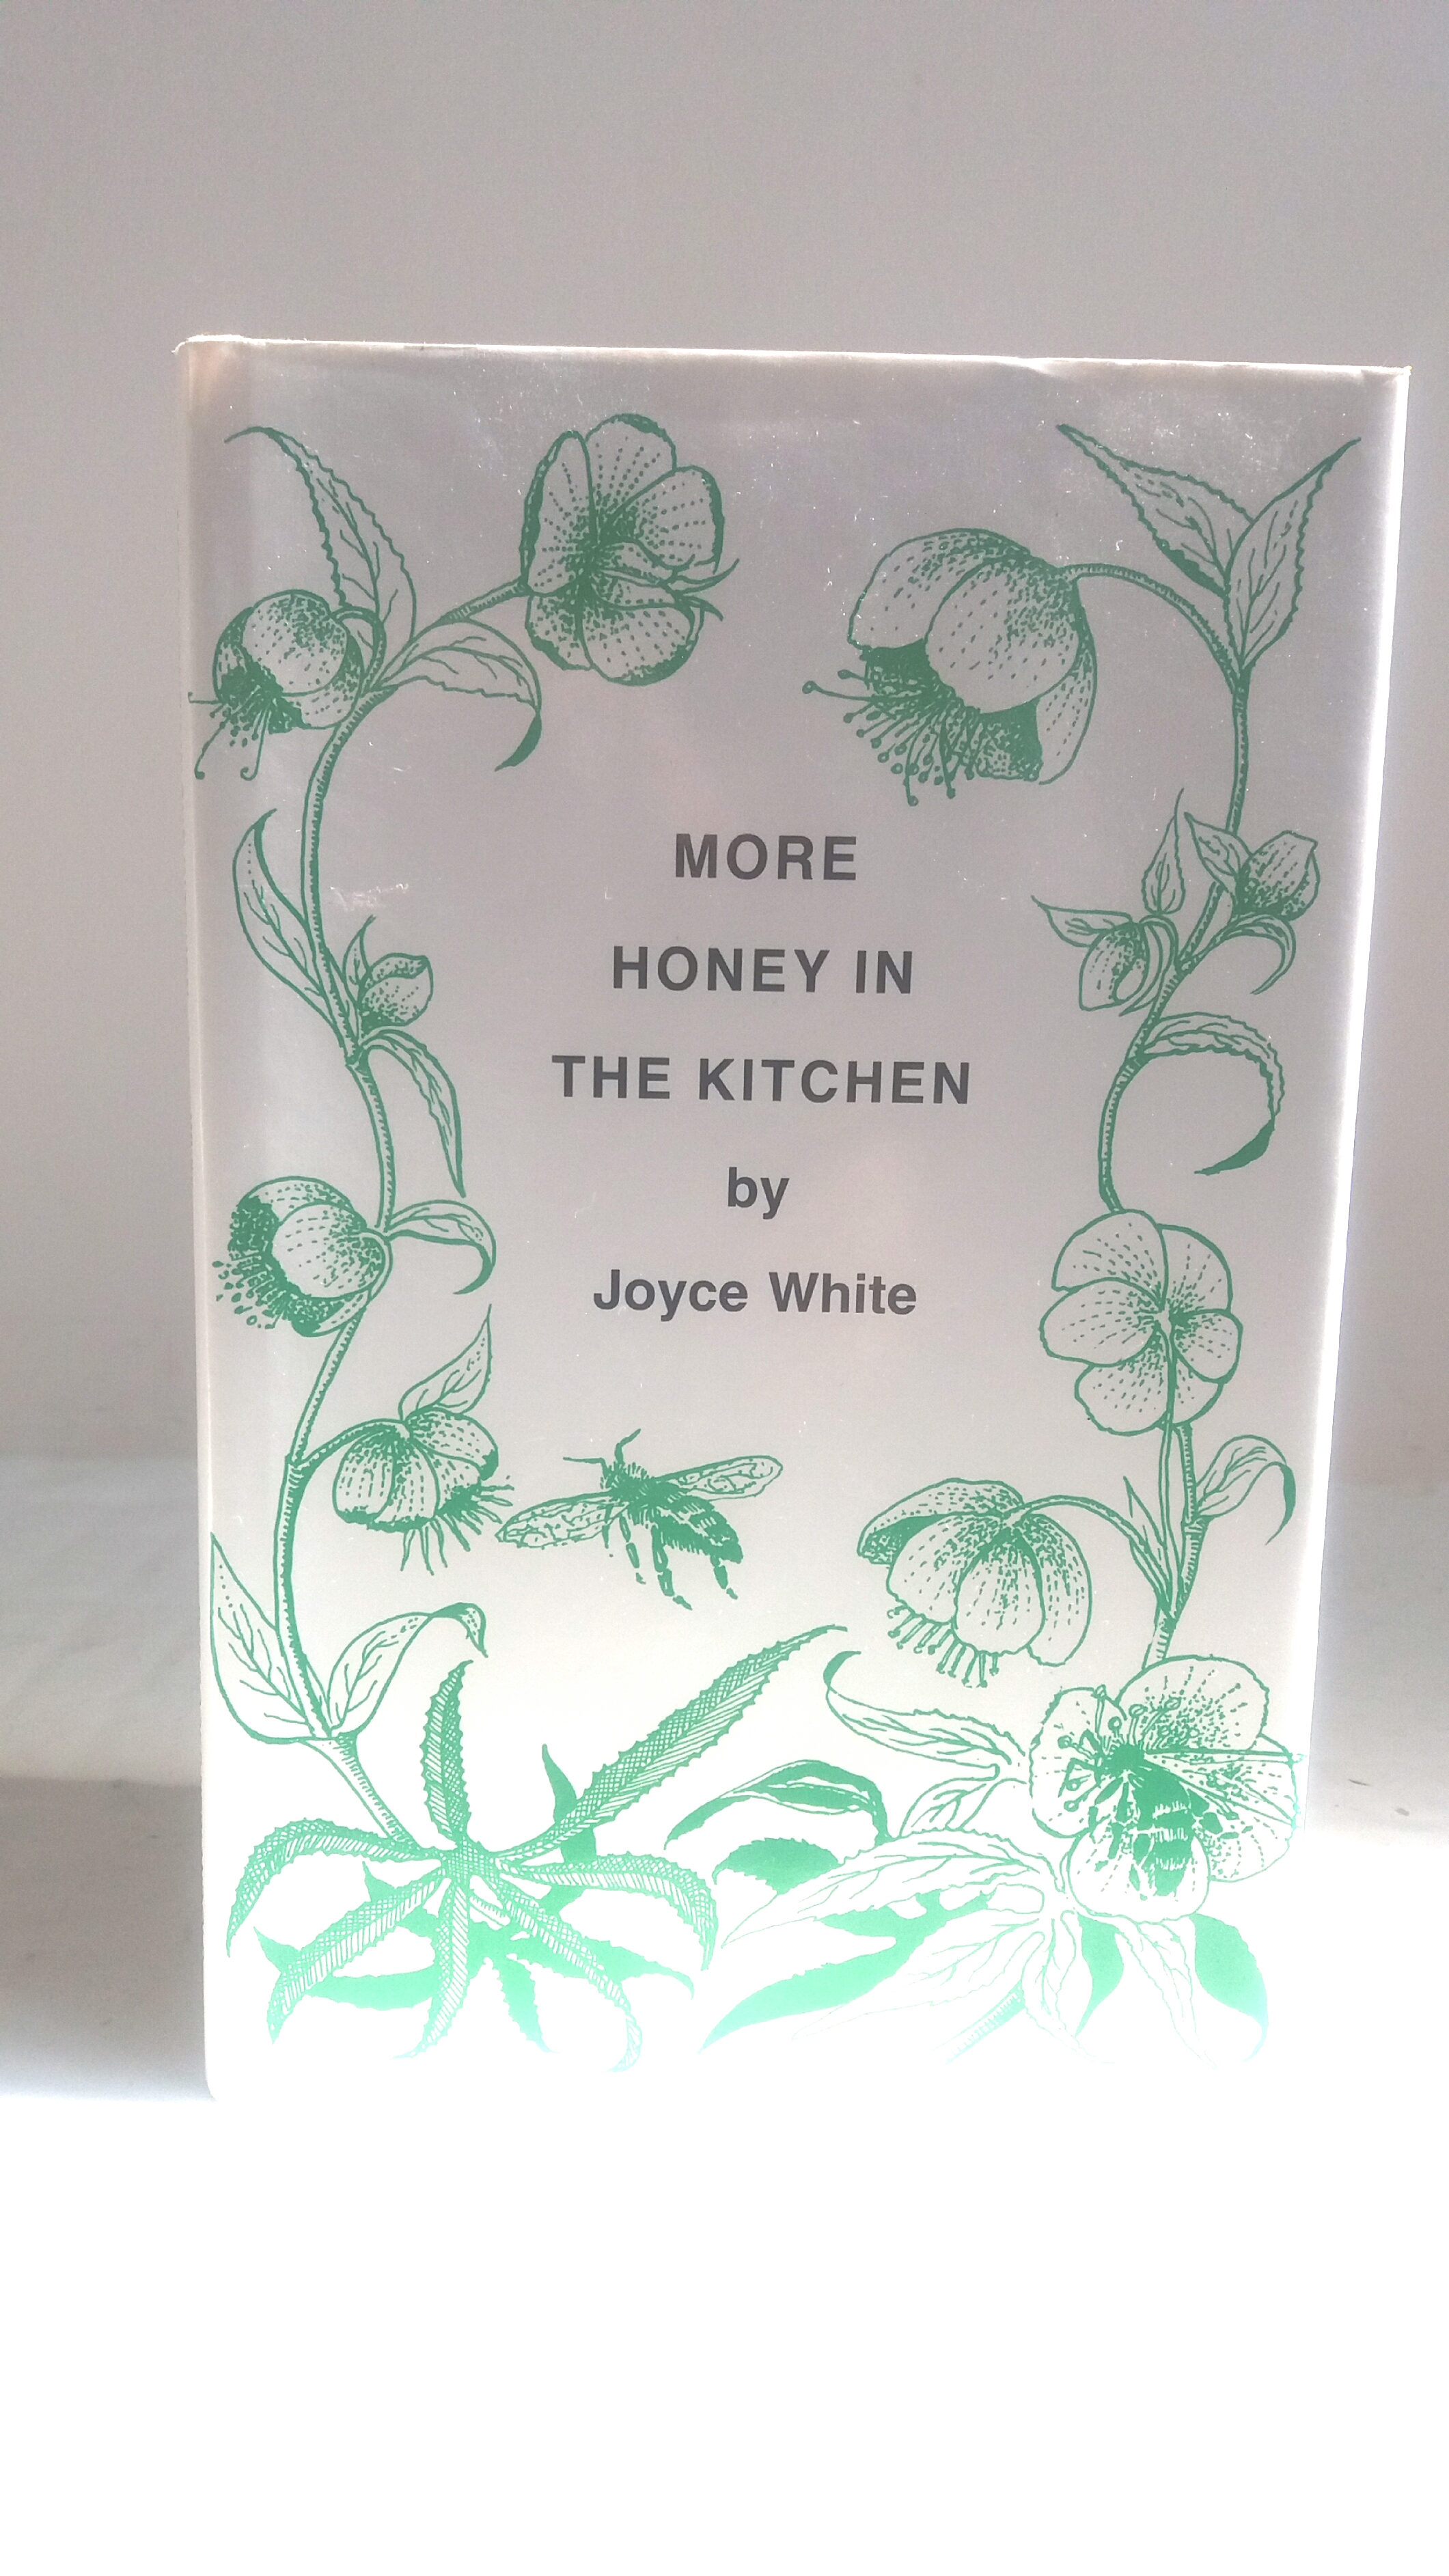
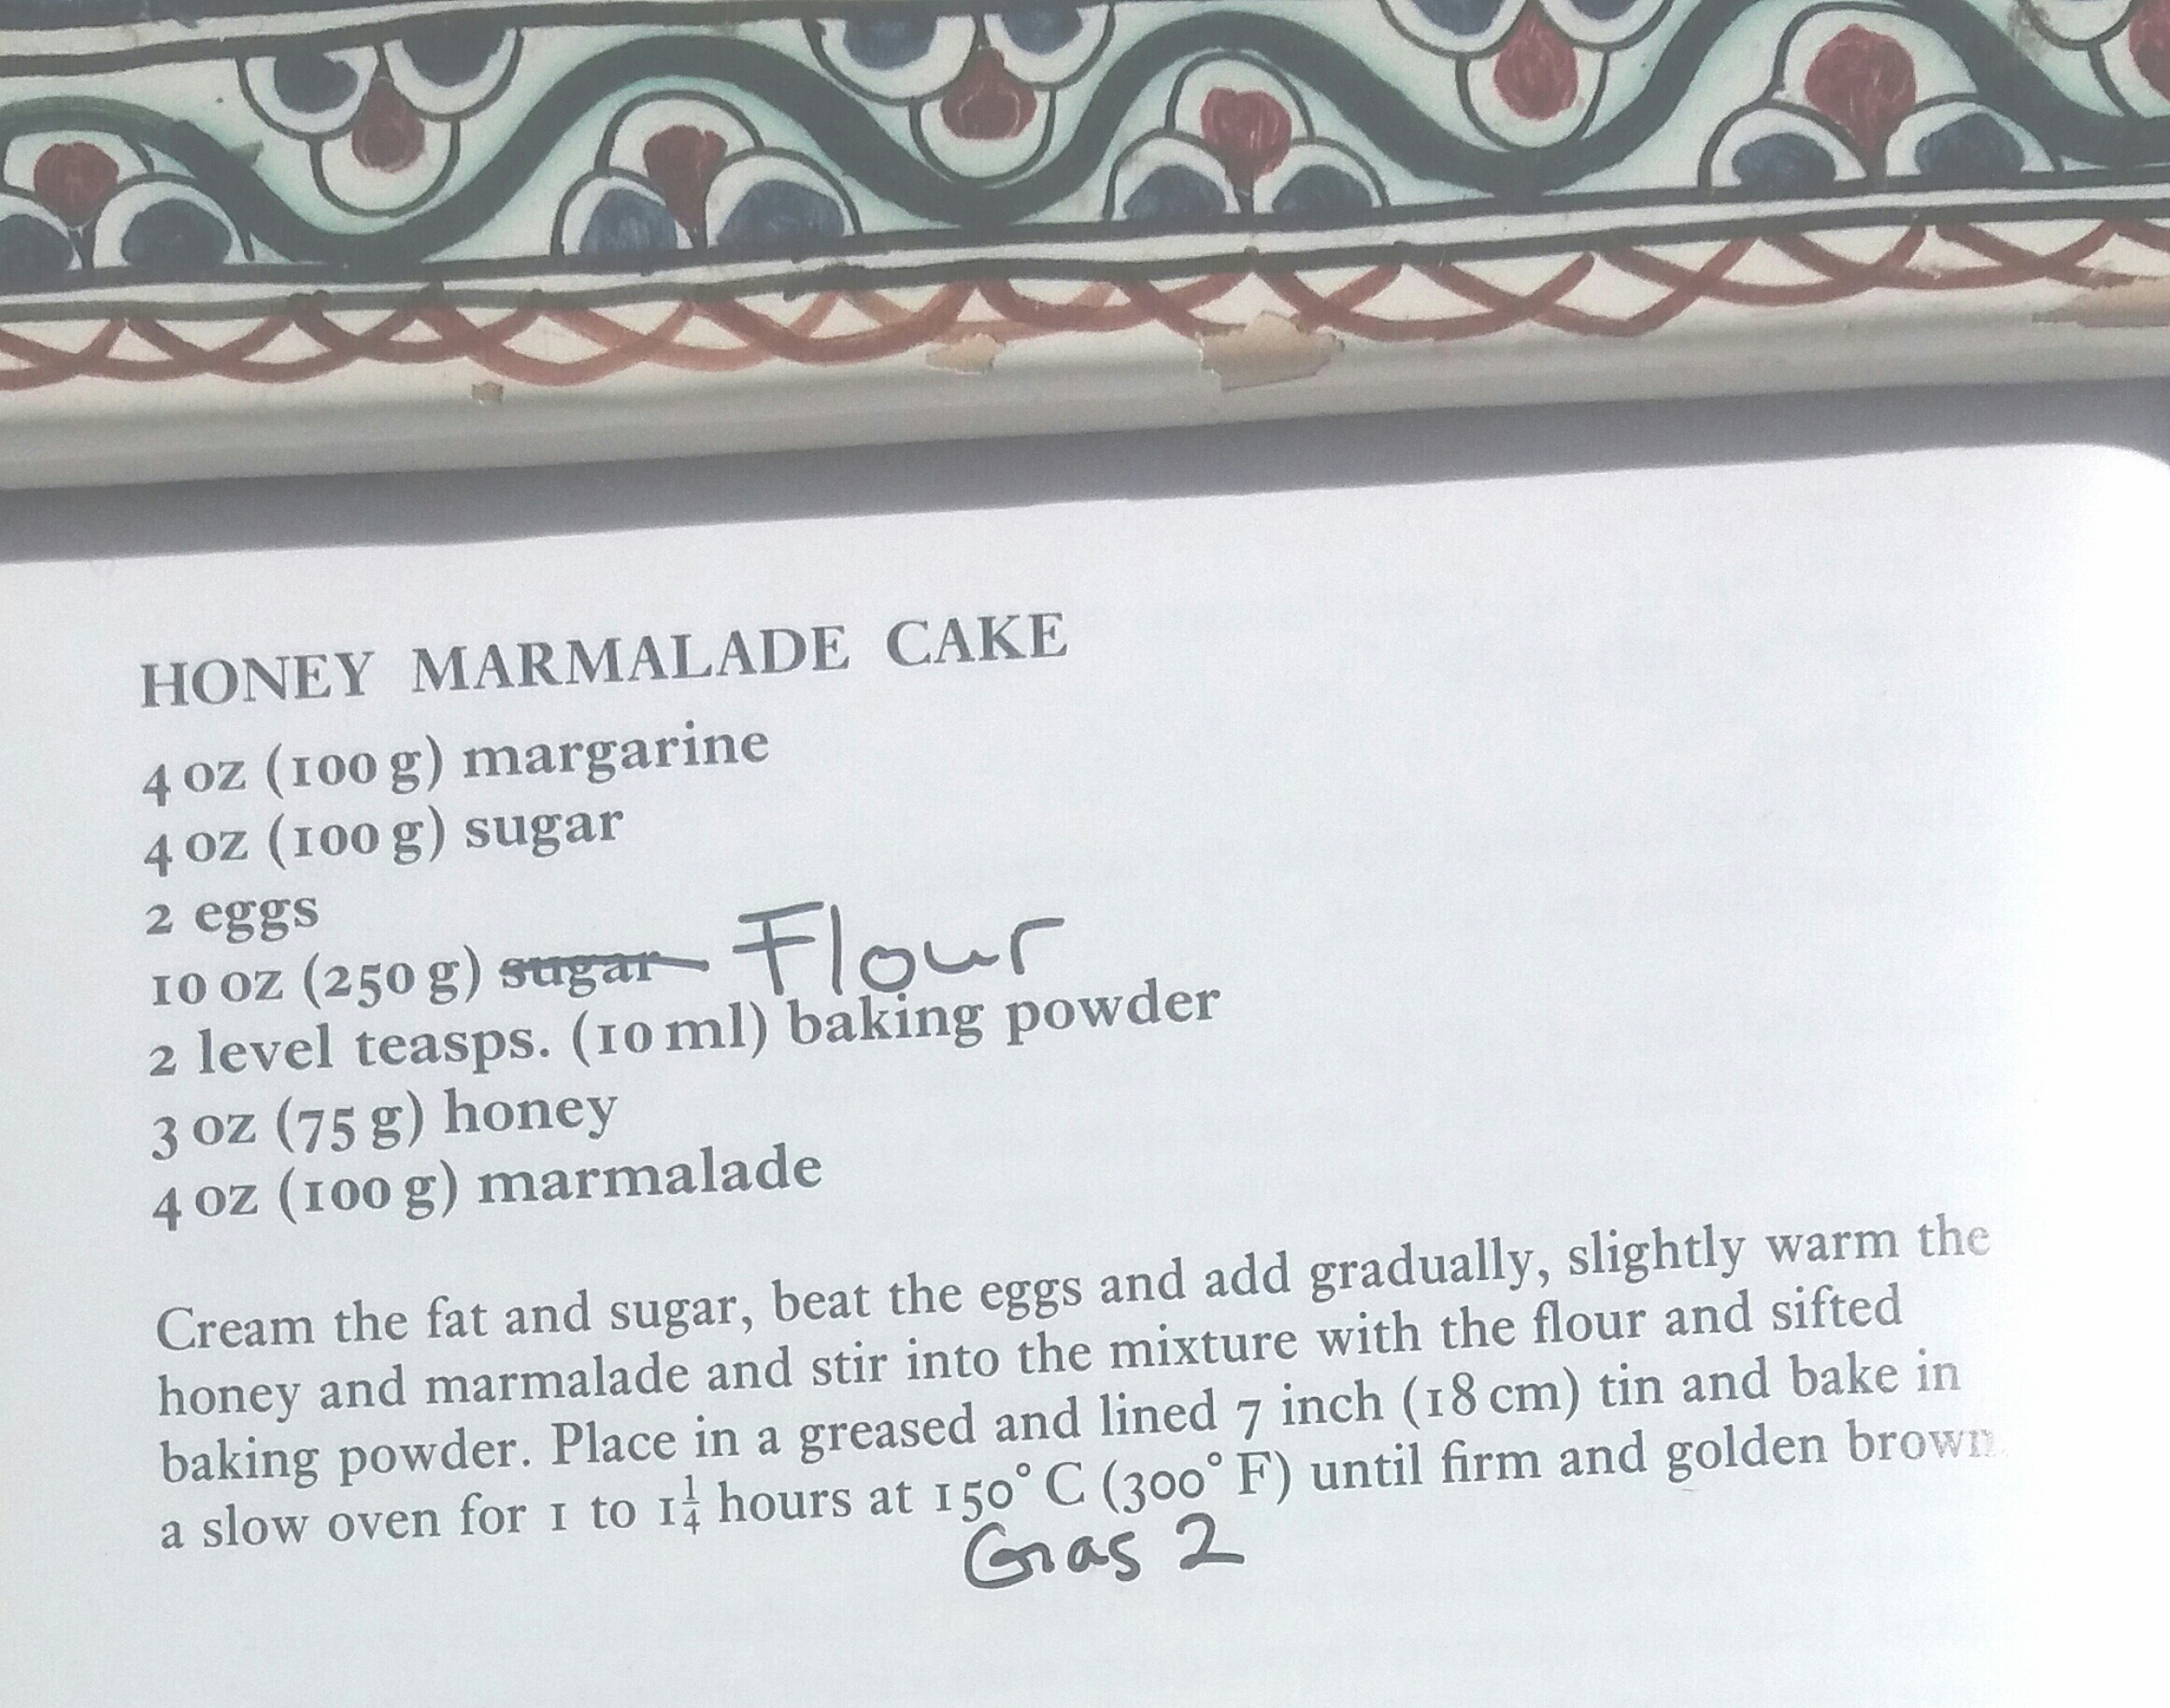
Last year, a dear friend of mine gave me an old cookbook called More Honey in the Kitchen. It was written by Joyce White who was a cookery demonstrator and lecturer in beekeeping. The book was illustrated by her grandchildren and published in 1991. It could not be any more charming if it tried.
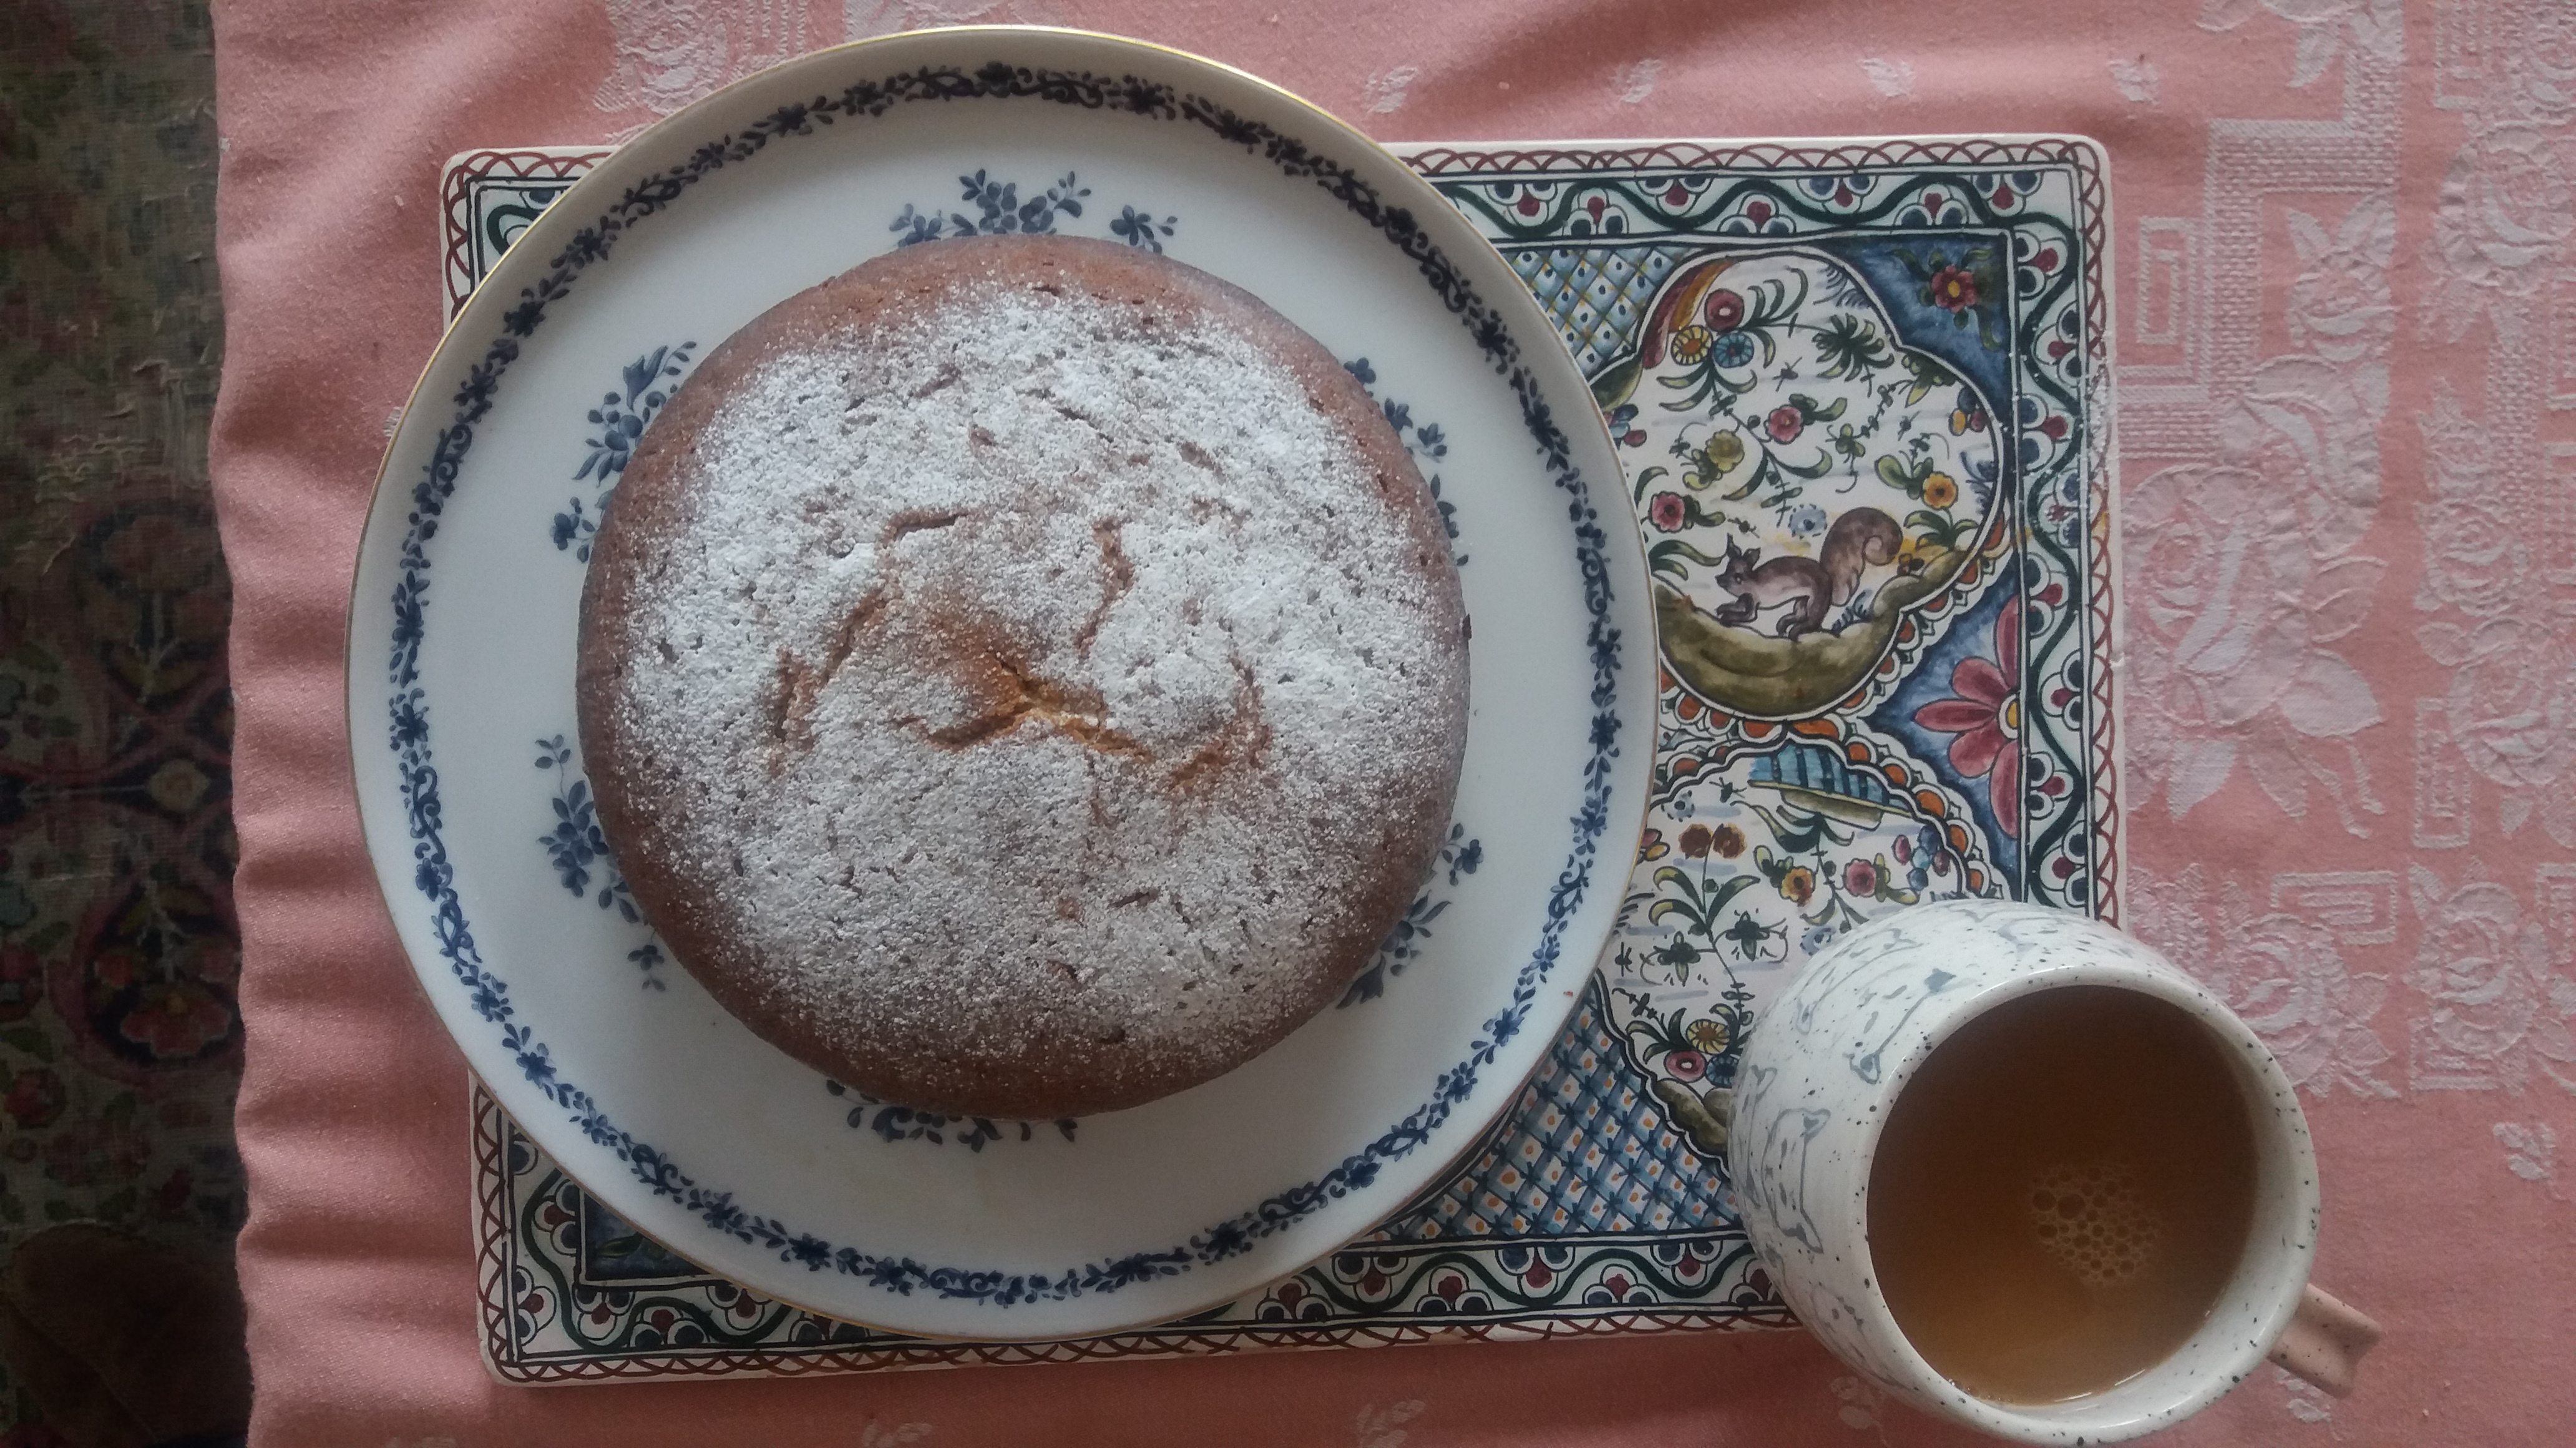
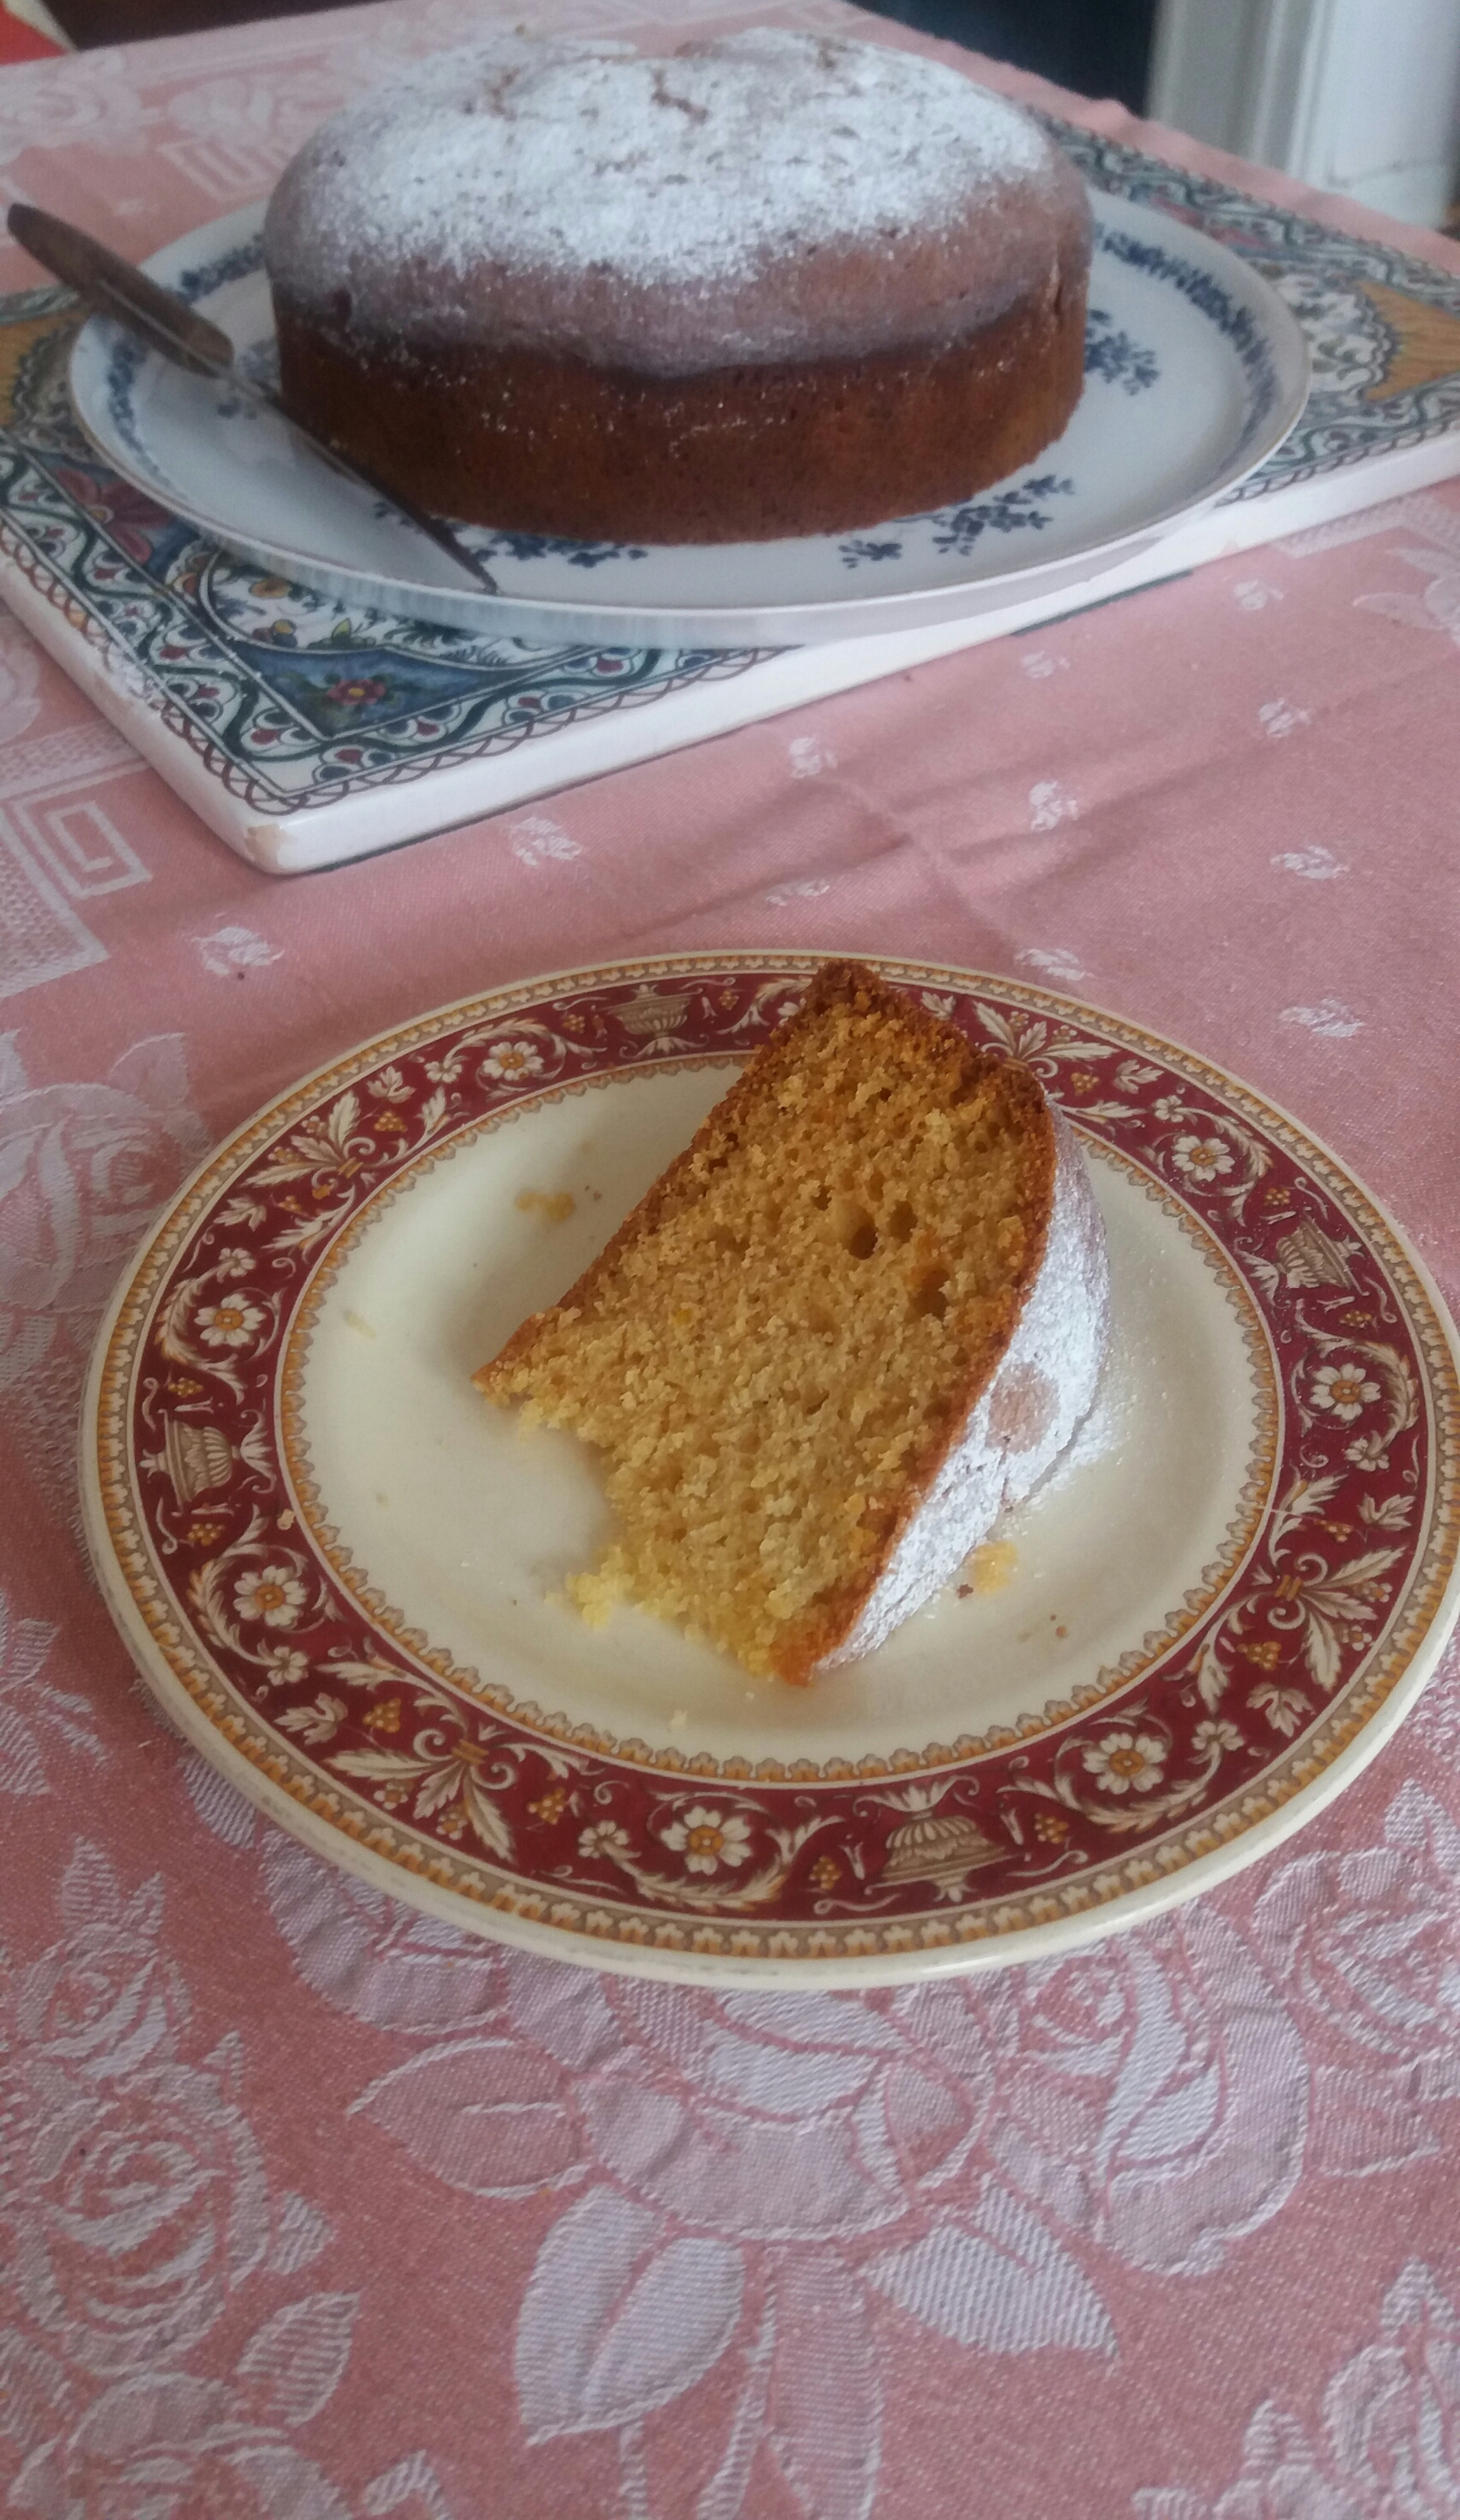
Today I baked a honey marmalade cake from it and it was perfection. Below is the recipe. I’d like to think Ms. White would have been proud and Auntie M. would have approved.
Just before Christmas, I took my three year-old to the cinema for the first time. We saw Paddington and were equally charmed. It was funny and darling and the calypso band that played throughout was fantastic. Helena clutched her stuffed bear, chomped on popcorn, danced in her seat and shrieked with delight through most of it. I, on the other hand, cried through at least 20% of it. I am not sure if it’s because I was still waiting to hear about my Indefinite Leave to Remain status or what, but the telling of this tale about a little Peruano immigrant bear really tugged at my heart strings. I love Paddington. I am Paddington. Yo soy Paddington.
CUT TO: JANUARY 2015
Though the UK Border Agency had until March to process my visa application, I received it the first week of the new year. I have no idea why it’s called indefinite leave to remain when ILR status allows one to remain in the UK for ten years. Ten years is very definite, no? Anyway, I was thrilled. I studied for my Life in the UK exam like my college degree (or my residency) depended on it. Go ahead. Ask me anything about the Divine Right of Kings, The Pale, The Hundred Years War, 1066, Robbie Burns, or sticky wickets. I know it all. Or at least I did last August when I took the test.
While my heart’s all American, something in me changed when I received my residence permit. It’s not that I felt British. Anyone who reads Chagrinnamon Toast knows that I ache for home and wish I could see my family more than I do. That said, I am so grateful for all that England has offered me. What’s changed is that for the first time, I don’t feel like just an American. I feel like an immigrant full of love for my homeland yet equally full of thanks for my adopted country. Like I said, I am Paddington.
Which is why I felt it my duty to learn to make marmalade, not that I even like the stuff. I just thought it should be in my repertoire especially as Helena and Henry love it. The recipe I used was from The Breakfast Bible by Seb Emina & Malcolm Eggs. I cannot lie. My first attempt was a failure. It smelled nice, tasted nice, but had the consistency of epoxy. Apparently, when boiling marmalade, one cannot turn one’s back even for a minute. Otherwise the temperature can quickly climb too high and leave you with mucilage instead of marmalade.
My second attempt was with the same recipe. This was much better. I gave some to Blake Pudding, one of the contributing writers of The Breakfast Bible, who said my marmalade “tasted like it was made by someone who didn’t have the weight of the empire sitting on her shoulders and who didn’t know the disappointments of being British.” He went on to describe it as “Fresh and juicy. In a word, Californian.” Keeping California in mind, I began experimenting with my own recipe.
Second Attempt
What is it I really want in cold dreary January? To bask in the sunshine. Sadly as that’s not an option here in London, I’ve tried to capture the warmth of the West Coast in a jar instead. Below is my recipe. I call it Winter Gold as it consists of Seville oranges, lemons, and ginger which look like flecks of gold when set in jars. While it’s not sunny Malibu, it is warming and coming from someone who doesn’t like marmalade, it’s delicious. All the glow of an orange, but with very little bitterness.
Misti’s Winter Gold Marmalade
Ingredients:
1 kg seville oranges
3 juice from lemons
100 g fresh ginger, peeled and cut into thin matchsticks
750 g caster sugar
1 liter of water + 125 ml or 1/2 cup
1 tablespoon unsalted butter
Method:
First, place a small plate in your refrigerator. You will use this plate to later test for a set.
Next, remove the stems from your Seville oranges and give them a good scrub. It’s really important they be nice and clean.
Quarter each orange and put it in a large heavy bottom pan. Add the liter of water. Boil with a lid slightly off for an hour and a half or until the skins are tender.
Drain the oranges but make sure to keep the water in which they were boiled. Allow the oranges to cool.
Use a teaspoon to scoop the insides of each orange quarter. Put the seeds, pulp, and pith into a large pan. Cover with the 1/2 cup of water and bring to a boil. Stir frequently to avoid sticking and burning. Allow this mixture to boil for about ten minutes. The purpose of this boil is to extract pectin that will help your marmalade set. Remove from the heat and place in a cheesecloth or fine sieve to strain. I use a spoon to stir the mixture within the sieve. This presses out some of the pulp which is thick and sticky. Retain all liquid that comes through the sieve.
Rinse the orange peel and drain. Cut into shreds.
Peel the ginger and slice thinly. Cut each thin slice into matchsticks. Chop the matchsticks into even smaller pieces.
Prepare your jars and lids. Wash them with warm soapy water. Dry completely and place on a baking tray. Put them in the oven at about 275°F/140°C/Gas 1 for at least ten minutes. This will sterilize them.
Place the orange shred, the ginger, the sugar, both sets of liquid, and the lemon juice into a large pan. Stir to mix. You want everything to incorporate. Over a medium flame, heat the mixture. Do not allow the sugar to burn. When the sugar has melted (you’ll be able to tell because the mixture will no longer feel gritty), bring everything to a boil. Bring out your candy thermometer and watch it like a hawk. Do not allow your mixture to go above 220°F this is roughly 100°C. I take mine off at about 219°F. Test for a set using the plate in the fridge. Do this by spooning a little of the marmalade onto the cold plate and putting it back in the fridge for a few minutes. If it wrinkles when you push it with your finger, it’s set. Whatever you do, do not repeat my school girl error and allow it to surpass 220°F. If you do this, you might as well keep boiling it even hotter and just make candy.
When you have achieved your desired set, take the marmalade off the flame and allow it to sit for a few minutes. Stir in the butter. This will keep your marmalade from going scummy. Spoon/funnel the mixture into warm jars leaving enough head room. Tightly screw on the lids and allow to cool completely. For me, this made three and a half 280 ml jars. Enjoy on toast, cakes, cookies, or tarts. Even use it as a glaze for roasting ham. Most importantly, bask in its gingery glow.